
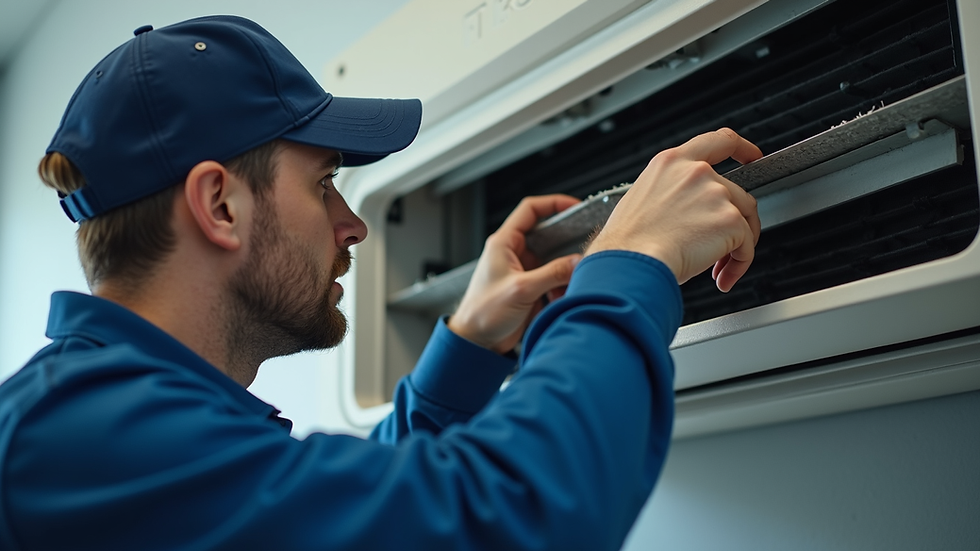
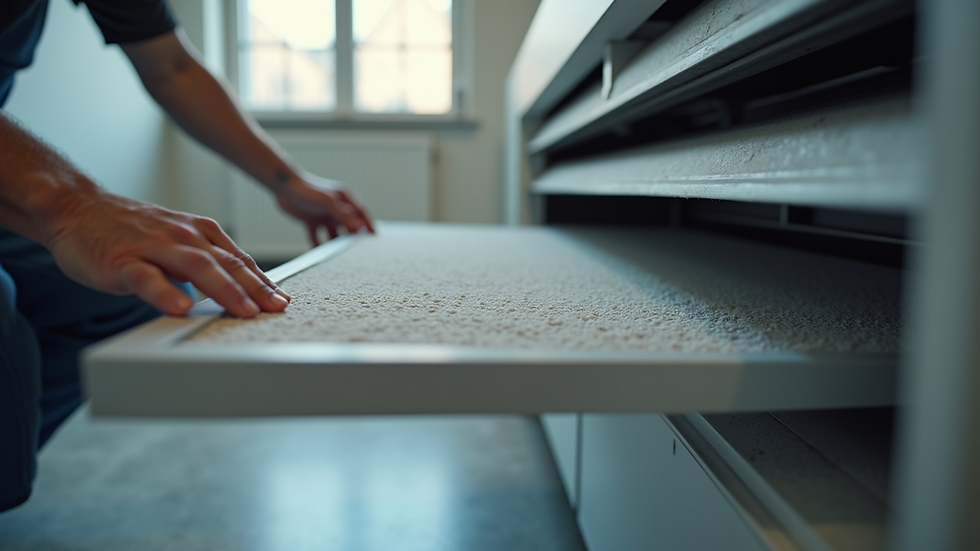
Check your air filters first
Air filters are the lungs of your HVAC system. When they clog with dust and debris, the system has to work harder to push air through, driving up energy bills and straining the compressor. Before the summer heat hits, inspecting and replacing these filters is the single most effective HVAC maintenance task you can perform.
Start by locating your return air grille or the filter slot near your indoor air handler. Most standard homes use rectangular filters that slide into a rack. Remove the filter and hold it up to a light source. If you can’t see light passing through the media, or if the gray surface is coated in a thick layer of dust, it’s time for a replacement.
Find the filter access panel. This is usually on the return air duct near your furnace or air handler. Slide the old filter out carefully to avoid dropping dust into the ductwork.
Look at the side of your new filter for an arrow. This indicates the required airflow direction. The arrow must point toward the blower motor (into the ductwork), not toward the return grille.
Slide the new filter into the rack, ensuring it fits snugly without gaps. Air bypassing the filter reduces efficiency and allows dust to coat your coils. Close the access panel securely.
The Department of Energy notes that regular filter changes are essential for maintaining proper airflow. For most homes, replacing disposable filters every 30 to 90 days is the standard recommendation. If you have pets or live in a dusty area, check the filter monthly. A clean filter can lower your system’s fan energy use by 5% to 15% and keep your home cooler during peak summer months.
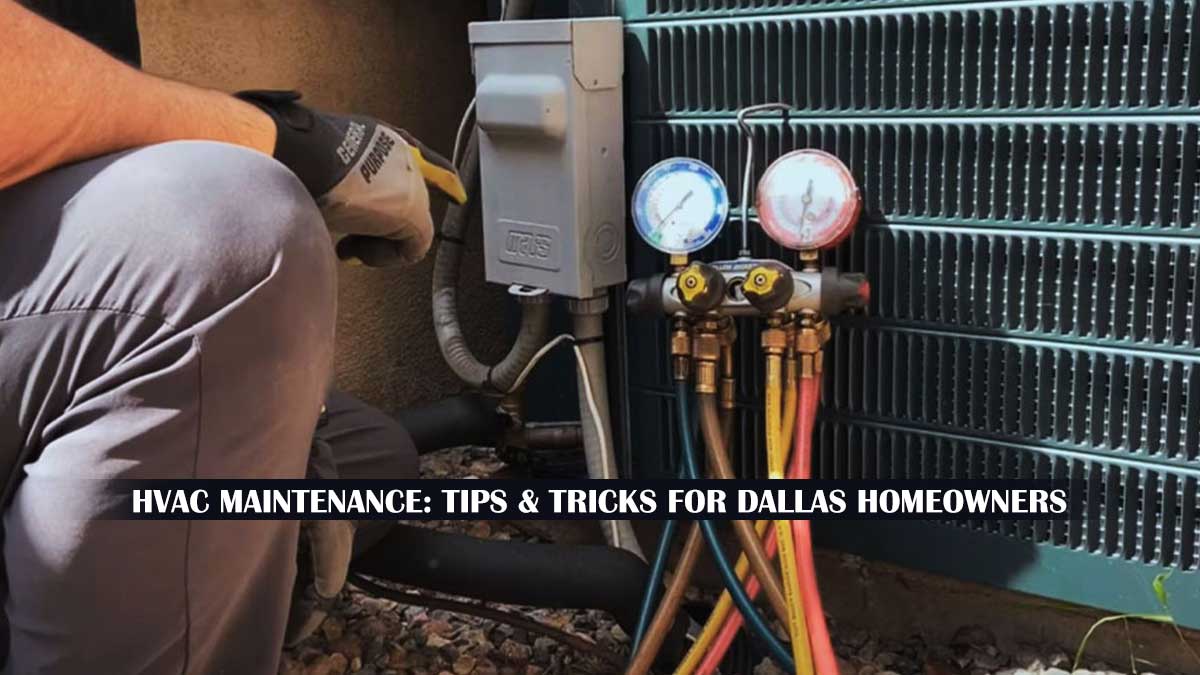
Clear debris from the outdoor unit
The condenser unit is the heart of your HVAC Maintenance routine. It pulls in air from all sides to cool the refrigerant coils. When leaves, grass clippings, or weeds block the intake, the system works harder, driving up energy bills and risking premature failure. Before summer heat peaks, give the exterior a thorough clearing.
Step 1: Power down the system
Locate the disconnect box mounted on the side of the outdoor unit or the circuit breaker in your main panel. Turn the power off completely. This prevents the fan from accidentally spinning up while you are working near the blades and protects you from electrical shock.
Pull away any large items like branches, leaves, or trash sitting on top of or around the unit. If vegetation is growing too close, trim it back to create at least two feet of clearance on all sides. This space allows the fan to pull in enough air for efficient cooling.
Use a standard garden hose to spray down the metal fins (coils) on the unit. Start from the inside and spray outward to push debris away rather than forcing it deeper into the coils. Use a gentle setting; high pressure can bend the delicate aluminum fins, reducing airflow.
If you notice bent or crushed fins after hosing, use a fin comb to gently straighten them. Bent fins restrict airflow and create hot spots on the coils. This step is optional but highly recommended if the unit has been sitting under a tree or near a lawnmower path.
Lift the protective grill or top panel if your model allows it. Remove any accumulated mud, grass, or insect nests from the bottom base pan. A clogged drain pan can lead to water damage or cause the unit to shut off due to safety sensors detecting standing water.
Step 2: Check the surrounding area
HVAC Maintenance isn't just about the unit itself; it's about the environment around it. Ensure no new plants have sprouted in the clearance zone. If you have a sprinkler system, check that water isn't spraying directly onto the condenser, which can cause rust and corrosion over time.
Step 3: Restore power and test
Once everything is dry and clear, restore power at the breaker or disconnect box. Turn the thermostat to "Cool" mode and set it a few degrees below the current room temperature. Listen for the fan to start spinning smoothly and feel for cool air coming from the top of the unit. If the fan doesn't start or makes grinding noises, turn it off and call a professional.
Clean the condensate drain line
A clogged condensate drain line is one of the most common causes of AC shutdowns during peak summer heat. When the line blocks, water backs up into the drain pan and can overflow, causing ceiling stains, warped flooring, or mold growth inside your walls. Clearing this line is a quick, low-cost task that protects your home from water damage and keeps your HVAC Maintenance routine effective.
Locate the PVC pipe near your indoor air handler or furnace. It usually has a T-shaped access port with a cap. Remove the cap carefully; you may find standing water or algae buildup inside. This access point is your entry for clearing the blockage.
Use a wet/dry shop vacuum with a narrow nozzle attachment. Seal the nozzle tightly over the open drain pipe or the access port. Turn the vacuum on for about 30 seconds to suck out debris, algae, or sludge. If the line is heavily clogged, you might need to repeat this a few times.
Pour one cup of white vinegar down the drain line or into the access port. Vinegar kills the algae and bacteria that cause clogs. Let it sit for 30 minutes before flushing with a small amount of water to ensure the line is clear. Avoid using bleach, which can corrode the PVC pipes over time.
Turn your AC back on and check the drain pan. You should see water flowing freely into the line. If water pools in the pan, the clog is not fully cleared. Repeat the vacuuming and flushing steps until the water drains smoothly.
Perform this task monthly during the cooling season. A clear drain line prevents costly water damage and ensures your AC runs efficiently. If the line remains clogged after these steps, the blockage may be deeper in the wall, requiring a professional technician.
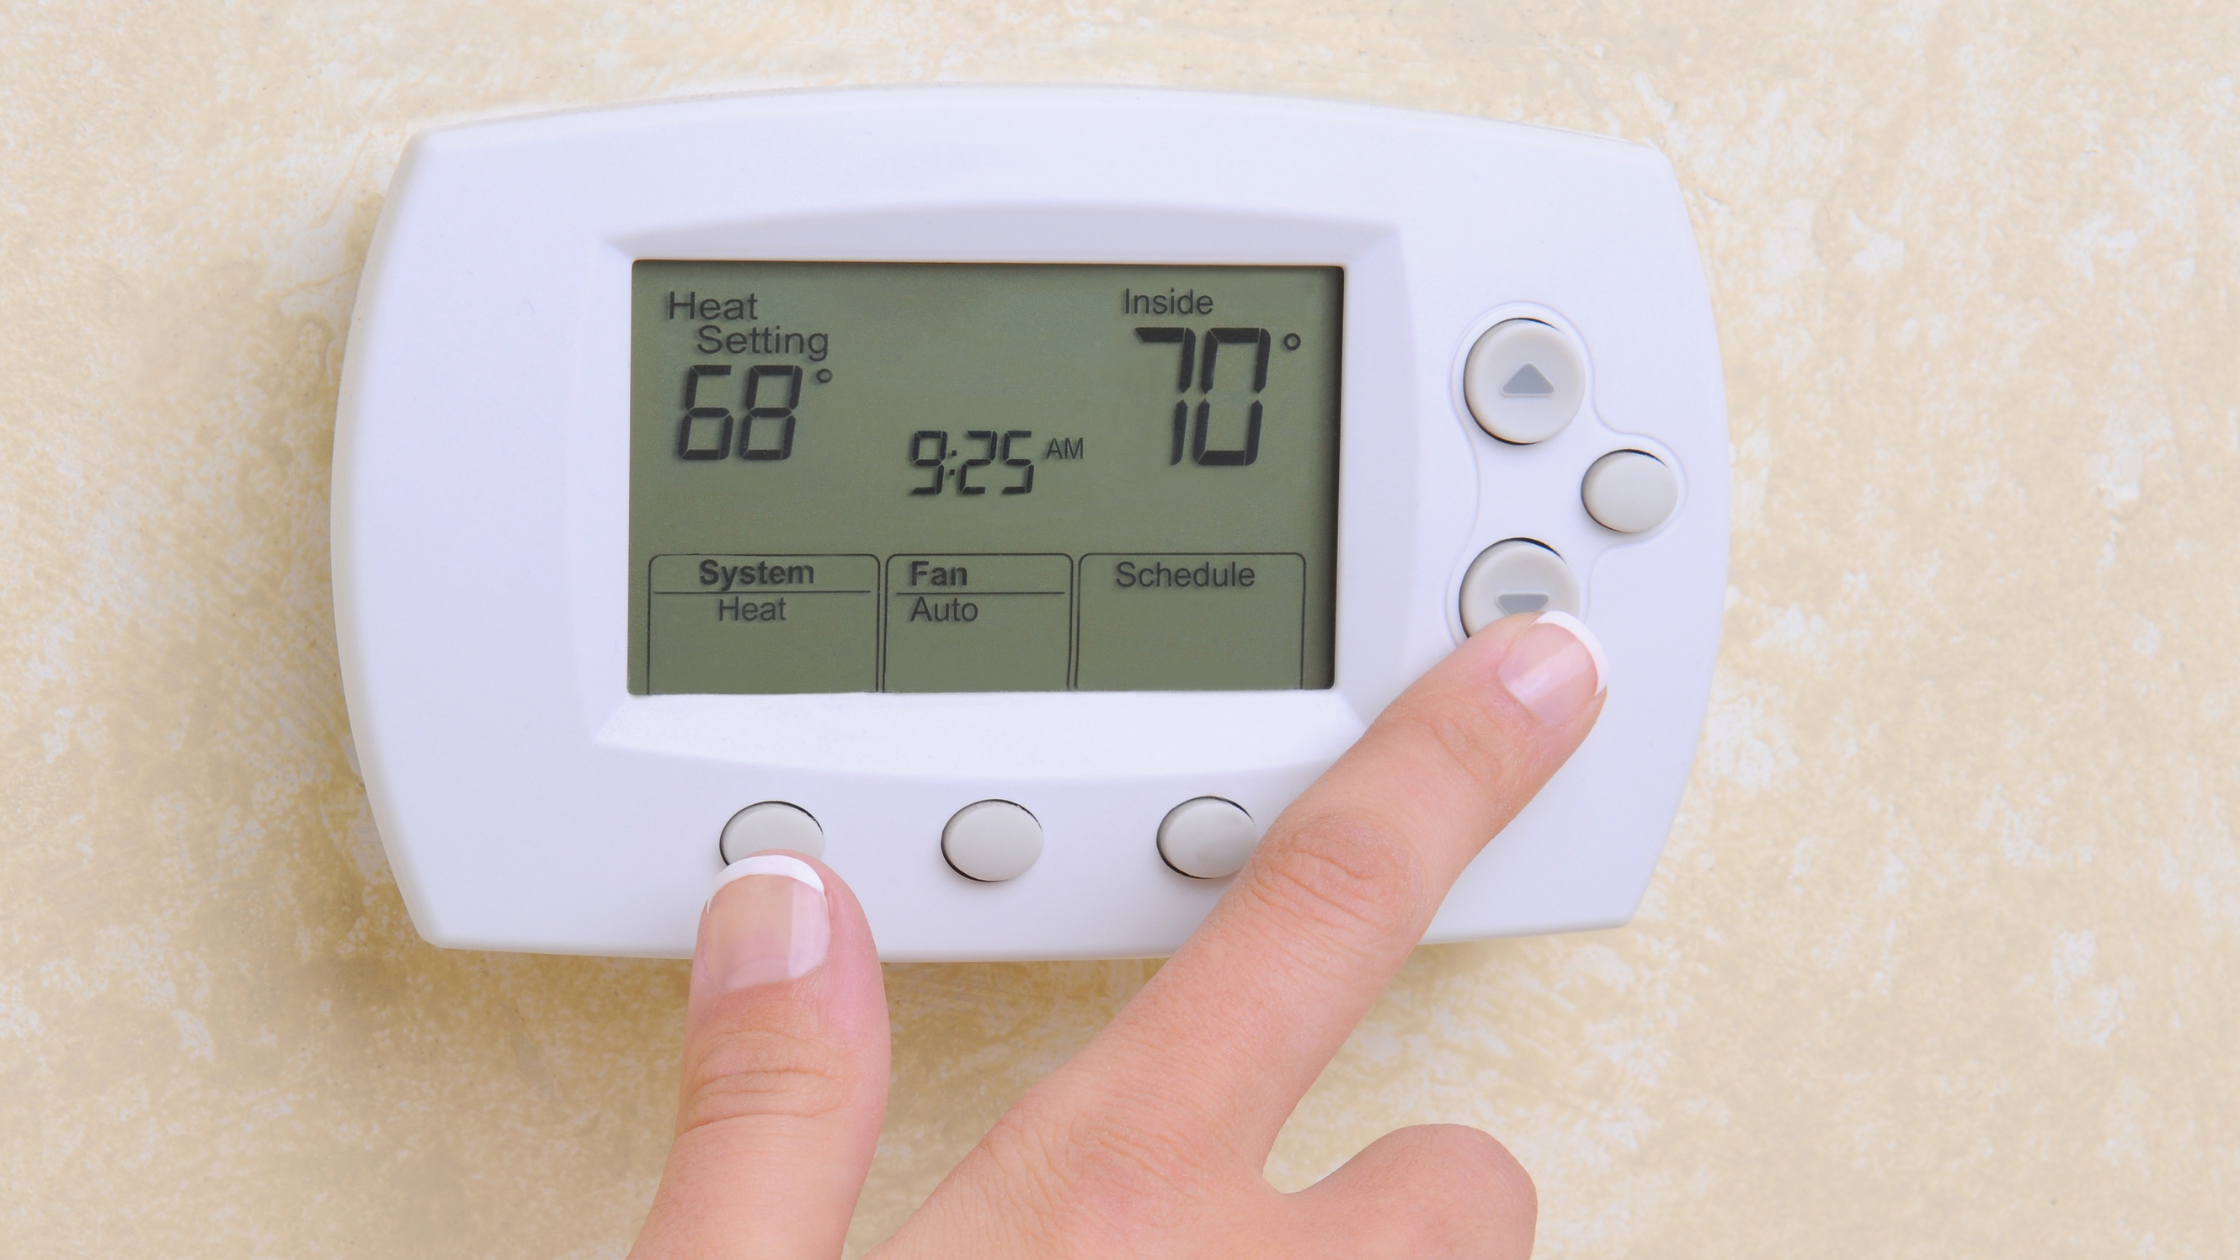
Test the thermostat calibration
An inaccurate thermostat is like a broken speedometer: you might be driving, but you have no idea how fast you're actually going. Before summer heat hits, verify that your thermostat is reading the room temperature correctly. This simple check ensures your HVAC Maintenance routine is based on real data, not guesses.
Start by placing a reliable, independent thermometer in the same room as your thermostat, but keep it a few feet away to avoid interference. Wait about fifteen minutes for the readings to stabilize. Compare the numbers. If your thermostat reads significantly higher or lower than the independent thermometer, it needs calibration.
Many modern thermostats have a built-in calibration setting accessible through the menu. Look for an option labeled "Temperature Offset" or "Calibration" and adjust the value to match the independent thermometer. If your model lacks this feature, you may need to manually adjust the sensor or consider replacing the unit if it is more than five years old.
Once calibrated, set the thermostat to a temperature slightly above the current room temperature and listen for the HVAC system to kick on. Do the same by setting it below the room temperature to ensure it cools properly. This final test confirms that the system responds correctly to the calibrated signal, completing this critical step in your pre-summer HVAC Maintenance checklist.
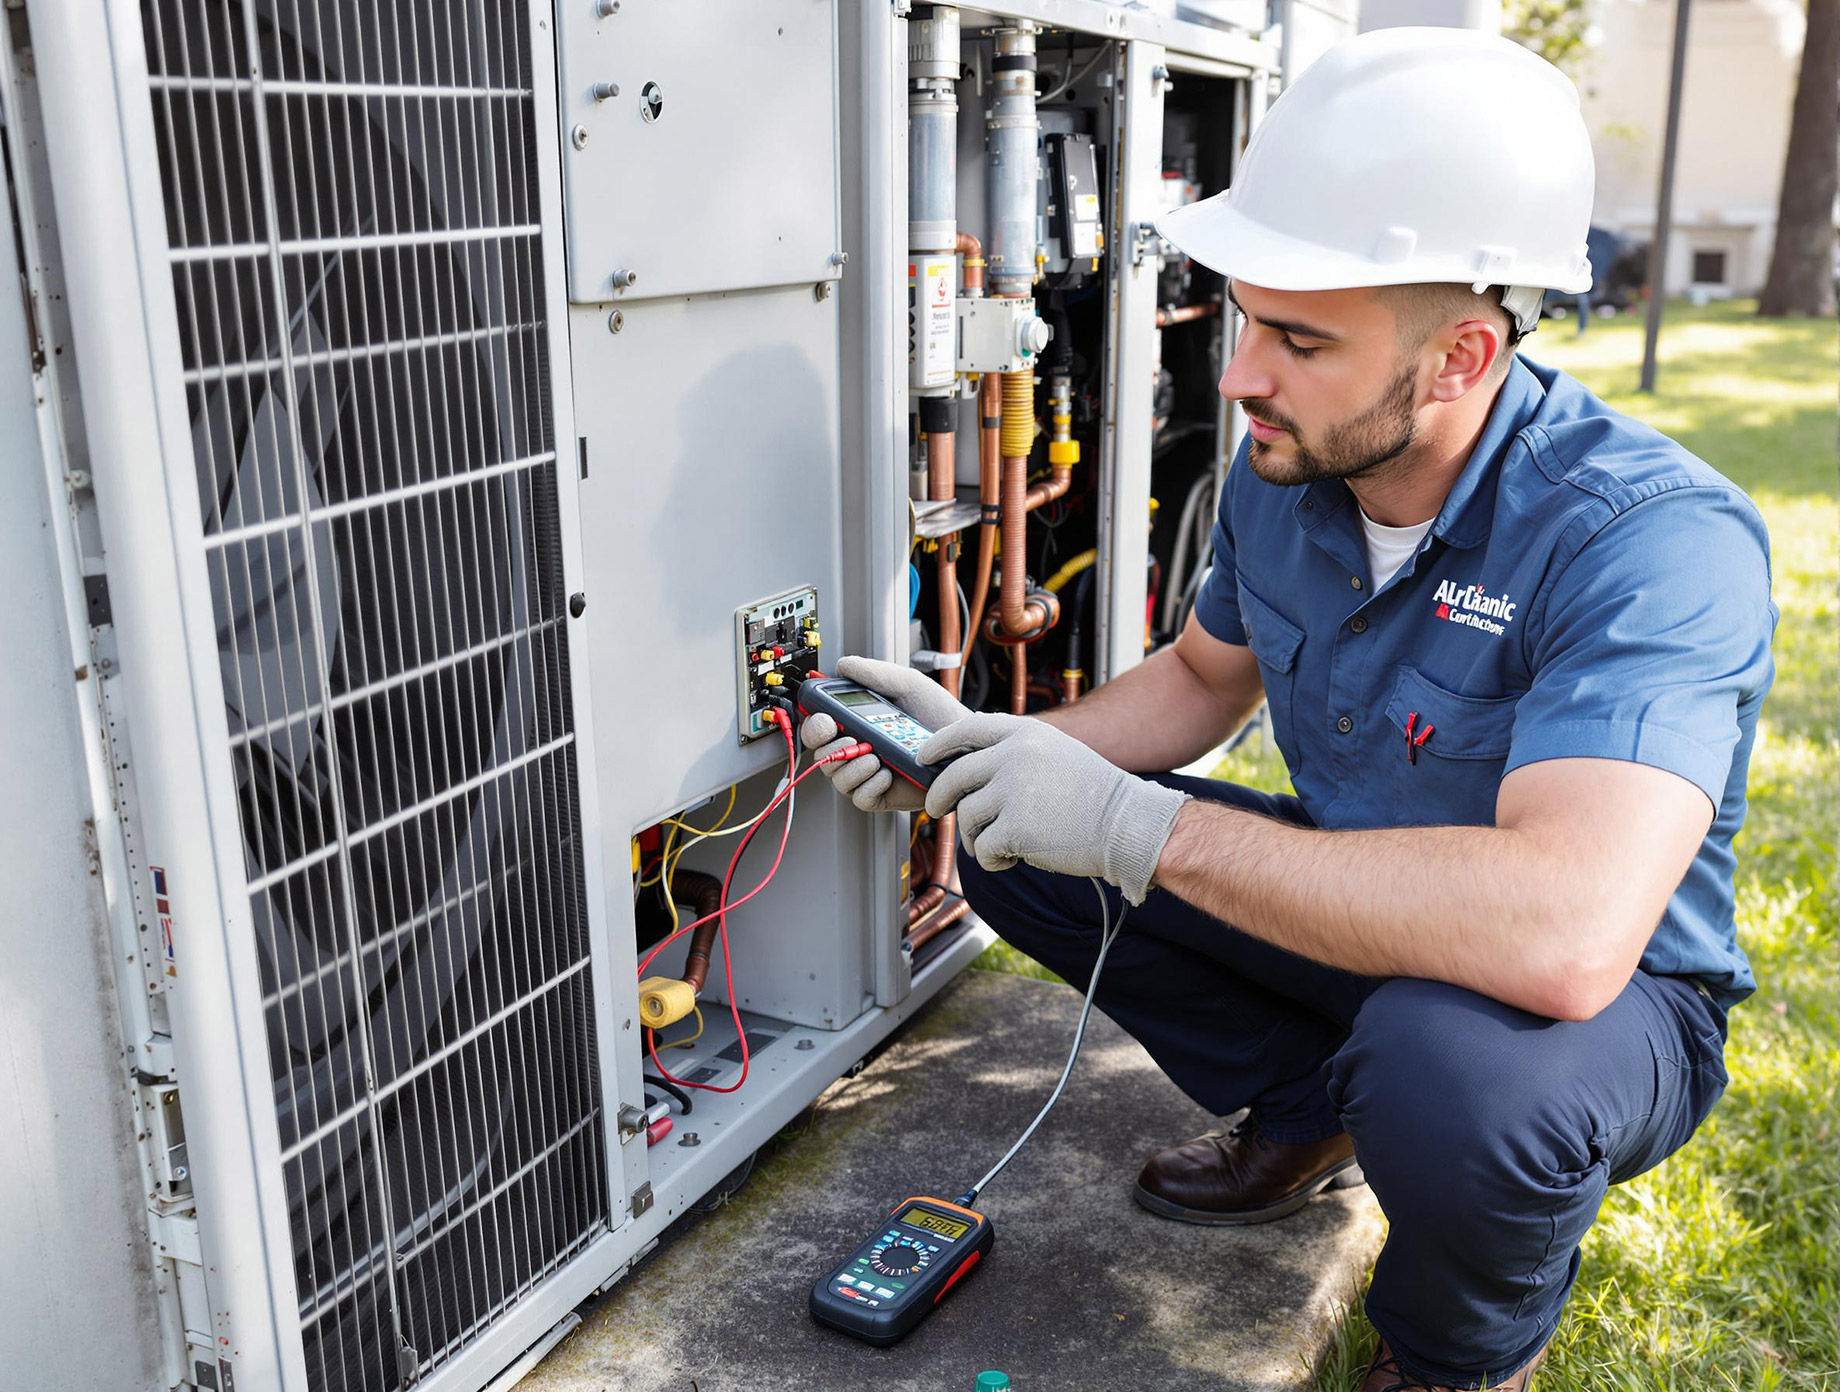
Know when to call a pro
You can handle the basics of HVAC maintenance yourself, but some issues require specialized tools and certification. Knowing the boundary between a quick fix and a professional job saves money and keeps your warranty intact.
Warning signs of system failure
If your system struggles to keep up, it’s time to step back. Look for these specific red flags:
- Unusual noises: Grinding, squealing, or banging sounds often indicate motor or belt failure.
- Weak airflow: If vents feel weak despite clean filters, the blower or ducts may have a serious blockage.
- Foul odors: Burning smells suggest electrical issues, while musty scents can mean mold in the ducts.
- Rising bills: A sudden spike in energy costs without increased usage signals inefficiency.
The $5,000 rule
When repairs become frequent, use the $5,000 rule to decide between fixing or replacing. Multiply the age of your unit by the cost of the needed repair. If that number exceeds $5,000, replacing the system is often more cost-effective than continuing to patch it.
When to hire an expert
Leave refrigerant handling, electrical work, and complex diagnostics to licensed technicians. They have the training to identify root causes rather than just treating symptoms. For comprehensive service, consider professional HVAC maintenance tune-ups that ensure your system runs safely and efficiently all season long.
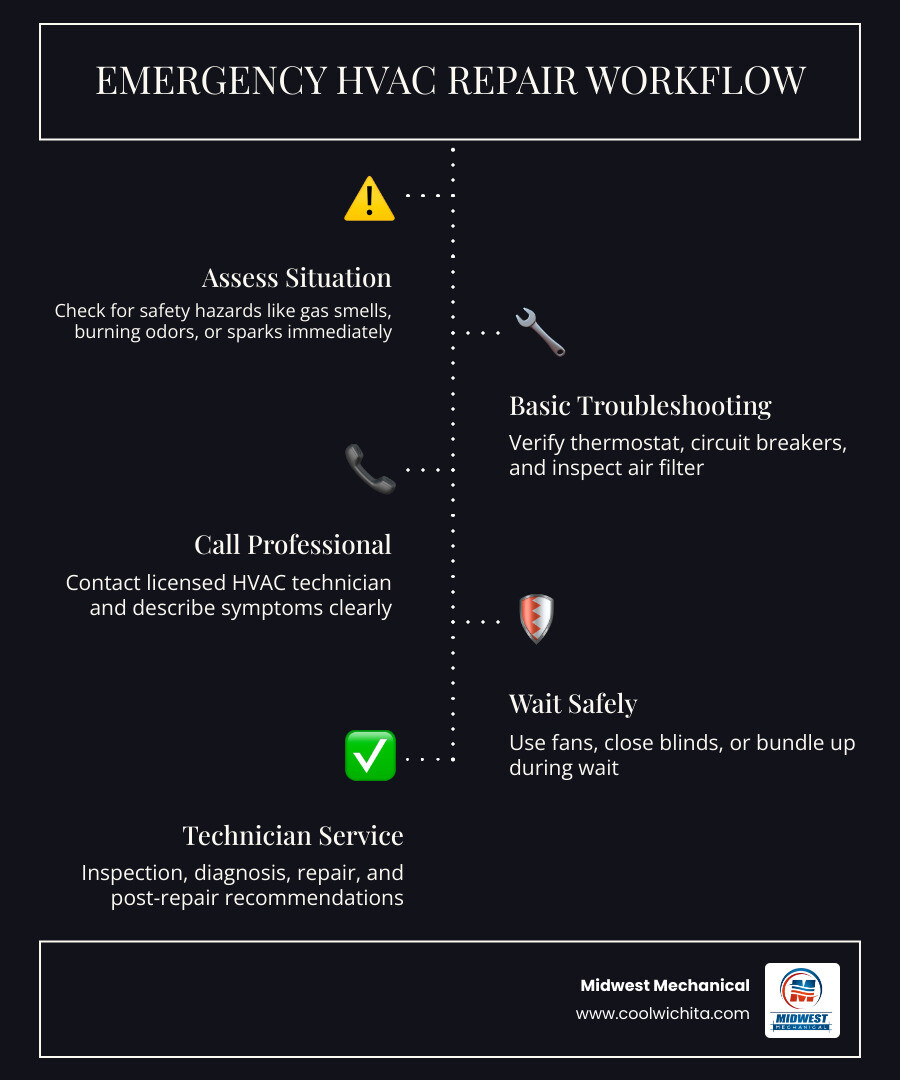
HVAC Maintenance Checklist
Use this reference to ensure your system is ready for summer heat. Performing these HVAC Maintenance steps keeps your unit running efficiently and prevents costly breakdowns.
-
Change Air Filters: Swap filters every 30 to 90 days to maintain airflow and protect the coils.
-
Clear Outdoor Unit: Remove leaves, grass, and debris from around the condenser to prevent overheating.
-
Clean Condenser Coils: Gently vacuum or brush coils to remove dust buildup that reduces cooling capacity.
-
Straighten Coil Fins: Use a fin comb to gently straighten any bent fins for proper air circulation.
-
Clear Condensate Drain: Pour a cup of distilled vinegar through the drain line to prevent algae clogs.
-
Check Thermostat: Verify calibration and switch to cooling mode to ensure the system responds correctly.
-
Inspect Ductwork: Look for visible gaps or disconnected sections in accessible ducts and seal with mastic tape.
Common hvac maintenance: what to check next
Before you start the seasonal routine, here are answers to the most frequent questions homeowners ask about HVAC maintenance. These points clarify what tasks matter, when tools are enough, and how to decide between repair and replacement.
No comments yet. Be the first to share your thoughts!