
Narrow down the problem
Before calling a technician, identify the specific symptom. HVAC issues often share similar root causes, but the fixes differ significantly. Misdiagnosing the problem can lead to unnecessary service calls or ignored safety hazards.
Start by categorizing the issue into one of these common scenarios:
- No cooling or heating: Check the thermostat batteries and circuit breaker first. If power is present, the issue may be a dirty filter or a failing compressor.
- Weak airflow: This usually points to blocked vents, a clogged filter, or a failing blower motor. Open all supply registers to rule out simple obstruction.
- Unusual noises: Squealing often indicates belt issues or motor bearing failure. Grinding or rattling may suggest loose components or debris in the blower assembly.
- Frequent cycling: Short cycling—where the system turns on and off rapidly—often stems from an oversized unit, a dirty filter restricting airflow, or a faulty thermostat sensor.
Once you isolate the symptom, you can determine whether a simple DIY fix applies or if professional diagnostics are required. This step saves time and prevents minor maintenance tasks from escalating into major repairs.
Run these checks: Give a practical diagnostic sequence.
Before the summer heat peaks, walk through this ordered diagnostic sequence. Skipping steps often leads to missed issues that spike cooling costs. Follow this checklist to catch problems early.
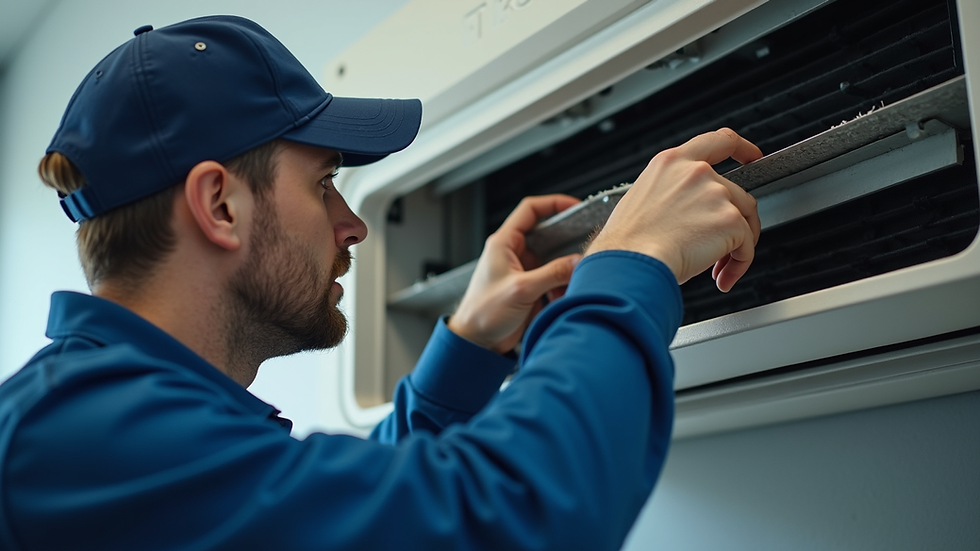
Dirty filters restrict airflow, forcing your system to work harder. Check monthly during peak season. Replace disposable filters every 1-3 months. If you have pets or high dust levels, check more frequently. A clogged filter can increase energy use by 5% to 15%.
Remove leaves, grass clippings, and dirt from the condenser unit. Trim vegetation back at least two feet to ensure proper airflow. Check the fins for bends; gently straighten them with a fin comb if needed. Blocked airflow reduces efficiency and can cause the compressor to overheat.
Verify your thermostat reads the correct temperature. Place a separate thermometer near the unit to compare. If there is a significant difference, recalibrate or replace the thermostat. Ensure it is set to "Auto" fan mode to allow the system to cycle off properly, saving energy.
A clogged drain line can cause water damage and shut down your system. Pour a cup of distilled vinegar through the access tube to clear algae buildup. Check for standing water or leaks around the indoor air handler. A dry drain line indicates a blockage that needs immediate attention.
Turn the system on and listen for unusual noises like grinding or squealing. Feel the air coming from vents; it should be noticeably cooler than room temperature within 10-15 minutes. Check for consistent cooling in all rooms. If one area is warm, inspect the ducts for leaks or blockages.
What usually fixes it
Most cooling failures stem from simple, addressable issues rather than catastrophic component failure. Before calling a professional, run through these common fixes. They resolve the majority of efficiency drops and minor breakdowns.
Dirty filters and blocked airflow
A clogged air filter is the most frequent cause of poor cooling. It restricts airflow, forcing the compressor to work harder and potentially freezing the evaporator coils. Replace disposable filters every one to three months during peak season. If you have a reusable filter, wash it monthly. Ensure vents are not blocked by furniture or rugs, which can disrupt the balance of your home's pressure.
Clogged condensate drain lines
When humidity is high, your AC removes moisture from the air. This water drains through a PVC line that can easily clog with algae or mold. A blocked line triggers a safety switch that shuts off the system entirely. To fix this, locate the drain access point (usually a T-shaped pipe near the indoor unit) and pour a cup of distilled white vinegar through it. This kills the algae buildup. For stubborn clogs, use a wet/dry vacuum to suck out the blockage from the drain outlet outside.
Frozen evaporator coils
If you see ice on the copper lines or the indoor unit, the system has stopped cooling and is just circulating cold air. Turn the thermostat off immediately. Never chip the ice off. Let the system thaw completely (this may take 24 hours) with the fan on to speed up the process. Once thawed, check the filter and airflow issues mentioned above. If ice returns quickly, you likely have a refrigerant leak or a failing blower motor, which requires a professional.
Thermostat calibration errors
Sometimes the issue is just a disconnect between the thermostat reading and the actual room temperature. Batteries in digital thermostats can drain, causing erratic behavior. Replace them annually. For smart thermostats, check for firmware updates. If the system short-cycles (turns on and off every few minutes), recalibrate the temperature settings or check for drafts affecting the sensor location.
Hvac maintenance: what to check next
If you are planning your cooling season, these answers address the most common concerns about HVAC maintenance and preventive steps. Clearing up these basics helps you decide what to do yourself and when to call a professional.
Quick checklist
-
Check filter size and MERV ratingEnsure the new filter matches the exact dimensions of your slot and uses a MERV 8-11 rating for optimal balance of filtration and airflow.
-
Verify condenser clearanceConfirm at least 2 feet of clear space around the outdoor unit to prevent overheating and ensure efficient heat exchange.
-
Test drain line flowPour water through the condensate drain to verify it exits freely outside, preventing indoor water damage from clogs.
-
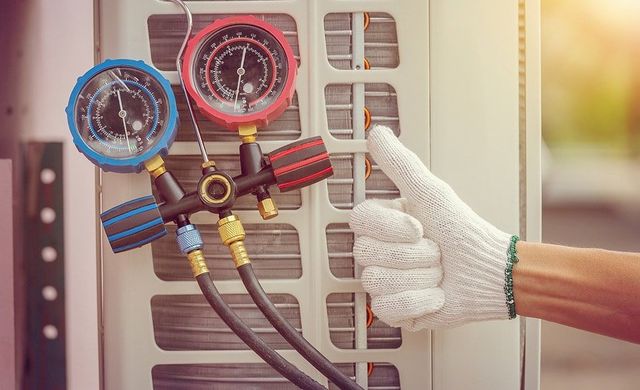
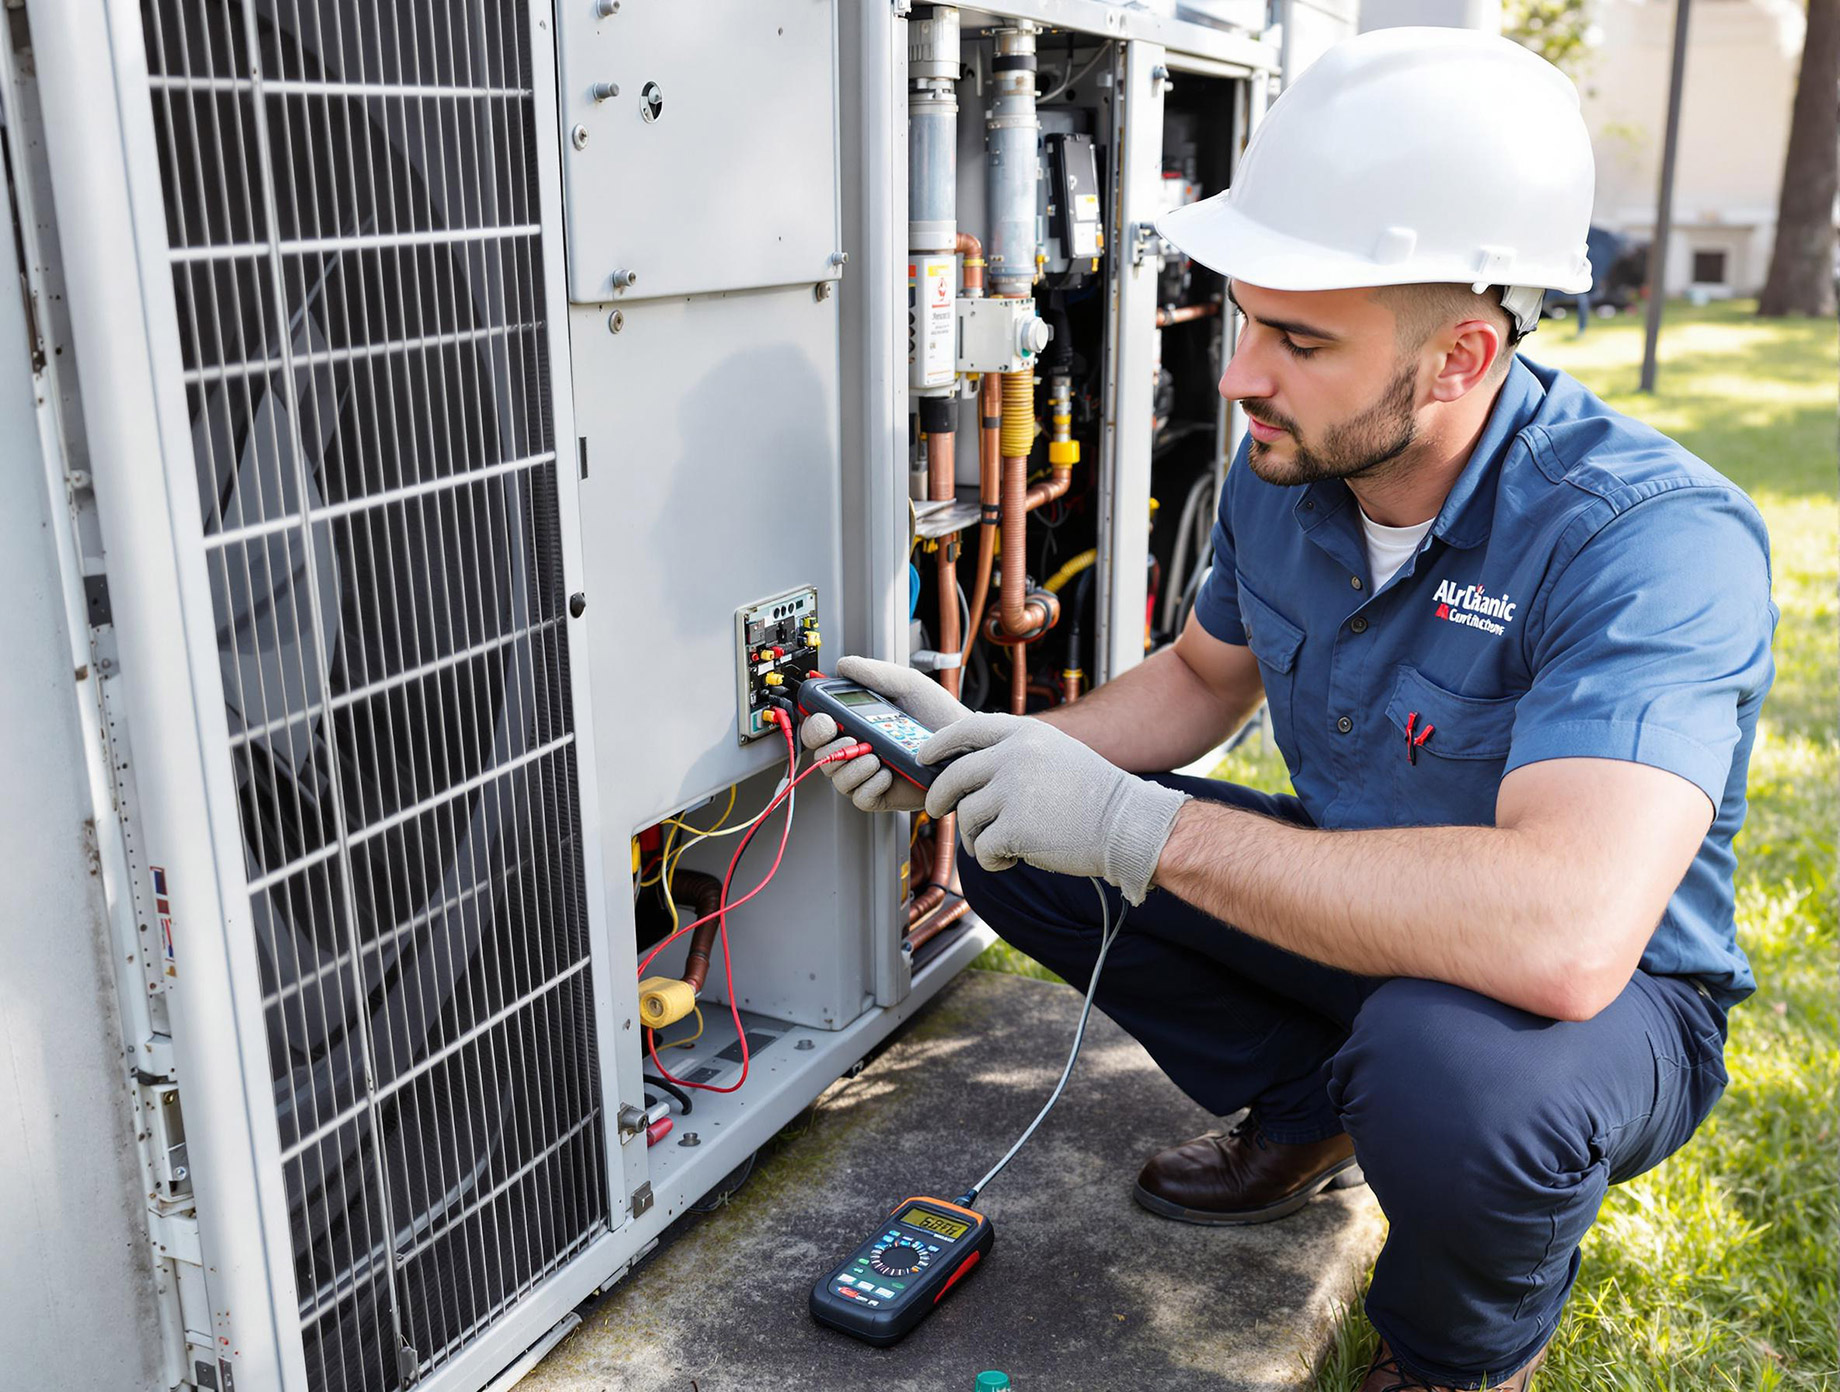
Schedule professional tune-upBook a certified technician for annual inspections to check refrigerant levels and electrical connections, which are unsafe for DIY.
No comments yet. Be the first to share your thoughts!