

Spot AC trouble before the heat hits
Your HVAC system is the first line of defense against a summer heatwave. Catching minor issues early prevents catastrophic failure when temperatures peak and demand is highest. Start by listening for unusual sounds. Grinding, screeching, or rattling noises often indicate loose belts, failing bearings, or debris in the blower motor. If you hear these signs, stop using the unit and call a professional immediately to prevent compressor damage.
Check for airflow and temperature consistency across your home. Weak airflow from vents usually points to a clogged air filter or blocked ductwork. According to Brewers AC, regularly changing air filters is one of the most effective ways to keep your system running smoothly. A dirty filter forces the system to work harder, increasing energy bills and wear on components. Replace filters every one to three months during heavy use seasons.
Inspect the outdoor condenser unit for debris. Leaves, grass clippings, and dirt can block airflow and cause the unit to overheat. Keep the area around the condenser clear of vegetation and ensure at least two feet of space on all sides. Also, check for ice buildup on the refrigerant lines. Ice suggests a refrigerant leak or airflow restriction, both of which require professional attention. Addressing these small issues now ensures your AC is ready to handle the summer heat.
Clean filters and check airflow
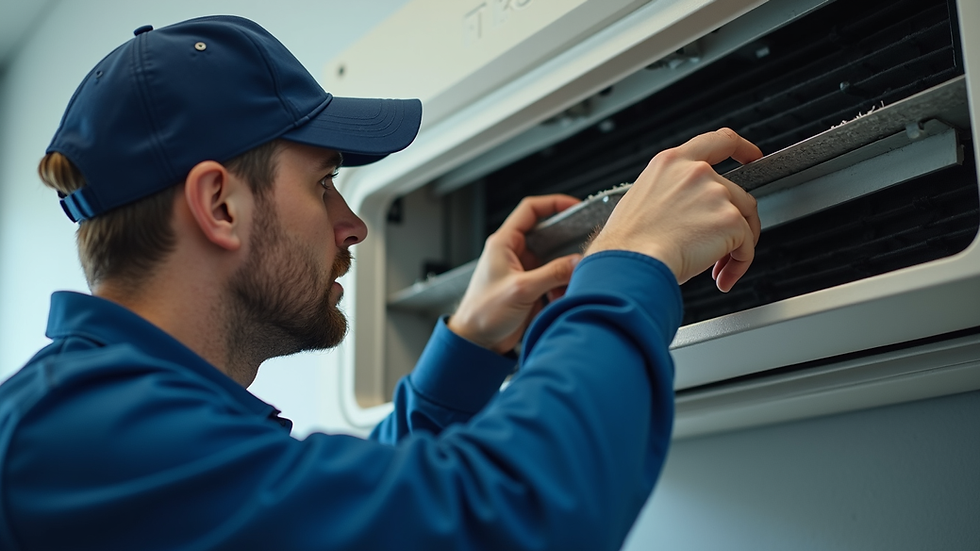
A clogged filter is the single most common reason an HVAC system struggles during a summer heatwave. When airflow is restricted, the unit works harder to push air through, driving up energy bills and causing the evaporator coil to freeze or the compressor to overheat. This maintenance task is the most effective way to restore efficiency before the temperature spikes.
Inspect and replace the air filter
Start by locating the return air grille or the filter slot near the furnace or air handler. Pull the filter out and hold it up to a light source. If you cannot see light passing through the media, or if the pleats are matted with gray dust and lint, it is time for a replacement. Even if the filter looks somewhat clean, replace it if it has been in place for more than 90 days.
When installing the new filter, pay close attention to the arrows printed on the frame. These arrows must point toward the blower motor and into the ductwork, not toward the return grille. Installing the filter backward creates unnecessary resistance and can damage the blower motor over time. For homes with pets or high dust levels, consider a monthly replacement schedule.
Clear vents and registers
Once the filter is fresh, walk through the house and ensure every supply vent and return grille is unobstructed. Furniture, rugs, or stored items blocking these openings force the system to work against static pressure, reducing cooling capacity by up to 25%. Lift any rugs or move heavy furniture away from vents to ensure a clear path for air.
Check the outdoor unit
Move to the outdoor condenser unit and clear away any grass clippings, leaves, or debris piled against the sides. The unit needs at least two feet of clearance on all sides to pull in air effectively. Trim back any overgrown shrubs that might block airflow or shed leaves directly into the coil fins. This simple clearing step helps the system reject heat more efficiently, which is critical during peak summer temperatures.
Clear debris from the outdoor unit
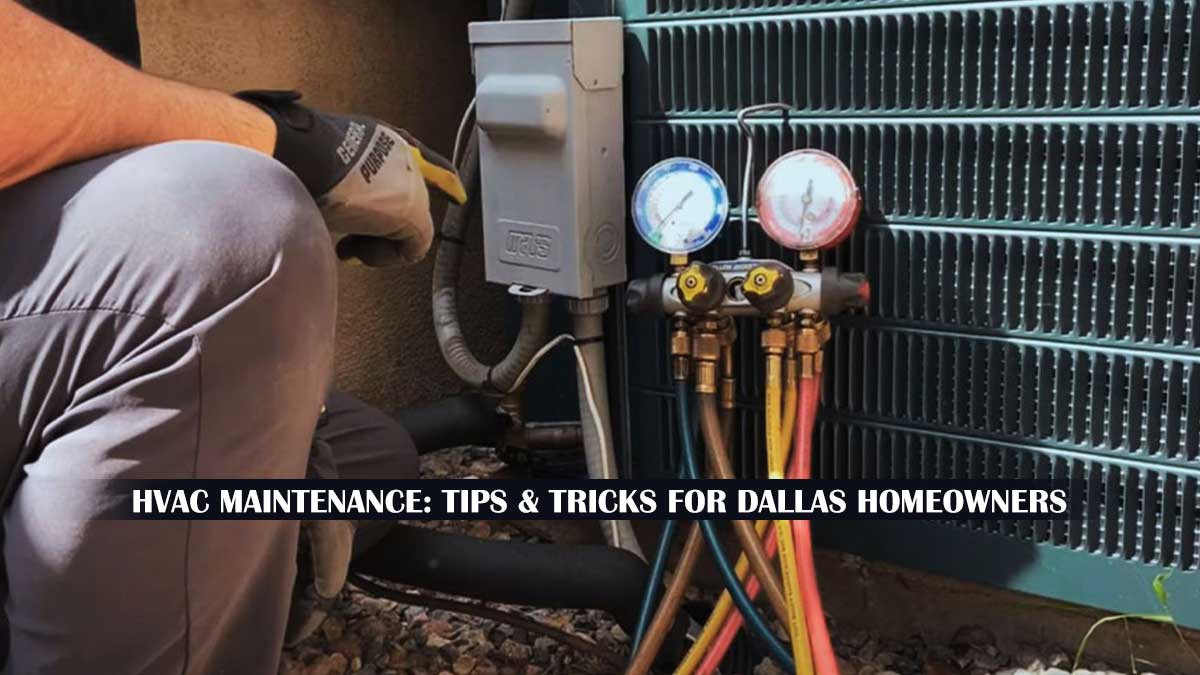
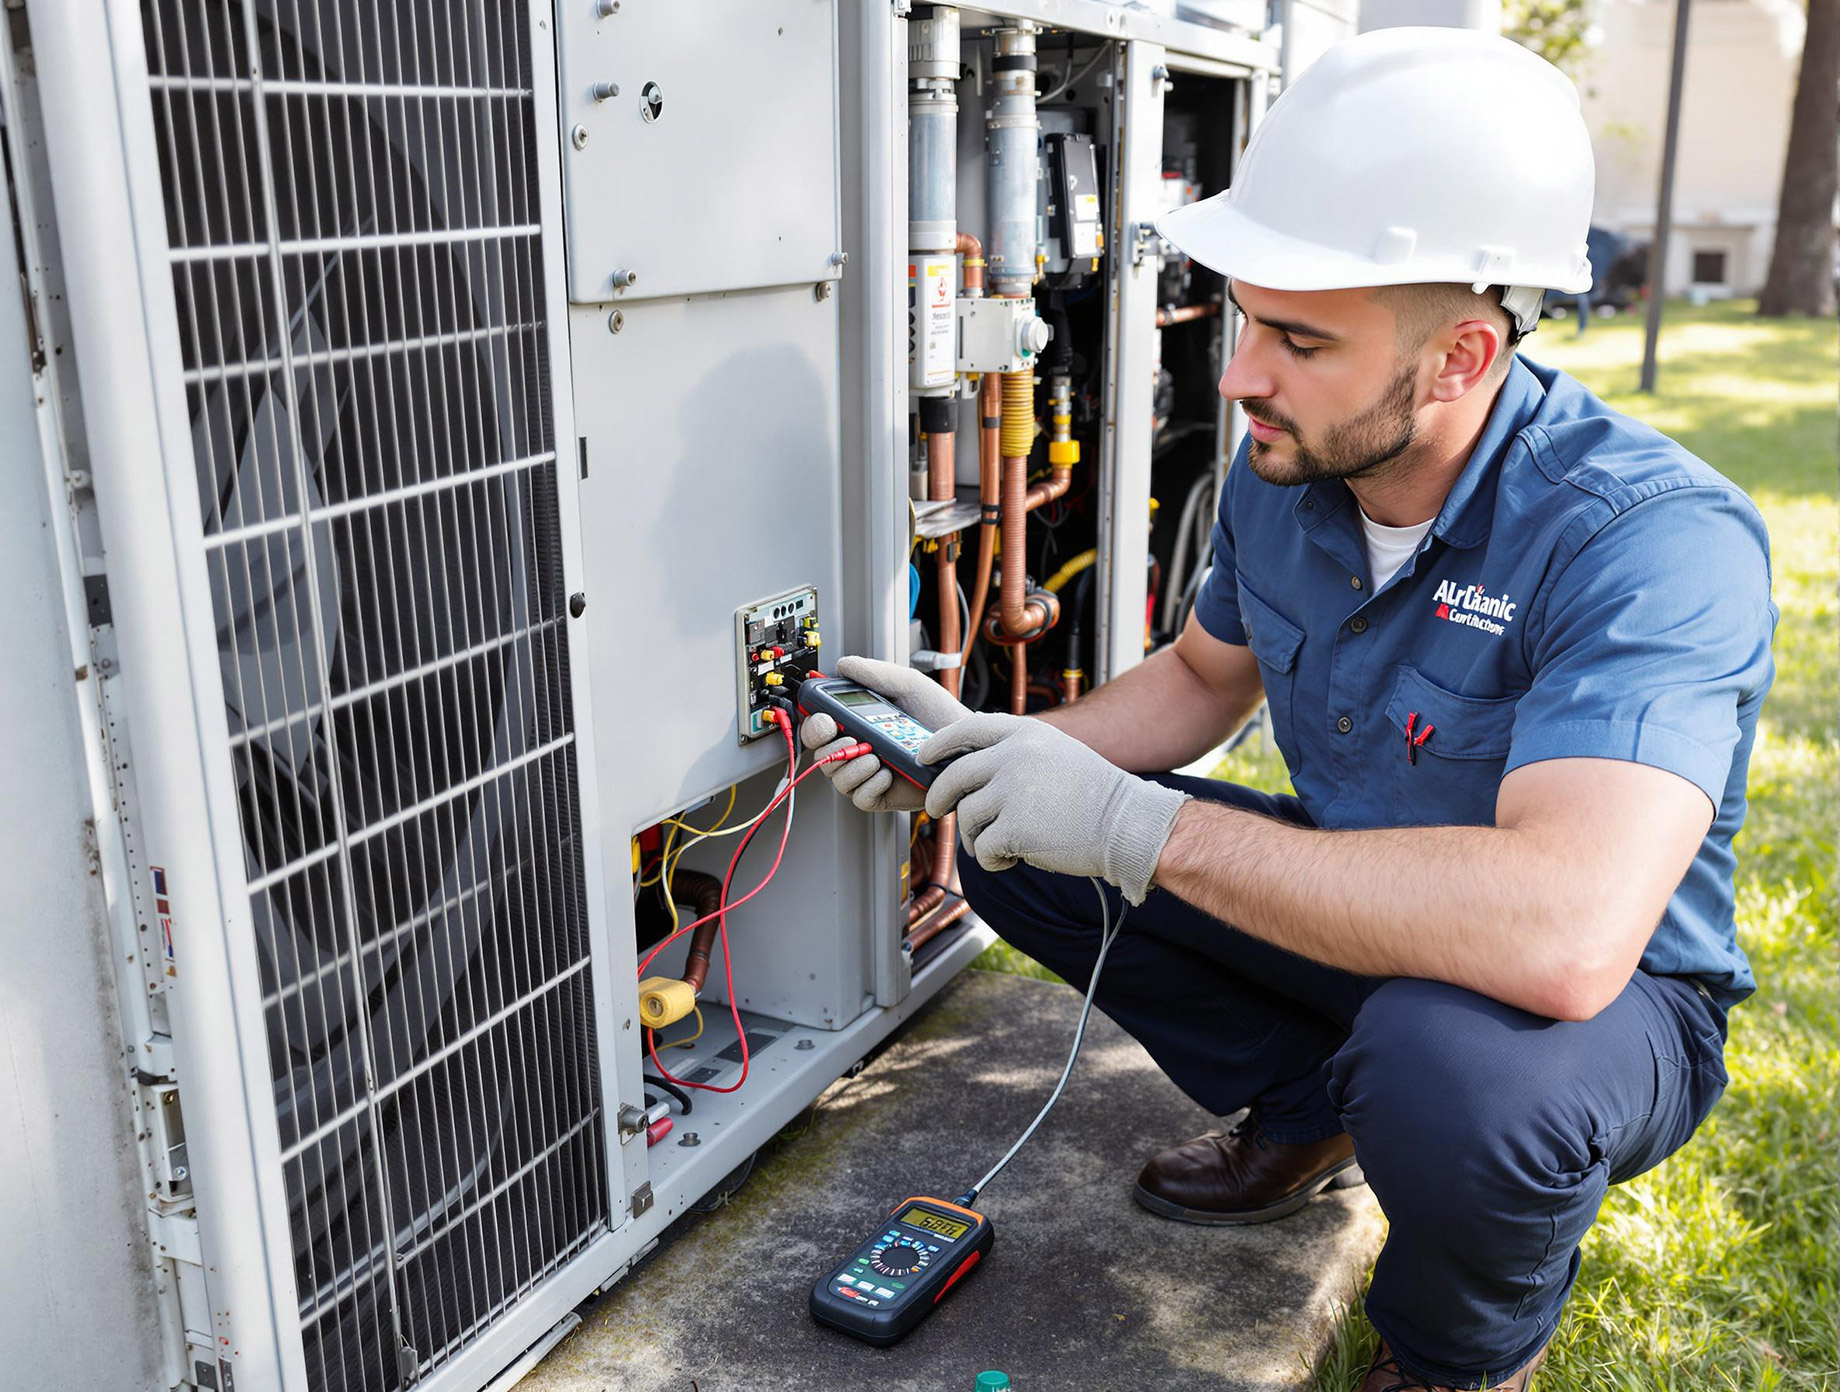
When your HVAC system struggles to pull heat out of the air, the first suspect is often the outdoor condenser unit. A thin layer of leaves, grass clippings, or dust can act like a winter coat on a summer day, trapping heat and forcing the compressor to work harder. This leads to higher energy bills and premature wear on the system. Keeping the area around the unit clear is one of the most effective ways to maintain efficient heat exchange.
Start by turning off power to the unit at the disconnect box or breaker to ensure safety. Once the power is off, remove any large debris by hand. If the unit is sitting in grass, trim the vegetation back at least two feet on all sides. This clearance allows air to flow freely through the fins, which is critical for proper operation. Avoid letting shrubs or trees encroach on this space, as they will only grow back and create the same problem.
Use a soft-bristled brush or your hand to gently sweep away leaves, twigs, and dirt from the exterior fins. Be careful not to bend the delicate aluminum fins, as this restricts airflow. If the debris is packed deep inside, you can carefully remove the top grille or fan assembly to access the core coils, but only if you are comfortable doing so.
Spray water from the inside of the unit outward to push debris out rather than driving it deeper. Use a standard garden hose with a gentle spray nozzle; never use a pressure washer, as the high pressure can crush the fins and damage the coil structure. Work from the top down, allowing the water to carry the dirt away from the unit.
Inspect the fins for any bends that might block airflow. If you find any, use a fin comb to gently straighten them back into alignment. Finally, clear out any grass clippings or mud from the concrete pad or base of the unit. A clean base prevents moisture buildup and reduces the risk of pests nesting inside the unit during the off-season.
Once the unit is clean, restore power and listen for any unusual noises. The fan should spin smoothly, and you should hear a steady hum rather than a rattling or grinding sound. If the unit still seems to be struggling after cleaning, the issue may be internal, such as a failing capacitor or a refrigerant leak, which requires professional attention.
Test thermostat and refrigerant levels
Start with the thermostat. If your home feels warmer than the display shows, the sensor is likely inaccurate or poorly placed. Unplug the unit, remove the faceplate, and gently pull the thermostat off the wall. Check for loose wires or corrosion on the contacts. Reattach it firmly, ensuring it sits flush against the wall. If it leans, air can pool behind it, causing false readings. Plug it back in and set the temperature five degrees below the current room temperature. The system should kick on within a minute. If it doesn’t, the wiring or the unit itself may need professional attention.
Next, inspect the refrigerant lines. Locate the copper pipes connecting the outdoor condenser to the indoor evaporator coil. These lines carry the coolant that absorbs heat from your home. Look closely at the larger, insulated suction line. If you see frost or ice buildup on the copper or the insulation, you likely have a refrigerant leak or restricted airflow. Ice acts as a barrier, preventing proper heat exchange and straining the compressor.
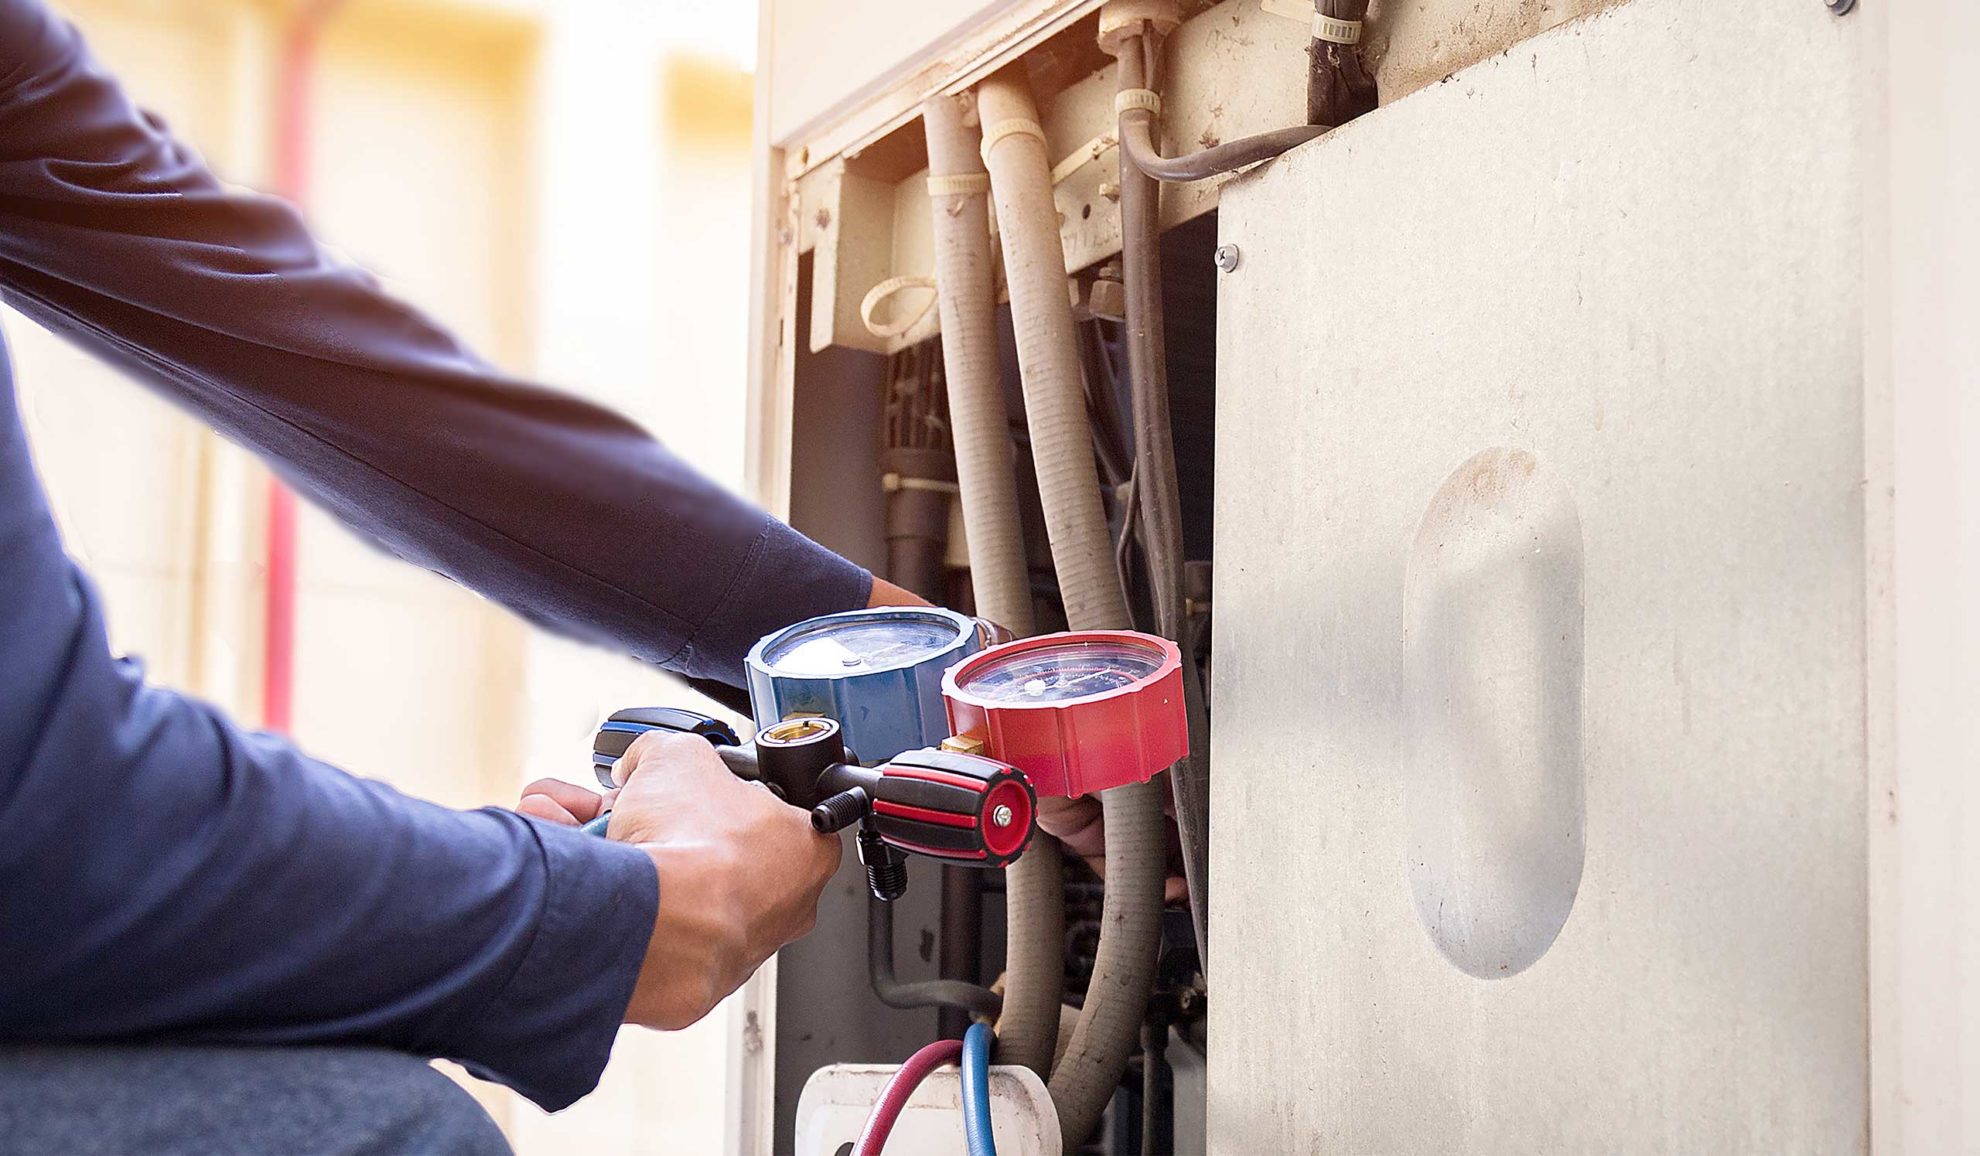
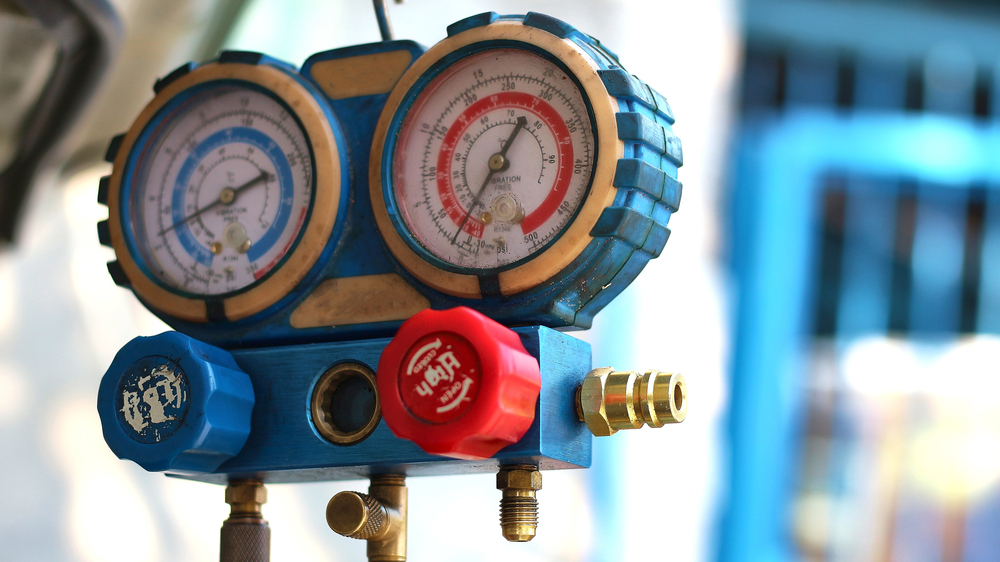
Do not try to fix a refrigerant leak yourself. Refrigerants are pressurized chemicals that require specialized tools and EPA certification to handle safely. Releasing them into the atmosphere is illegal and harmful to the environment. Instead, call a licensed HVAC technician. They will locate the leak, repair it, and recharge the system to the manufacturer’s specified levels. Trying to add refrigerant without fixing the leak is like filling a bucket with a hole in the bottom—it wastes money and damages the unit further.
While waiting for service, turn off the AC system to prevent the compressor from burning out due to low refrigerant. You can run the fan mode to keep air moving without engaging the cooling cycle. Once the ice melts completely, check your air filter. A clogged filter restricts airflow, which can cause the evaporator coil to freeze even if the refrigerant levels are correct. Replace the filter if it looks gray or dusty, then restart the system to see if the problem resolves.
When to Call a Pro
You can handle basic filter swaps and coil rinsing, but some HVAC maintenance tasks require specialized tools and safety training. Attempting to repair refrigerant lines, electrical components, or complex compressor issues without certification can void warranties and create serious hazards.
Annual professional tune-ups are the most effective way to extend your system’s lifespan. Technicians perform deep diagnostics that catch wear-and-tear before it becomes a breakdown. This proactive approach keeps energy bills low and ensures the unit runs efficiently during peak summer heat.
Look for signs that DIY care is no longer enough: inconsistent cooling, unusual noises, or frequent cycling. If your system struggles to maintain temperature despite clean filters, it is time to schedule a certified technician. Regular professional service pays for itself by preventing costly emergency repairs.
Summer Heatwave Prep: Residential HVAC Maintenance Checklist
Use this summary to ensure your system survives the peak heat. These are the core tasks to keep your home cool and your bills low.
-
Replace air filters every 1-3 months
-
Clear debris around the outdoor condenser
-
Test thermostat calibration and cooling mode
-
Schedule annual professional tune-up
A professional inspection catches issues like low refrigerant or failing capacitors before they cause a summer breakdown.
Common hvac maintenance: what to check next
Before the summer heatwave hits, homeowners often worry about the practical side of keeping their AC running. Here are the most common questions regarding maintenance frequency, costs, and DIY limits.
How often should I change my AC filter?
Check your air filter every month during peak summer months. A clogged filter restricts airflow, forcing your system to work harder and increasing energy bills. Replace it immediately if it looks gray or dusty. Standard 1-inch filters usually last 30 to 90 days, depending on pet hair and household dust levels. For a longer-lasting option, consider a 4-inch media filter that can go 6 to 12 months between changes.
How much does professional AC maintenance cost?
A standard one-time AC maintenance visit typically costs between $70 and $100 [src-serp-7]. This fee usually covers a visual inspection, coil cleaning, and refrigerant pressure check. Many utility companies offer rebates for annual tune-ups, which can offset the cost. Skipping maintenance might save money short-term but often leads to expensive compressor failures during the hottest days of July.
When should I call a professional instead of doing it myself?
Stick to DIY tasks like changing filters, cleaning outdoor condenser coils, and clearing drain lines. Call a licensed HVAC technician if you notice refrigerant leaks, hear grinding noises, or see ice forming on the coils. Refrigerant handling requires EPA certification and specialized tools. Attempting to fix electrical components or sealed system issues yourself can void your warranty and create serious safety hazards.
No comments yet. Be the first to share your thoughts!