
Spot symptoms before calling pros
Your HVAC system often signals trouble before it breaks down completely. Catching these early warning signs can prevent costly repairs and keep your energy bills from spiking. Think of your system like a car dashboard; the check engine light appears long before the engine fails.
Start with the air filter. A clogged filter restricts airflow, forcing the unit to work harder. If you notice a sudden rise in your monthly energy costs or weak airflow from your vents, replace the filter immediately. This simple step is the most common fix for efficiency drops.
Next, listen to the unit. Unusual noises like grinding, squealing, or banging often indicate mechanical issues. Squealing usually points to a belt or motor problem, while banging suggests loose components. Ignore these sounds at your peril, as minor mechanical friction can quickly lead to major component failure.
Check for temperature inconsistencies. If some rooms are significantly hotter or colder than others, it could be a duct issue or a refrigerant leak. A professional leak check is necessary here, but you can start by ensuring all vents are open and unblocked by furniture or rugs.
Finally, watch for moisture or odors. Musty smells often indicate mold growth in the ducts or coil, while a burning smell suggests an electrical issue. If you smell burning or see sparks, shut off the system immediately and call a professional.

Change air filters every 90 days
Your home’s air filter is the first line of defense for your HVAC system, but it’s also the most neglected. When the filter gets clogged with dust, pet hair, and pollen, it acts like a blanket over the system’s lungs. The fan has to work harder to pull air through, which spikes your energy bills and puts unnecessary strain on the motor.
You might notice your home feels less comfortable or your utility bills creep up without a clear cause. These are often the first signs that your filter needs replacing. Regular changes are the single most effective DIY maintenance task you can perform. It’s simple, cheap, and makes an immediate difference in airflow and air quality.
Most filters are found in the return air grille on a wall or ceiling, or inside the blower compartment of your furnace or air handler. Look for a rectangular slot with a removable panel. If you’re unsure, check your system’s manual or follow the ductwork from the main unit to find the access point.
Slide the old filter out carefully. Hold it up to a light source. If you can’t see light through the media, it’s time to replace it. Even if it looks only slightly dusty, a 90-day cycle is usually enough to degrade performance. Note the arrow on the frame indicating airflow direction.
Insert the new filter with the arrow pointing toward the blower motor (usually into the ductwork). Push it in firmly so it sits flat against the frame. A loose filter lets air bypass the media, rendering it useless. Close the access panel securely to prevent air leaks.
Doing this every three months keeps your system running efficiently. It’s a small effort that pays for itself in lower energy costs and extended equipment life. For more detailed guidance on maintaining your HVAC system, you can refer to resources like Comfort Engineered Systems for professional insights.
Clear debris around the outdoor unit
Your AC’s outdoor condenser unit works like a lung, breathing in air to cool the refrigerant inside. When leaves, grass clippings, or pollen pile up around the base and fins, the unit has to work much harder to pull in enough air. This restriction reduces cooling efficiency and puts extra strain on the compressor, leading to higher energy bills and a shorter system lifespan.
Start by turning off power to the unit at the disconnect box or breaker. Remove any large debris by hand, then use a garden hose to gently spray the fins from the inside out. Avoid using a pressure washer, which can bend the delicate aluminum fins and trap dirt deeper inside. If the fins are bent, straighten them with a fin comb to restore proper airflow.
Locate the outdoor unit and switch off the power at the disconnect box or circuit breaker. This prevents the fan from starting while you work and keeps you safe.
Clear away leaves, twigs, and grass clippings from around the unit and the top grill. Keep a two-foot clearance zone around the condenser for optimal airflow.
Use a garden hose on a gentle setting to rinse the fins from the inside out. This pushes dirt out the way it came in, rather than forcing it deeper into the coil.
Inspect the fins for bends. Use a fin comb to gently straighten any damaged areas, ensuring air can flow freely through the entire coil surface.
Regular cleaning of the condenser unit is one of the most effective ways to maintain HVAC efficiency. By keeping the airflow unobstructed, you reduce the energy required to cool your home and help prevent costly compressor failures down the line.
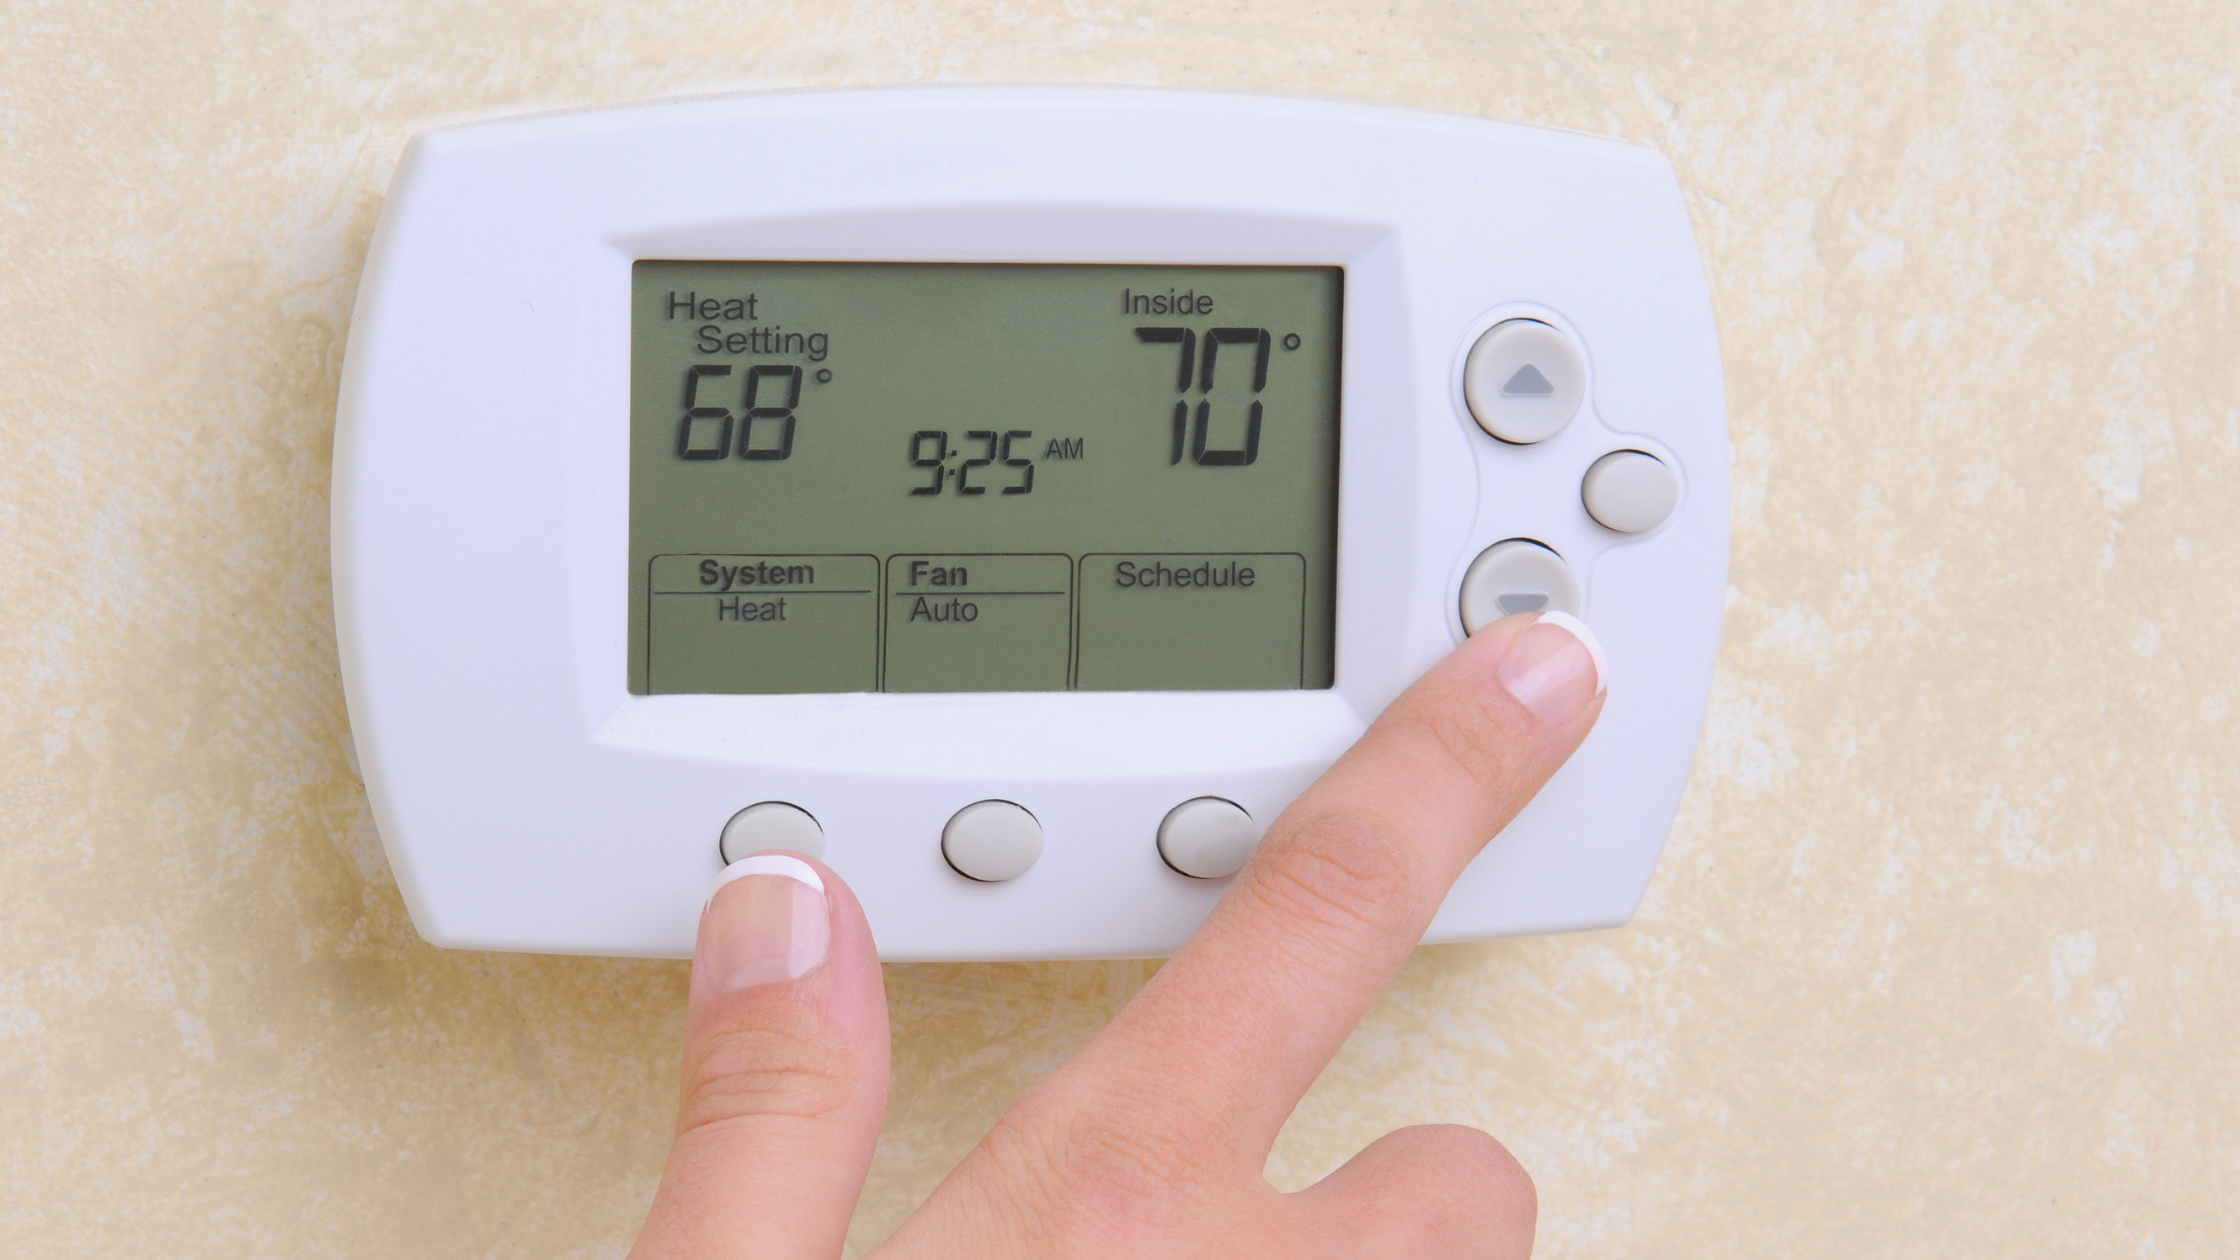
Check thermostat calibration and settings
If your home feels warmer or cooler than the thermostat display, or if the system cycles on and off more frequently than usual, the thermostat may be out of calibration. A misread temperature forces your HVAC system to work harder, driving up energy bills without improving comfort. This is often the easiest and cheapest fix in your maintenance routine.
Verify accuracy
Test the thermostat’s reading by placing a separate, reliable thermometer near the unit but away from direct sunlight or drafts. Compare the readings after 15 minutes. If the difference exceeds ±2°F, the thermostat is likely inaccurate. For smart thermostats, check for firmware updates that may correct sensor drift. For older analog models, you may need to replace the unit entirely, as internal bimetal strips degrade over time.
Optimize eco-friendly settings
Even a calibrated thermostat wastes energy if programmed poorly. Ensure your programmable or smart thermostat is set to "Eco" or "Energy Save" modes when the house is empty or occupants are asleep. A reduction of just 7–10°F for eight hours a day can save up to 10% annually on heating and cooling, according to the U.S. Department of Energy. Avoid setting extreme temperatures to "cool down" or "warm up" faster; the system runs at the same rate regardless of the setpoint.
Common pitfalls
Do not cover the thermostat with furniture or curtains, as this blocks airflow and skews temperature readings. Similarly, avoid placing heat-generating electronics nearby. If you notice the system running continuously despite reaching the set temperature, the calibration issue may be compounded by a failing relay or sensor, warranting professional inspection.
Inspect ductwork for visible leaks
Air leaks in your ductwork are like holes in a bucket; the more you find, the more conditioned air you lose before it ever reaches a room. These leaks often manifest as disconnected sections, loose joints, or visible gaps where ducts meet the plenum or each other. Addressing these issues is a primary step in reducing energy waste and improving indoor comfort.
Start by visually scanning accessible ducts in your attic, basement, or crawlspace. Look for obvious separation at joints or tears in flexible ducting. A common symptom of these leaks is uneven heating or cooling between rooms, or higher-than-normal energy bills. If you can see daylight through a gap or feel air escaping, you have found a leak that needs sealing.
To fix minor gaps, use mastic sealant or metal-backed tape. Avoid standard cloth duct tape, which dries out and fails quickly. For larger disconnections, rejoin the sections and secure them with mastic and metal straps. Properly sealed ducts ensure that the air your HVAC system works hard to condition actually reaches your living spaces.
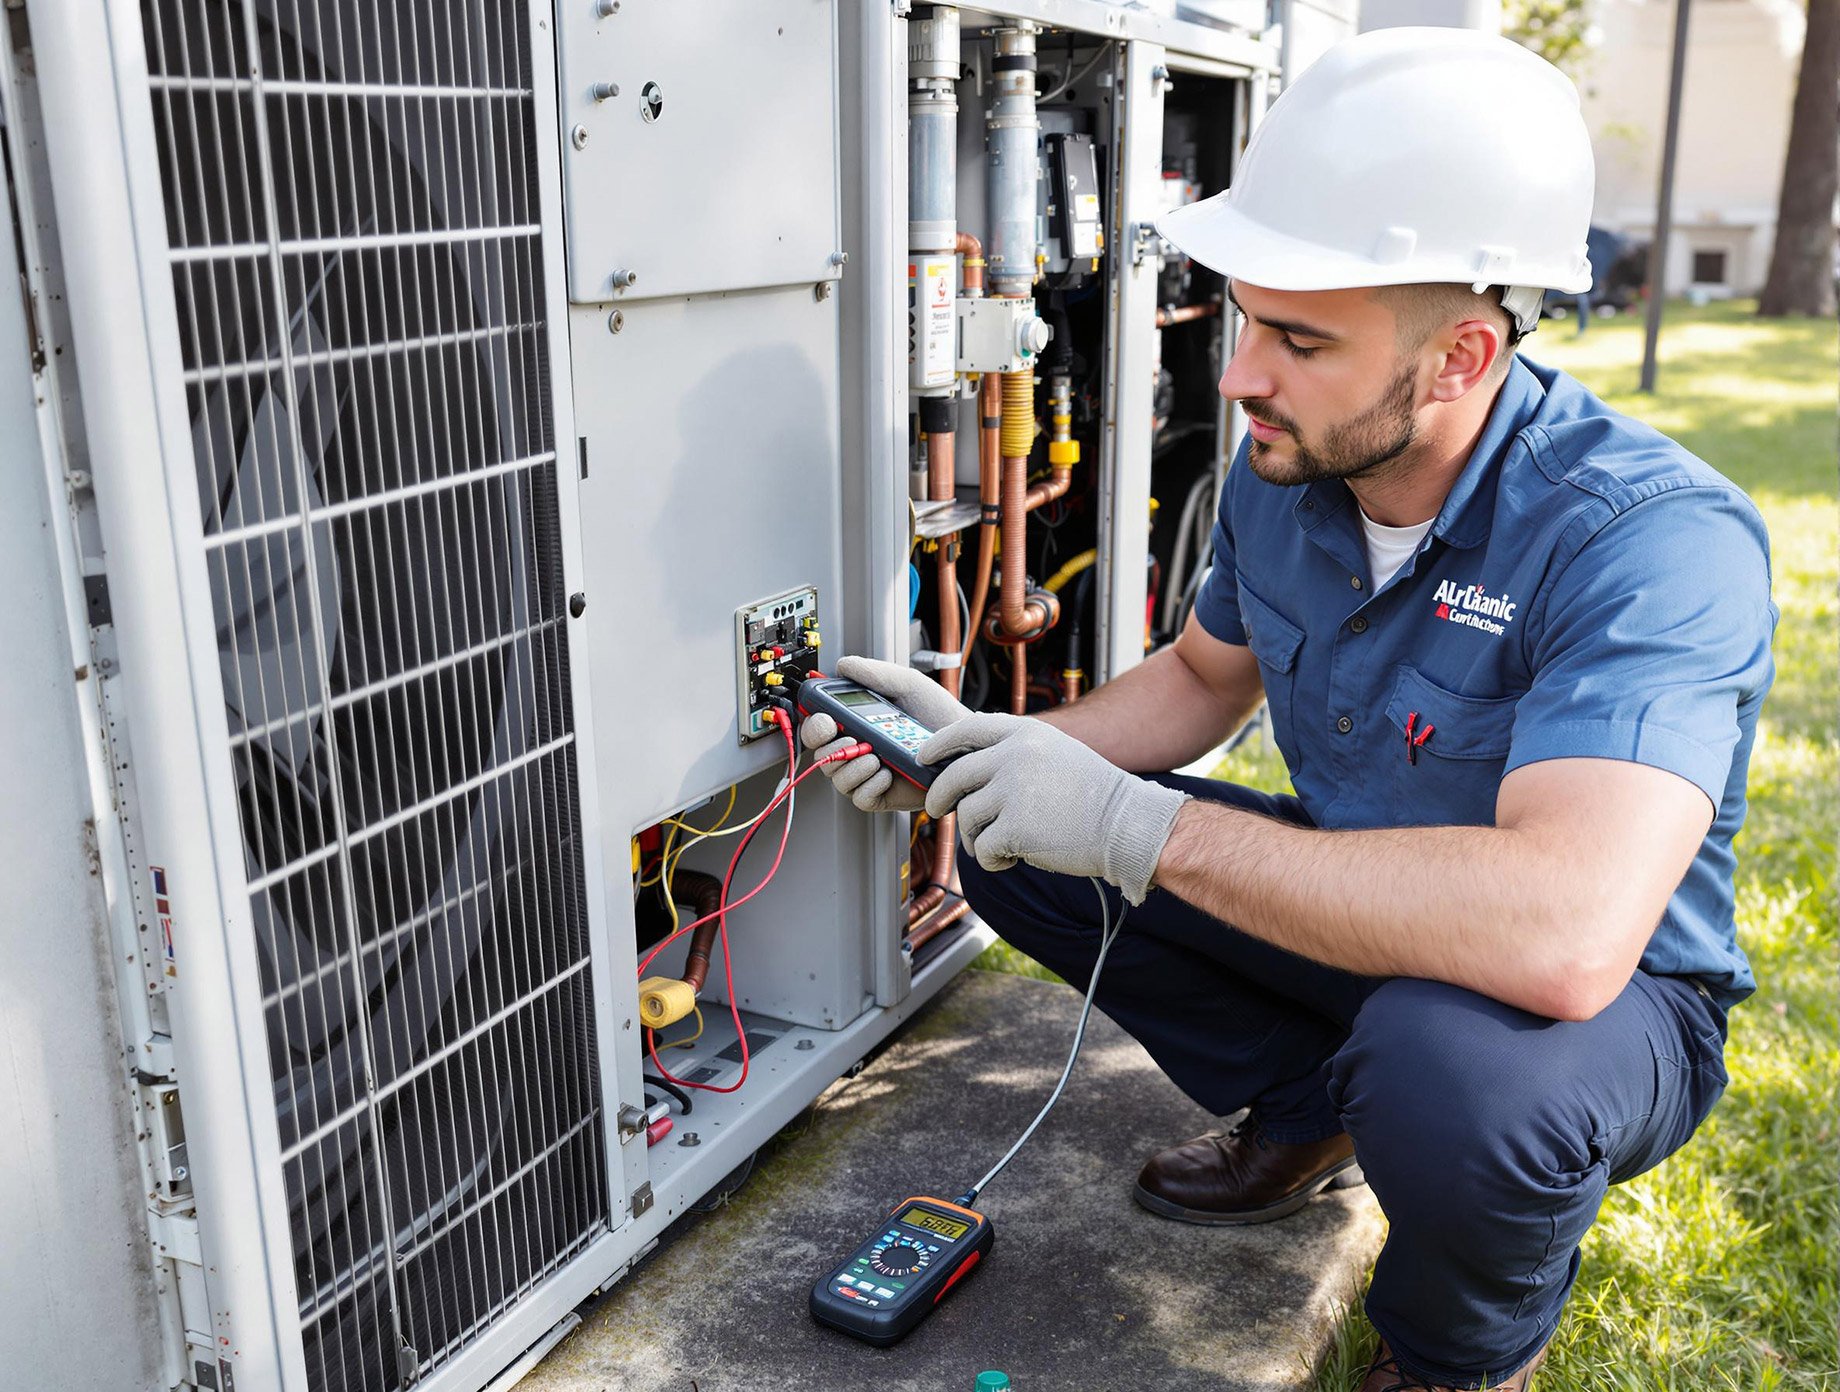
When to hire a professional
You can handle basic maintenance, but some HVAC issues demand specialized tools and safety knowledge. The line between DIY and professional service usually comes down to electrical components, refrigerant handling, and complex mechanical repairs. Attempting these fixes without proper training can void warranties or create safety hazards.
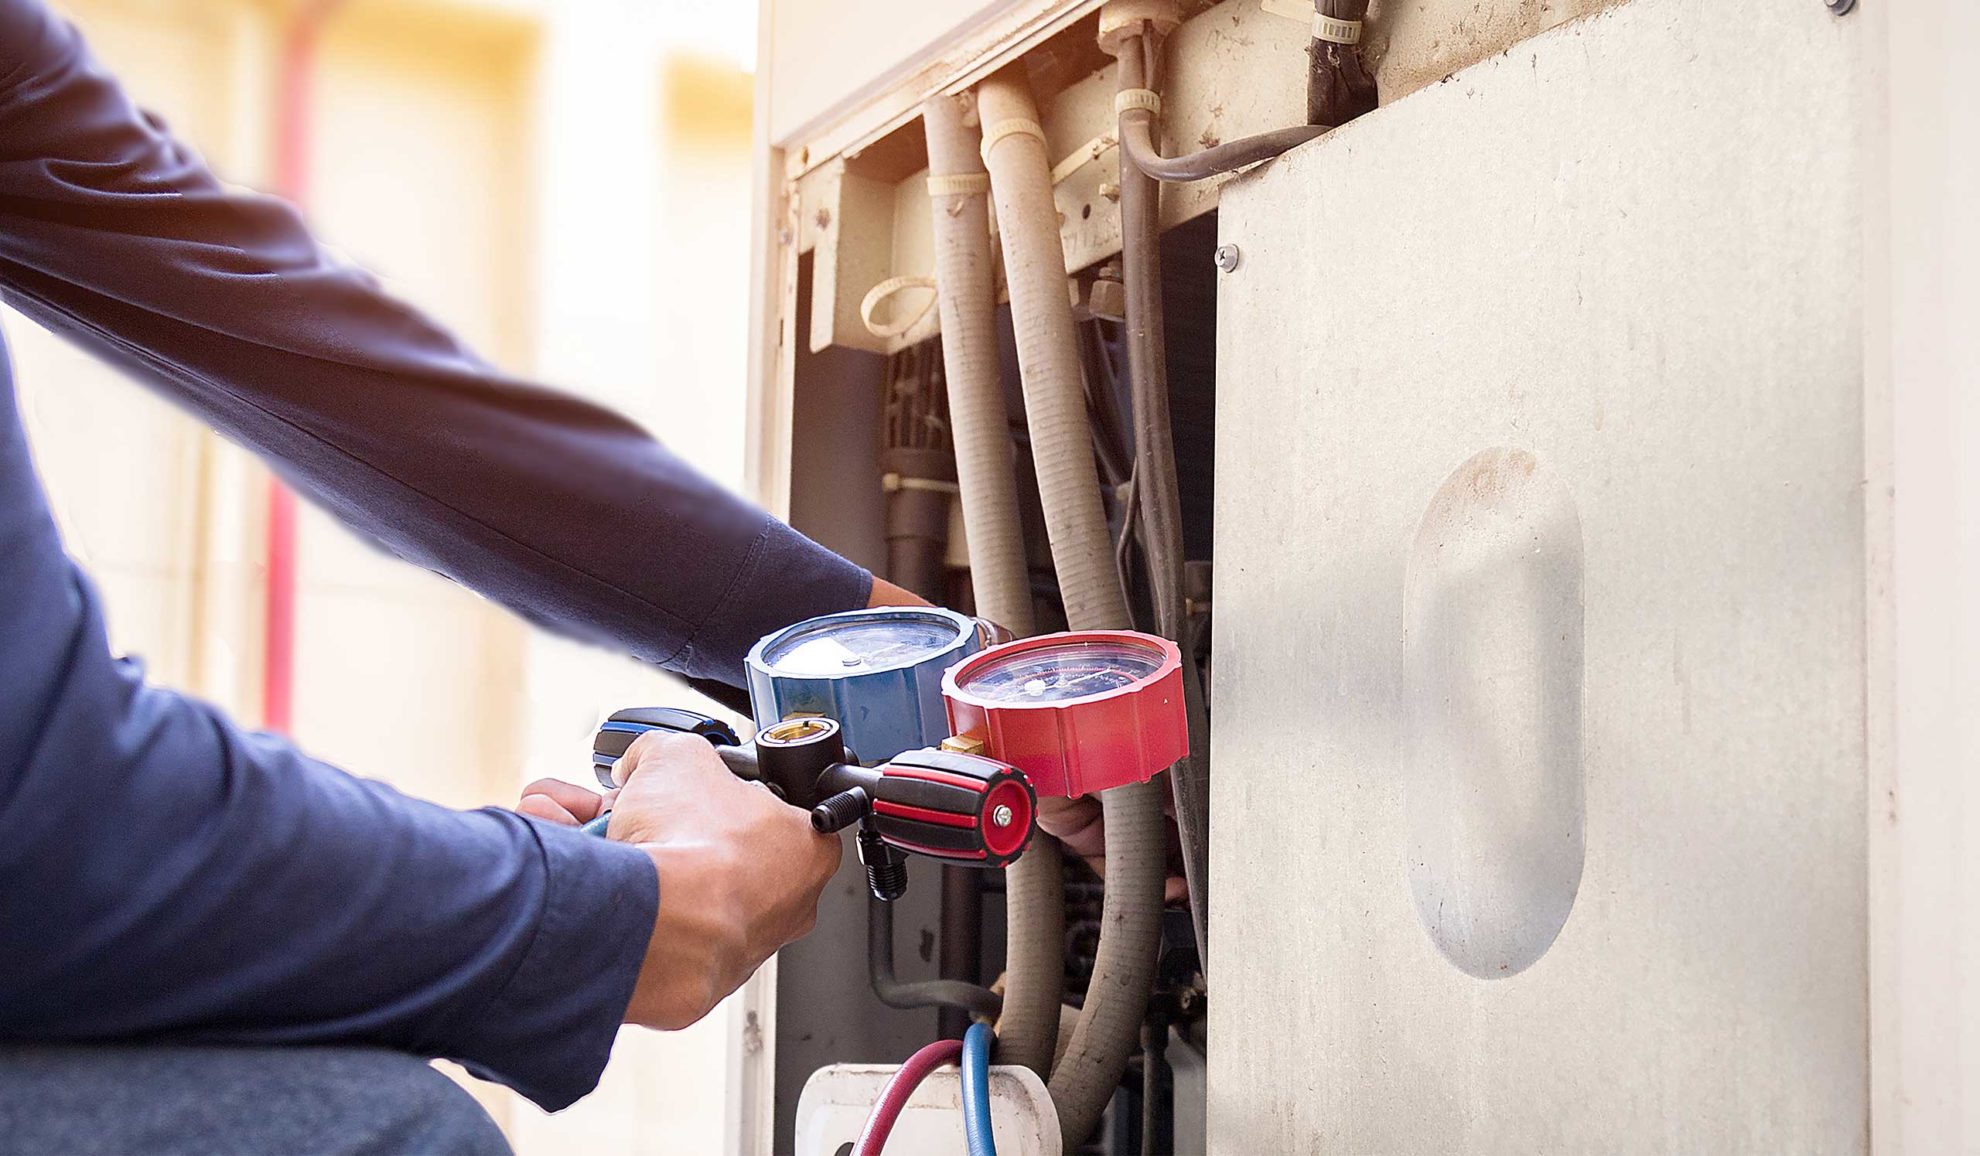
Contact an HVAC technician if you notice refrigerant leaks, electrical tripping, or unusual grinding noises. These symptoms often indicate internal compressor or motor failures that require certified diagnostics. Professionals also have the equipment to measure airflow and refrigerant pressure accurately, ensuring your system runs at peak efficiency.
Regular professional tune-ups catch small problems before they become expensive breakdowns. A technician can inspect heat exchangers for cracks, clean hard-to-reach coils, and verify gas connections. This proactive approach extends the lifespan of your unit and keeps energy bills predictable.
HVAC Maintenance Checklist for Homeowners
Use this checklist to reinforce the six steps covered in this guide. It serves as a quick reference for your annual HVAC maintenance schedule, helping you catch issues before they spike your energy bills.
-
Replace or clean air filters every 1-3 months
-
Clear debris from around the outdoor condenser unit
-
Inspect and clean evaporator and condenser coils annually
-
Check refrigerant levels and look for leaks
-
Test thermostat calibration and replace batteries
-
Schedule professional annual HVAC tune-up
Keep this list handy. Consistent upkeep extends system life and keeps efficiency high.
Common questions about HVAC maintenance
Homeowners often ask when to schedule service, how much it costs, and what they can safely handle themselves. Here are the answers to the most frequent queries about keeping your system running efficiently.
How often should I schedule HVAC maintenance?
Schedule professional maintenance twice a year: once in spring for your AC and once in fall for your heating system. This timing ensures your equipment is ready for peak demand before the summer heat or winter cold hits. Skipping these visits often leads to higher energy bills and unexpected breakdowns when you need the system most.
What is the typical cost for AC maintenance?
A standard one-time AC maintenance visit usually costs between $70 and $100. Some companies offer annual maintenance contracts that bundle multiple visits for a flat fee, which can be more cost-effective if you have multiple systems. For example, some homeowners pay around $89 per year per system for priority repairs and regular checkups.
What HVAC tasks can I do myself?
You can safely replace air filters every 1-3 months and keep the outdoor condenser unit clear of debris like leaves and grass clippings. These simple steps improve airflow and reduce strain on the compressor. However, avoid touching refrigerant lines, electrical components, or the internal fan motor, as these tasks require specialized tools and training to avoid injury or voiding your warranty.
No comments yet. Be the first to share your thoughts!