
Why summer HVAC maintenance matters
Pre-summer HVAC maintenance prevents mid-July emergencies when technicians are booked solid. Routine checks catch small issues like clogged drain lines or low refrigerant before they spiral into compressor failure.
Start your maintenance checklist now. A few hours of work today prevents days of discomfort and thousands of dollars in emergency repair bills later.
Step 1: Replace the air filter
The air filter is the first line of defense for your HVAC Maintenance routine. It traps dust, pet dander, and debris before they can clog your coils or foul your blower motor. A clogged filter acts like a plug in a straw; the system has to work much harder to pull air through, which spikes your energy bill and strains the compressor.
Most manufacturers recommend checking your filter every month and replacing it at least every 90 days. If you have pets or live in a dusty area, you may need to swap it out every 30 days. Using a dirty filter is the single most common cause of emergency AC repair calls in the summer.
How to change your filter
Flip your thermostat to the "off" position. This stops the blower motor from turning on while you work, keeping dust from blowing back into your home and protecting your hands.
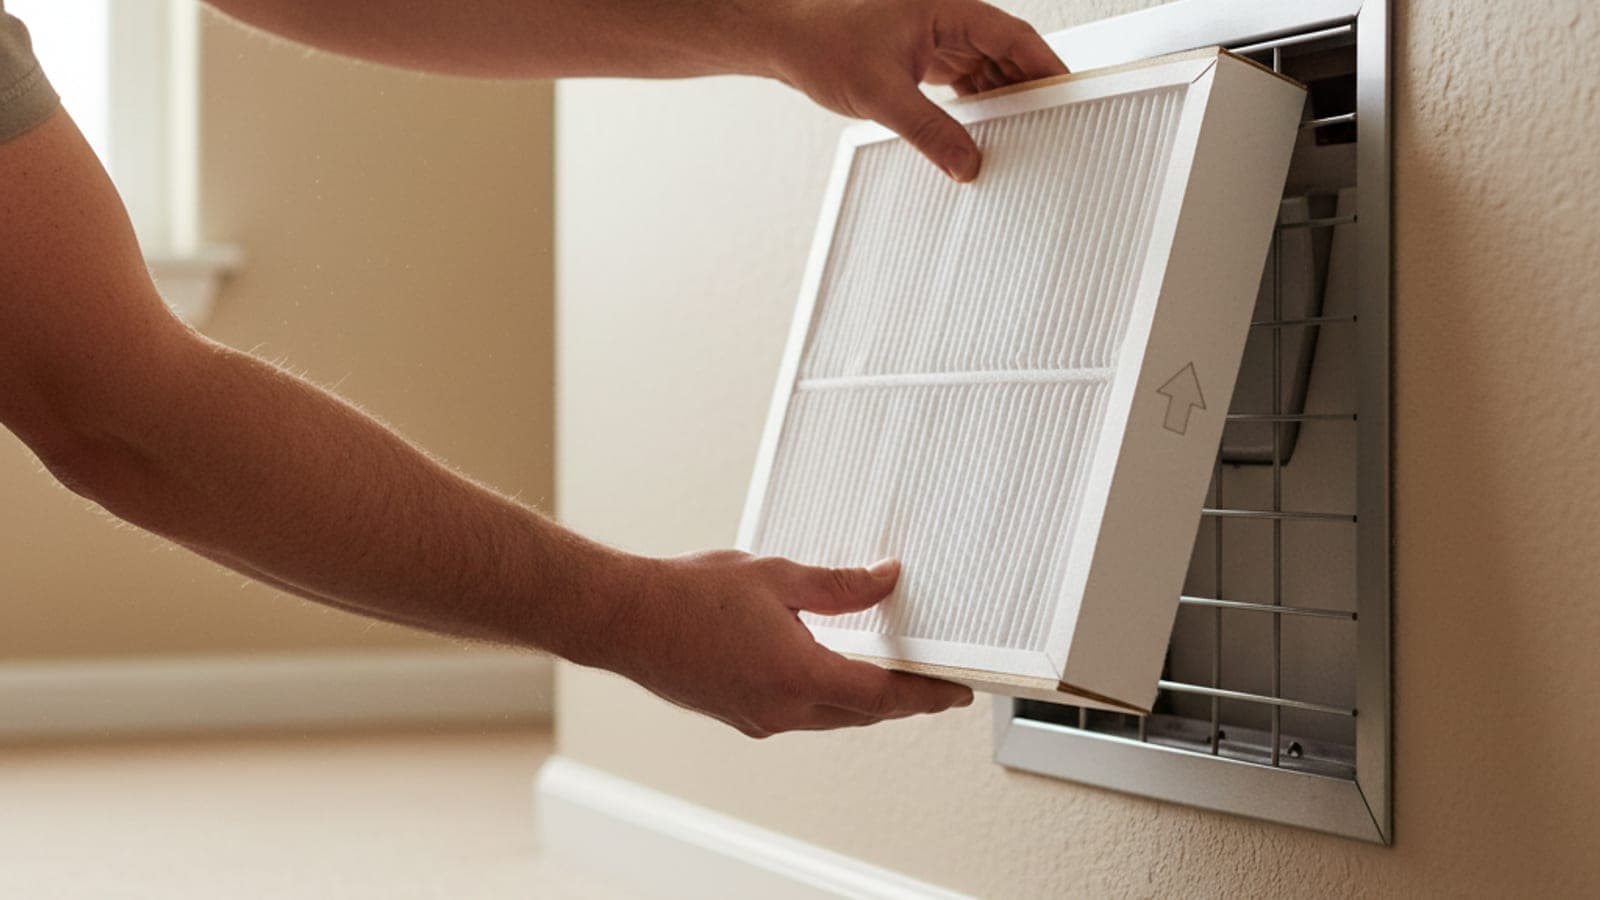
Open the filter compartment. This is usually found in the return air duct near your furnace or in a wall/ceiling grille. Slide the old filter out carefully. Note the direction of the arrows printed on the frame; they must point toward the blower motor.

Slide the new filter into the slot, ensuring the arrows point in the correct direction. Make sure it sits flat and snug. If it’s loose, air will bypass the filter, rendering the maintenance useless.
Turn the thermostat back on. Wait a minute and feel the vents to ensure strong airflow. If the air feels weak, double-check that the filter is seated correctly.
Keeping this simple task on a monthly calendar is the easiest way to extend the life of your unit. A clean filter ensures your HVAC Maintenance efforts actually reduce wear on the system.
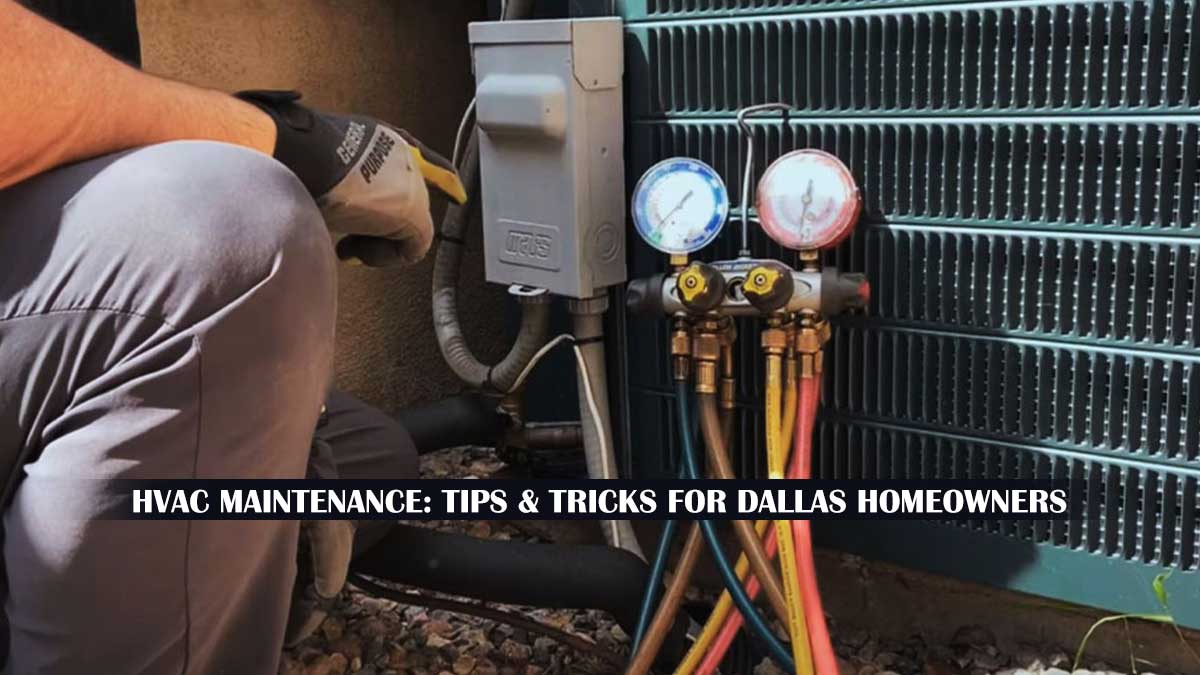
Step 2: Clear debris from the outdoor unit
Your outdoor condenser unit works like a radiator; it needs clean airflow to dissipate heat. When leaves, grass clippings, or dirt clog the coils and fins, the system has to work harder to cool your home. This inefficiency drives up energy bills and can cause the compressor to overheat, leading to premature failure or an emergency AC repair.
Start by turning off power to the unit at the disconnect box or breaker to ensure safety. Remove any large debris by hand, such as twigs, leaves, or pine needles, from around the unit and the top grille. Be gentle with the metal fins, which are delicate and can bend easily. If they are bent, use a fin comb to straighten them, restoring proper airflow through the coil.
Clear away all loose leaves, grass, and dirt from around the base and top of the condenser unit by hand.
Use a fin comb to gently straighten any bent metal fins on the side of the unit to restore airflow.
Spray the coils with a garden hose from the inside out to push dirt through the fins, avoiding high pressure that could damage them.
After clearing the debris, rinse the coils with a garden hose. Spray from the inside out to push dirt through the fins rather than forcing it deeper into the coil pack. Avoid using a pressure washer, as the high pressure can bend the fins and damage the delicate copper tubing. Finally, trim back any vegetation at least two feet away from the unit to prevent future debris buildup and ensure adequate airflow.
Check vents and registers
Airflow is the lifeblood of your HVAC Maintenance routine. Blocked vents force the system to work harder, driving up energy bills and increasing the risk of an emergency AC repair. Start by walking through each room to ensure every supply and return vent is completely unobstructed.
Move furniture, rugs, or decorative objects away from vent covers. Even a few inches of clearance matters. If a rug covers a floor register, lift it or trim it so air can move freely. The goal is to keep the path from the ductwork to the room open and clear.
Vacuum the vent covers and the visible portion of the ductwork. Dust buildup acts like a filter, restricting flow before the air even reaches your home’s main filter. Use a brush attachment to pull debris from the grille and the first few inches of the duct. This simple step improves indoor air quality and system efficiency.
When to call a professional
You can handle basic HVAC Maintenance tasks like changing filters and clearing debris from the condenser coil. However, certain signs indicate that a system needs the specialized tools and certification of an HVAC technician. Attempting to fix these issues yourself can void warranties or create safety hazards.
Watch for these specific warning signs that require professional attention:
-
Refrigerant leaks or low cooling performance
-
Electrical issues like tripping breakers or burning smells
-
Unusual noises such as grinding, squealing, or banging
-
Frequent short cycling or failure to start
-
Water leaks or ice buildup on the unit
If your system is more than ten years old, consider the $5,000 rule. Multiply the age of your unit by the repair cost. If the total exceeds $5,000, replacement is often more cost-effective than continued maintenance. An HVAC professional can perform a detailed inspection to help you make this decision.
For complex electrical diagnostics, refrigerant handling, and compressor repairs, always hire a licensed technician. These tasks require specific training and equipment to ensure safe and effective HVAC Maintenance.
Common hvac maintenance: what to check next
Addressing frequent queries helps clarify what DIY tasks you can handle versus when to call a professional. Understanding these basics keeps your system running efficiently and extends its lifespan.
No comments yet. Be the first to share your thoughts!