

Why regular HVAC maintenance matters
Routine upkeep is the most effective way to stop hidden energy costs from quietly draining your wallet. When an HVAC system runs dirty or misaligned, it works harder to move the same amount of air, turning every degree of temperature difference into wasted electricity or gas. A well-maintained system doesn't just run longer; it runs efficiently, keeping your utility bills predictable and your home comfortable without the shock of emergency repair bills.
The Department of Energy notes that regular maintenance can improve energy efficiency by up to 15%. That percentage adds up significantly over a year, especially during peak summer or winter months. Beyond efficiency, maintenance protects your indoor air quality. Clean filters capture dust, pollen, and allergens, preventing them from circulating back into your living space.
By addressing small issues early—like loose electrical connections or minor refrigerant leaks—you avoid the catastrophic failures that require expensive, same-day service calls. Consistent care transforms your HVAC system from a ticking time bomb into a reliable, efficient appliance that serves your home for years.
Check air filters and airflow
Your HVAC system moves the air in your home, but it can only do its job if that air can actually flow. A clogged air filter is like trying to breathe through a scarf; the system works twice as hard to pull air through, driving up your energy bill and wearing out the blower motor. Replacing this simple part is the single most effective DIY task you can perform to keep hidden energy costs in check.
1. Locate and Remove the Filter
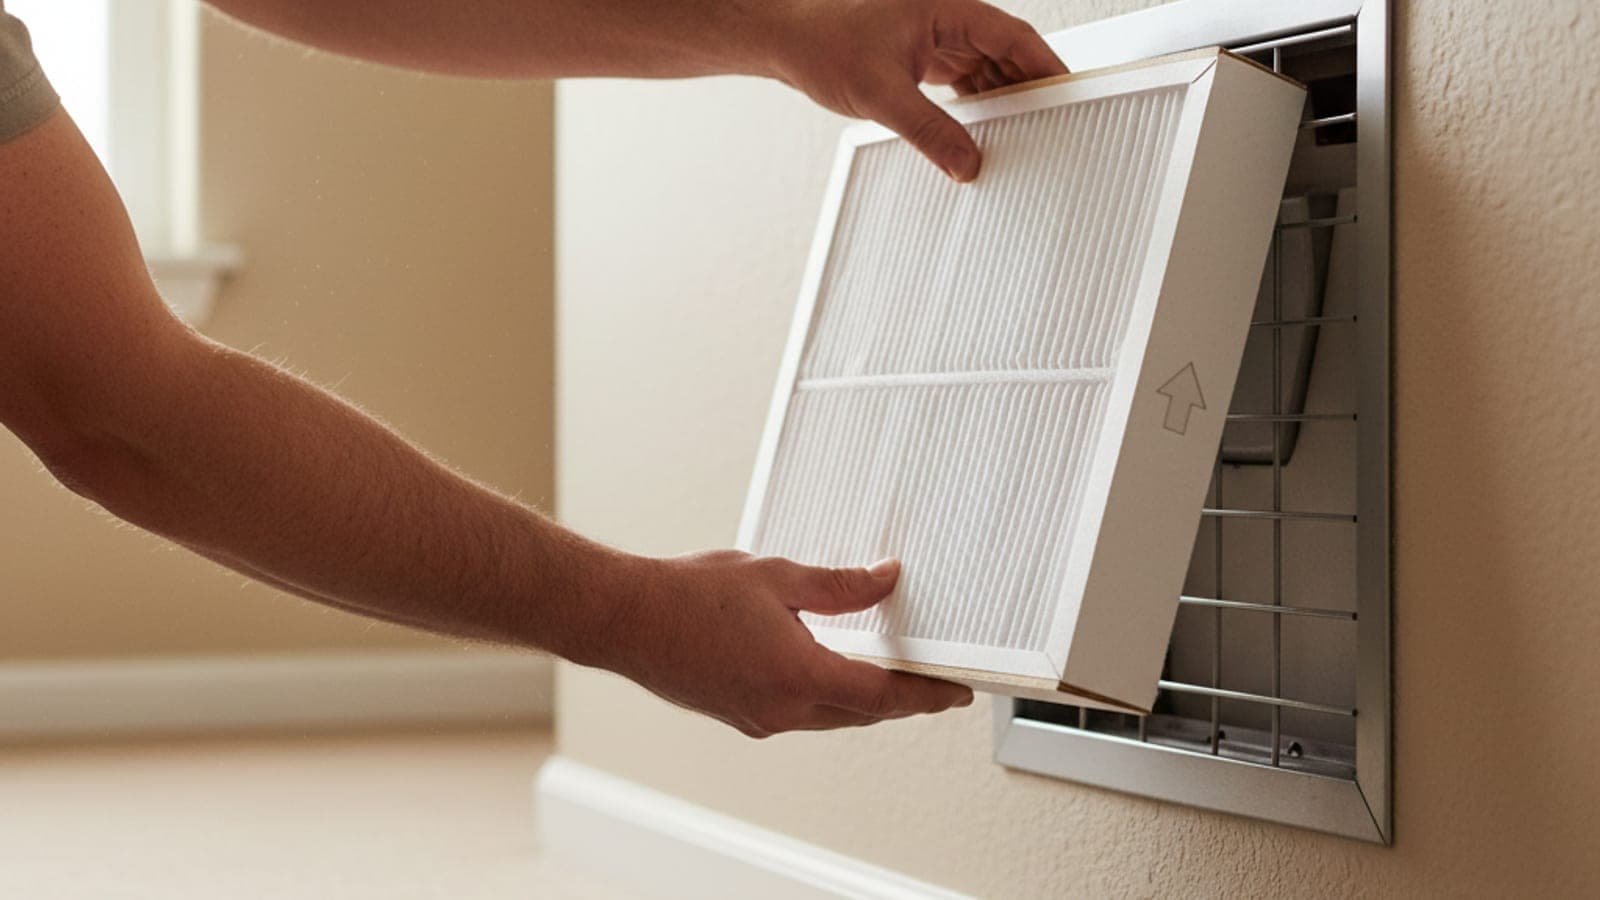
Most residential systems have the air filter slot in the return air duct, usually located in a hallway closet, a bedroom wall, or directly on the furnace/air handler unit itself. Slide the filter out carefully. Before you inspect it, check the arrows printed on the frame. These arrows must point toward the blower motor (into the unit) so the air flows in the correct direction.
2. Inspect for Dirt and Debris
Hold the filter up to a bright light. If you can’t see light passing through the media, it is time to replace it. Even if it looks only slightly dusty, a thin layer of particulate matter can significantly restrict airflow. Regular maintenance directly improves indoor air quality by capturing dust, pollen, and allergens before they recirculate through your vents, but more importantly for your wallet, it ensures the fan doesn’t have to strain.
3. Choose the Right Replacement
When buying a new filter, match the dimensions exactly (length x width x depth). You will also need to decide on the MERV (Minimum Efficiency Reporting Value) rating.
| MERV Rating | Efficiency | Airflow Impact | Best For |
|---|---|---|---|
| 1-4 | Low | Minimal | Basic dust protection |
| 5-8 | Medium | Low | Allergens and mold spores |
| 9-12 | High | Moderate | Pet dander and fine particles |
Higher MERV ratings trap smaller particles but can restrict airflow if your system isn’t designed for them. Stick to MERV 8-11 for most standard residential systems unless your manufacturer specifies otherwise.
4. Install and Set a Reminder
Slide the new filter into the slot, ensuring the arrows point toward the blower. Close the access panel securely. Set a recurring calendar reminder for 30, 60, or 90 days from now, depending on your filter type and household conditions. Homes with pets or smokers may need monthly changes, while average households can often go three months. Consistency here prevents the system from losing efficiency and racking up unnecessary energy costs.
Inspect the outdoor condenser unit
The outdoor condenser is the workhorse of your HVAC system, but it’s also the first to get dirty. Leaves, grass clippings, and dust accumulate on the coils, acting like a winter coat in July. This buildup forces the compressor to work harder, driving up your energy bill and shortening the unit’s lifespan. Regular cleaning keeps the system efficient and prevents hidden costs from creeping in.
Before you start, turn off power to the unit at the disconnect box or breaker. Safety first—electricity and water don’t mix. Once powered down, you can remove the top grille and fan assembly to access the coils.
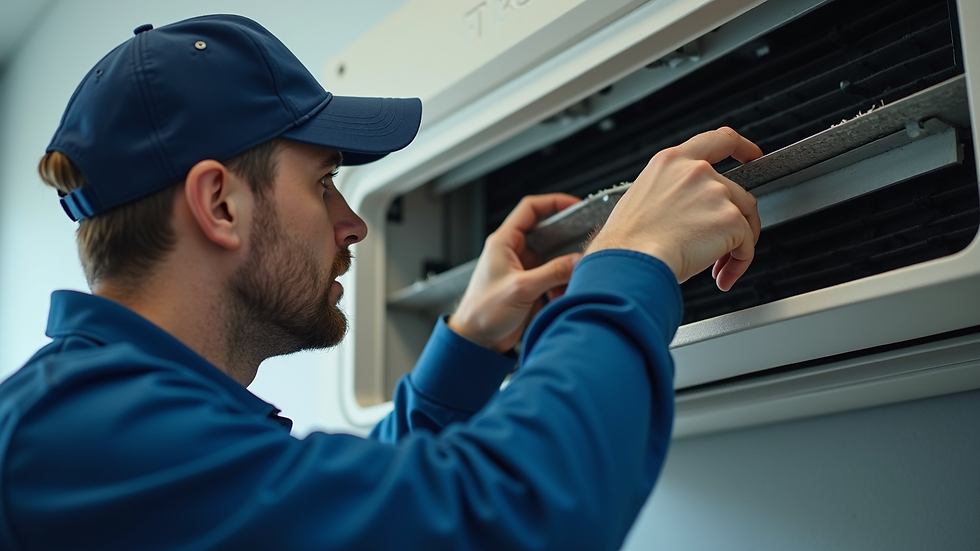
Use a garden hose to spray away loose leaves, grass, and twigs from the outside of the unit. Clear at least two feet of space around the condenser to ensure proper airflow. This initial rinse removes the bulk of the dirt without risking damage to the delicate fins.
If the coils are heavily soiled, use a coil cleaner spray designed for HVAC units. Let it sit for the time specified on the label, then rinse gently with a hose. Avoid high-pressure washers, which can bend the fins and trap water inside the unit. Straighten any bent fins with a fin comb to restore airflow.
Locate the condensate drain line, usually a PVC pipe near the unit. If it’s clogged, water can back up and trigger a safety switch that shuts off your AC. Pour a cup of distilled vinegar or a specialized drain tablet into the access point to clear algae and sludge buildup.
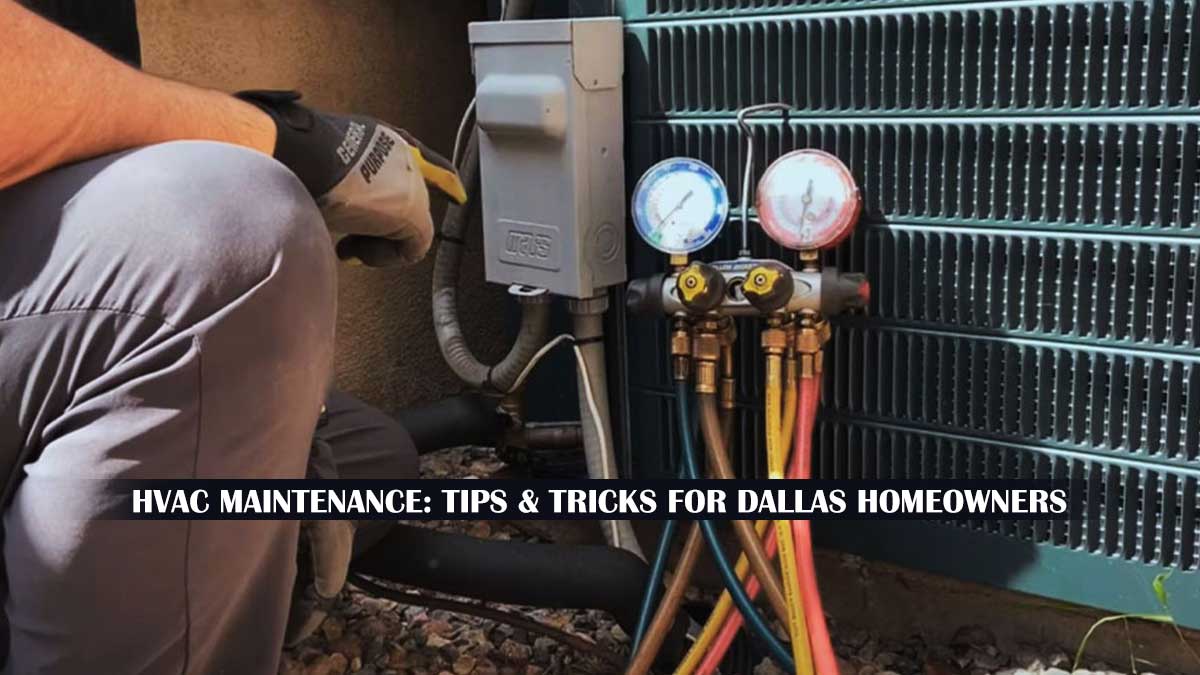
Once everything is dry and clean, reattach the fan and grille. Restore power at the breaker box and listen for normal startup sounds. If the unit runs quietly and blows cold air, you’ve successfully prevented a major energy leak.
Keeping the condenser clean is one of the most effective ways to lower your HVAC energy costs. It’s a simple task that takes less than an hour but pays dividends in efficiency and comfort all season long.
Verify thermostat calibration
Your thermostat is the brain of your HVAC system, but like any brain, it can lose its sense of direction. If it reads the room temperature incorrectly, your system will run longer than necessary to reach the set point, driving up energy bills and causing unnecessary wear on your equipment. A misaligned thermostat doesn't just affect comfort; it creates hidden energy costs by forcing your system to work against false data.
Start by checking the digital display against a reliable, independent thermometer. Place the standalone thermometer near the thermostat, away from direct sunlight, drafts, or heat sources, and wait for both readings to stabilize. If the difference is more than two degrees, your thermostat is likely out of calibration. This discrepancy is a common source of inefficiency that many homeowners overlook during routine maintenance.
If your thermostat lacks a manual calibration dial, check the manufacturer’s manual for a digital offset feature in the settings menu. Many smart thermostats allow you to input a correction value directly. For older mechanical thermostats with bimetallic coils, calibration is more difficult and may require professional service or replacement. Regularly checking this simple component ensures your HVAC system responds accurately to your comfort needs without wasting energy.
Know when to call a pro
You can change filters and clear vents, but some HVAC problems require specialized tools and safety knowledge. Pushing past your skill level often turns a minor repair into a costly system failure. Use this checklist to decide if a technician is necessary.
-
Strange noises: grinding, screeching, or banging from the unit
-
Weak airflow: filters and vents are clear, but rooms stay warm
-
High bills: usage spikes without increased comfort
-
Warm air from vents: the compressor runs but no cool air blows
The $5,000 Rule
A simple formula helps decide between repair and replacement. Multiply the age of your unit by the repair cost. If the total exceeds $5,000, replacement is usually the smarter financial move. This rule accounts for the fact that older units are less efficient and more prone to future breakdowns.
Safety and Warranty
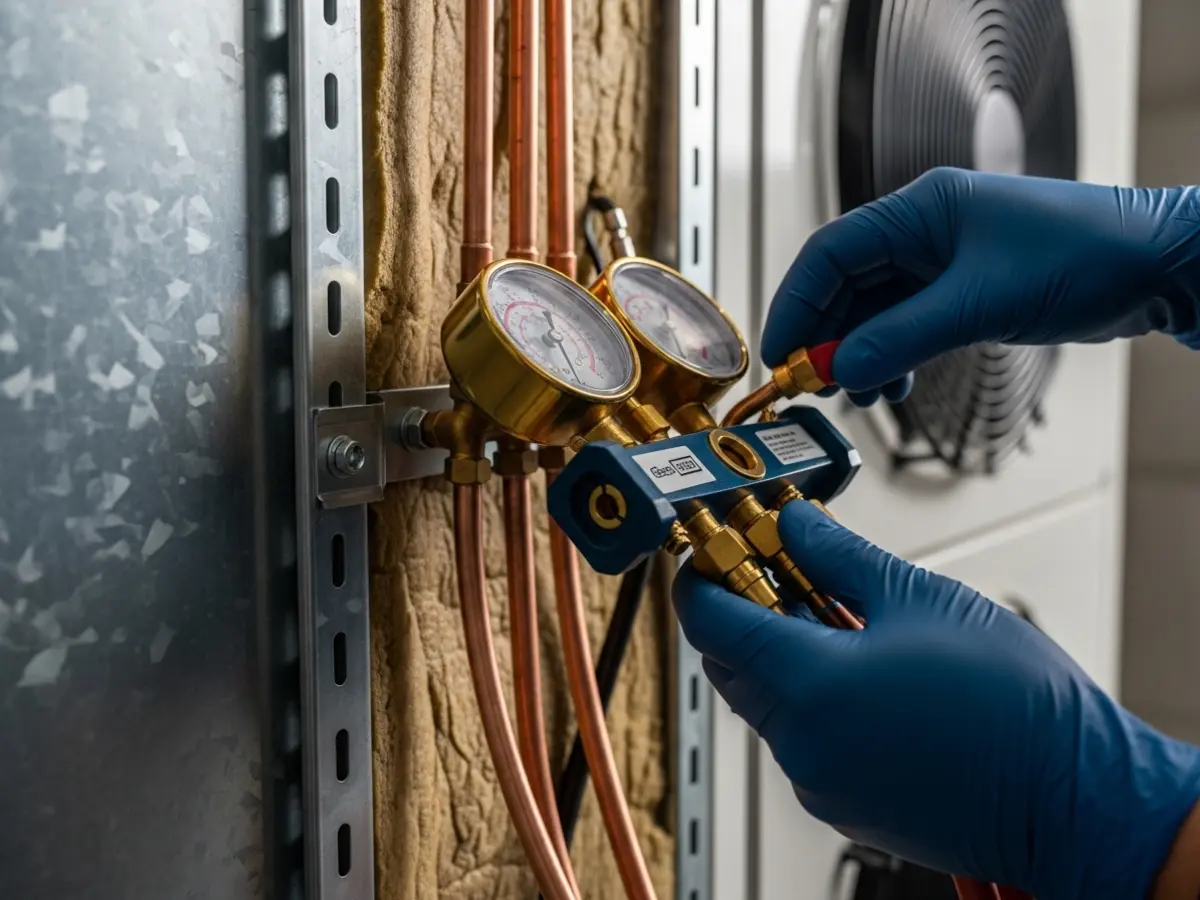
Electrical components and refrigerant lines are hazardous. Most manufacturers void warranties if unlicensed individuals open sealed systems. If you smell burning plastic or suspect a refrigerant leak, shut the system off immediately and call a professional. DIY fixes on these parts can cause serious injury or permanent damage to the compressor.
No comments yet. Be the first to share your thoughts!