
Schedule your annual tune-up
Think of professional HVAC maintenance like a car’s oil change or a dentist’s cleaning. You can wash the car yourself, but a mechanic checks the belts and filters that keep the engine running. Similarly, while you can change a filter or wipe down vents, a trained technician inspects the internal components that prevent catastrophic failure.
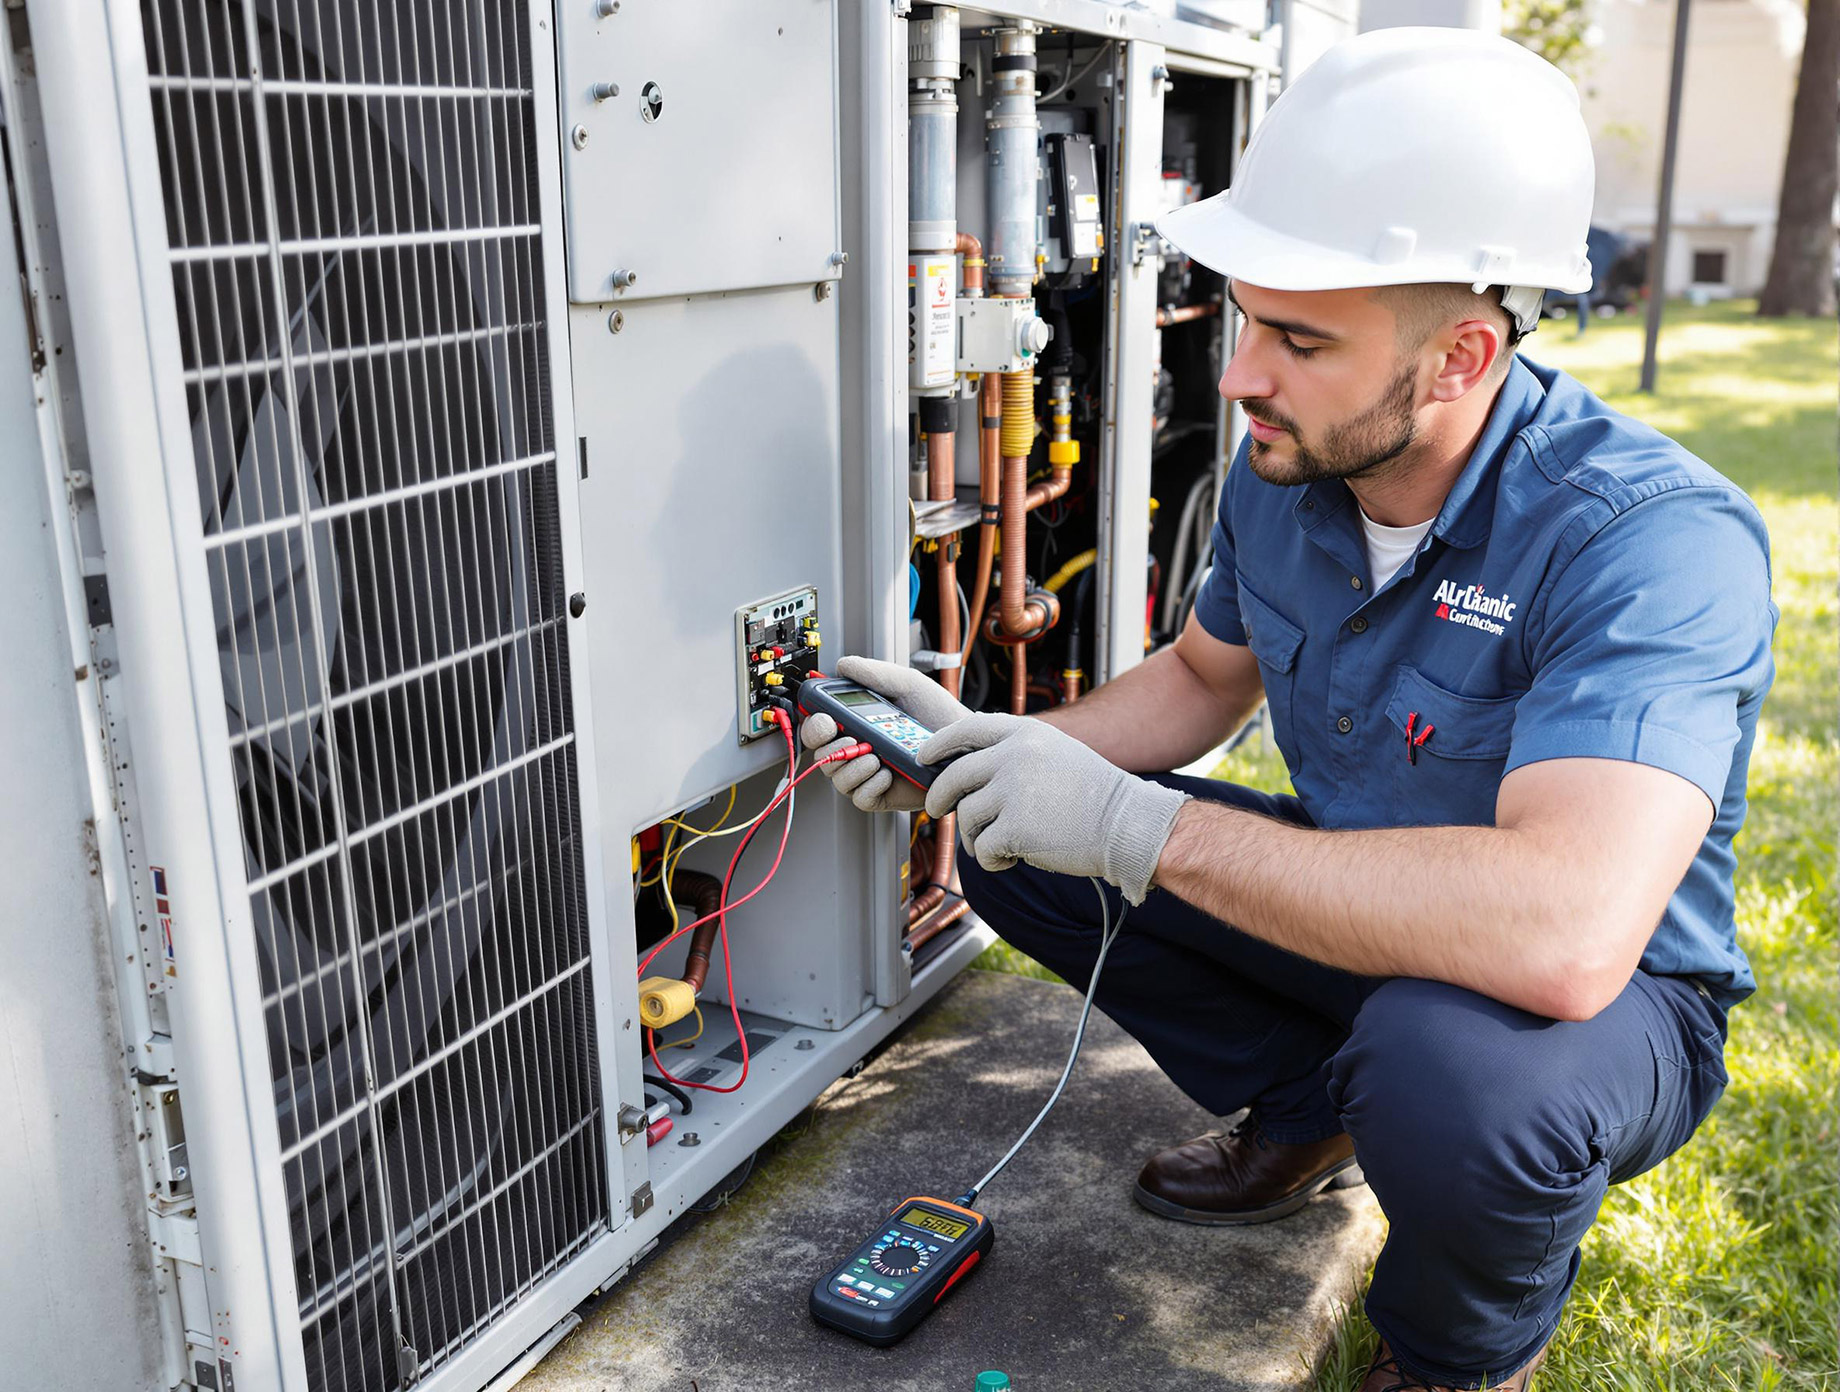
An annual tune-up is the single most effective way to extend your system’s lifespan. According to ENERGY STAR, a comprehensive check-up includes tightening electrical connections, lubricating moving parts, and verifying refrigerant levels. These steps restore the system to factory specifications, ensuring it doesn’t work harder than necessary to heat or cool your home.
Beyond longevity, professional maintenance catches issues that DIYers cannot safely address. A technician can detect small refrigerant leaks or subtle electrical faults before they turn into expensive breakdowns. This proactive approach keeps efficiency high and energy bills predictable.
Scheduling this service before peak summer or winter months ensures you get a slot with a reputable provider. It also means your system is ready to handle extreme temperatures when they arrive, reducing the risk of being stranded without heat or air conditioning.
Change the air filter monthly
Replacing the air filter is the single most important thing you can do to keep your HVAC system running efficiently. A clogged filter restricts airflow, forcing the blower motor to work harder, which raises energy bills and accelerates wear on internal components. It also traps dust, pollen, and pet dander, allowing them to circulate back into your living space.
Think of your filter as the lungs of your home. If those lungs are blocked, the whole system struggles to breathe. Most manufacturers recommend checking your filter every month and replacing it when it looks gray or holds a layer of dust. If you have pets or live in a dusty area, you may need to swap it out every 30 days. Homes with standard filters and no pets might stretch to 90 days, but monthly is the safest baseline.
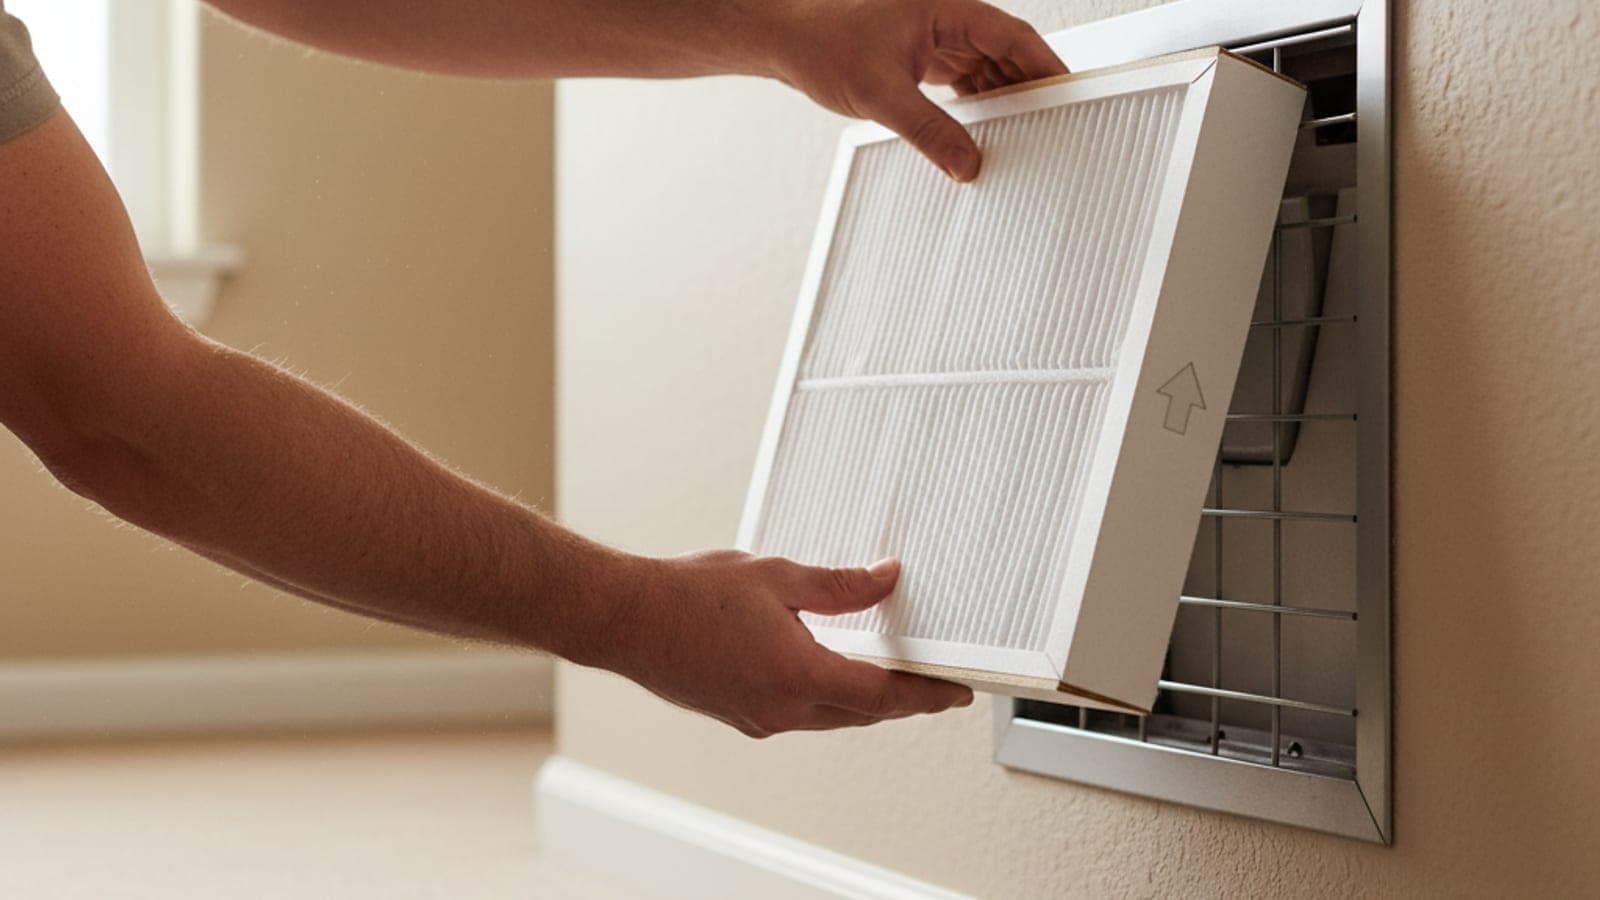
Locate your thermostat and set the system to "Off". This prevents the blower from accidentally turning on while you access the filter slot, ensuring safety and preventing debris from being sucked into the ductwork.
Open the filter access door, typically found in the return air grille or inside the furnace cabinet. Slide the old filter out carefully. Note the direction of the arrows printed on the frame; this tells you which way the air flows.
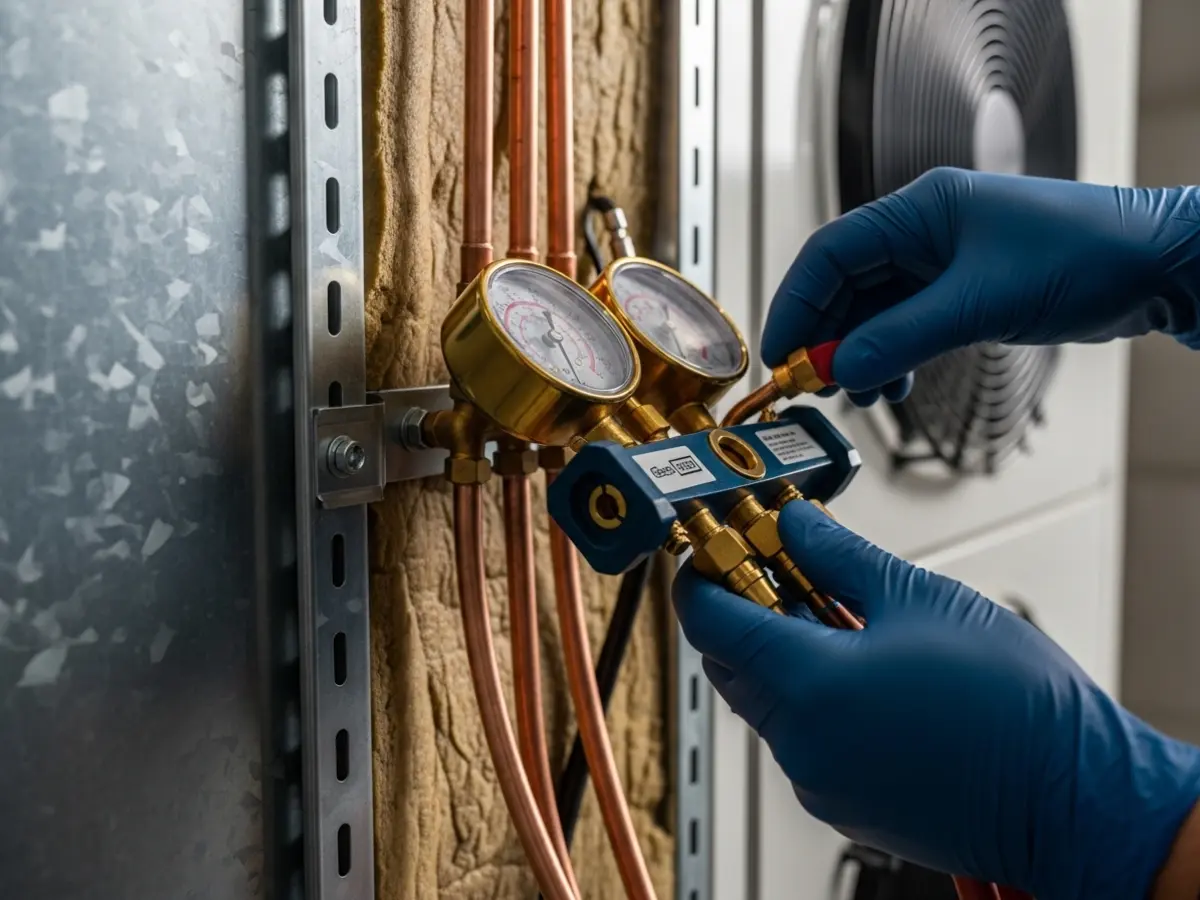
Before inserting the new filter, quickly vacuum or wipe the empty slot. This removes any accumulated dust or debris that might have fallen into the housing while the old filter was out, keeping your ducts cleaner.
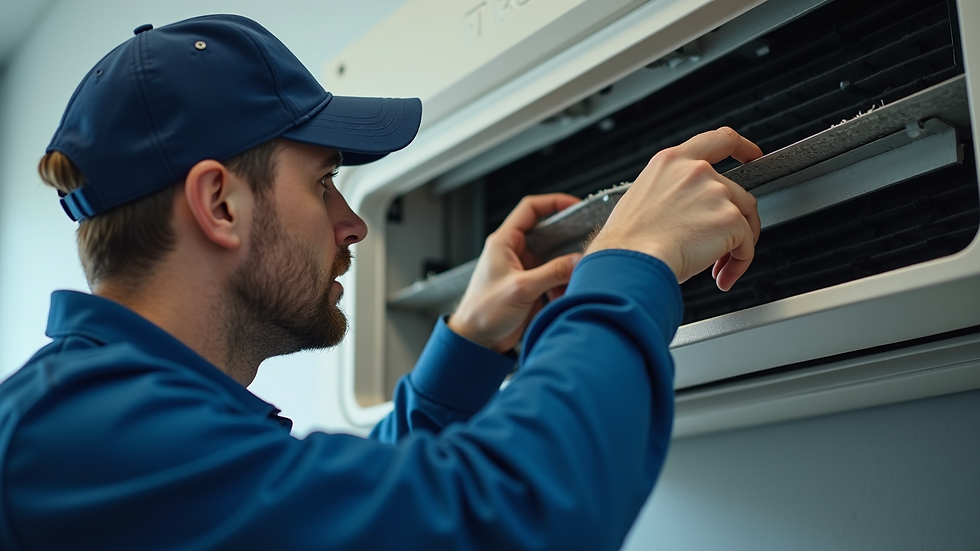
Slide the new filter into the slot with the arrows pointing toward the furnace or air handler (the direction of airflow). Ensure it fits snugly without bending or forcing it. A gap around the edges lets air bypass the filter, rendering it useless.
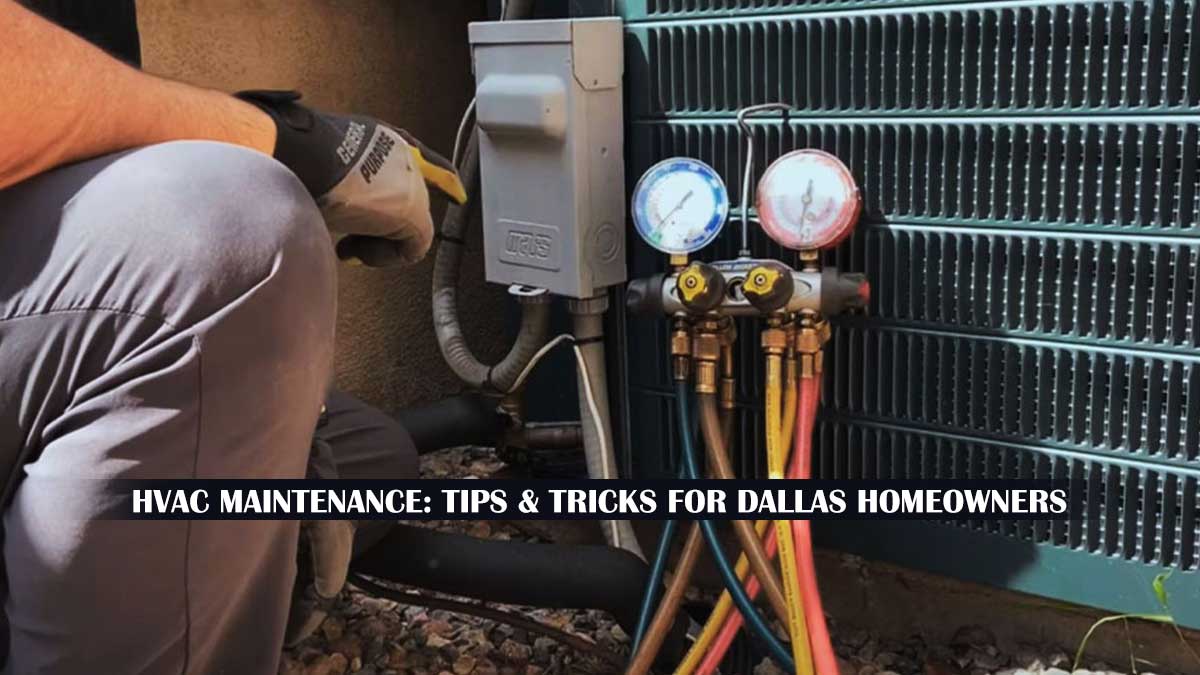
Close the access door securely and turn your thermostat back to your desired setting. Your system is now ready to circulate cleaner, cooler, or warmer air with minimal strain.
Choosing the right filter matters too. While basic 1-inch fiberglass filters are cheap, they offer little protection for your equipment or your lungs. Upgrading to a pleated filter with a higher MERV rating (between 8 and 11) captures smaller particles without choking your system’s airflow. Avoid high-MERV filters (13+) unless your technician confirms your blower motor can handle the resistance. ENERGY STAR notes that regular maintenance, including filter changes, is essential for keeping your system at peak efficiency ENERGY STAR.
Clean the outdoor condenser unit
The outdoor condenser unit is the heart of your cooling system, and it works hardest against the elements. Leaves, grass clippings, and dust can clog the coils and fan, forcing the compressor to work overtime. This buildup restricts airflow, leading to higher energy bills and potential overheating. Cleaning the exterior is one of the most effective ways to maintain proper heat exchange and extend the life of your HVAC equipment.
Before starting, ensure the power is completely off. Turn off the thermostat to the "off" position, then locate the disconnect switch near the unit—a small box with a lever or fuse—and flip it to the "off" position. For added safety, unplug the unit if it has a standard plug. Never attempt to clean electrical components or reach inside the unit while power is connected.
Clear the area around the unit to ensure at least two feet of open space on all sides. Remove any leaves, twigs, or grass clippings that have accumulated inside the unit or around the base. Use a garden hose to gently spray away loose dirt from the exterior casing. Avoid using high-pressure washers, as the force can bend the delicate aluminum fins and damage the internal components.
Remove the protective grille or top panel to access the coils. If the coils are heavily soiled, use a coil cleaner spray designed for HVAC systems, following the manufacturer's instructions. Let the cleaner sit for the recommended time, then rinse it off gently with a garden hose, spraying from the inside out to push debris away from the fins. Be careful not to bend the fins during this process.
Inspect the fins for any bends or damage. Use a fin comb to gently straighten any misaligned fins, which helps restore proper airflow. Reattach the grille or top panel securely. Restore power to the unit by flipping the disconnect switch back on, then turn the thermostat to the desired cooling setting to test the system.
Regular maintenance of the outdoor unit is a simple task that yields significant benefits. By keeping the coils clean and the airflow unobstructed, you help your system run more efficiently and reliably. This proactive approach can prevent costly repairs and keep your home comfortable throughout the cooling season.
Check the condensate drain line
A clogged condensate drain line is one of the most common causes of AC water damage. As your system removes humidity from the air, that moisture collects in a pan and flows out through a PVC pipe. Over time, algae, dirt, and debris can build up inside this line, creating a blockage. When water has nowhere to go, it backs up into the air handler or overflows the pan, potentially damaging ceilings, walls, and flooring.
Keeping this line clear is a simple maintenance task that takes less than 15 minutes. You can usually clear a clog using a wet/dry vacuum and some bleach or vinegar. Regular cleaning prevents mold growth and keeps your system running efficiently.
Find the PVC pipe near your indoor air handler or outdoor condenser unit. It typically runs from the condensate pan to the outside of your home. Look for a T-shaped or U-shaped access port with a cap, usually located near the air handler. If you don’t see a cap, the line may just terminate at the unit.
Unscrew the cap on the access port. If there is standing water in the pan, use a sponge or small cup to remove it before proceeding. Check for any visible debris like leaves or sludge around the opening. This step ensures you don’t push more dirt into the line when you start the cleaning process.
Set your wet/dry vacuum to the “wet” setting if available. Place the vacuum hose over the access port or the end of the drain line outside. If using the access port, wrap the hose with duct tape or an old rag to create a tight seal. This suction is necessary to pull the clog loose from inside the pipe.
Turn on the vacuum for about one to two minutes. You should hear a change in pitch as the clog breaks up and water is pulled through the line. If the line is heavily clogged, you may need to repeat this process. Listen for the sound of water draining, which indicates the path is clear.
Pour about a cup of distilled white vinegar or a diluted bleach solution into the access port. This kills remaining algae and mold spores that could cause future clogs. Let it sit for 30 minutes before rinsing with a little water. This chemical flush helps maintain a clean pipe between maintenance visits.
After clearing the line, pour a small amount of water into the condensate pan to verify it drains freely. If the water backs up or drains slowly, the clog may be deeper in the line, requiring professional assistance. Regular checks every few months during the cooling season can prevent costly water damage.
Verify thermostat settings
The thermostat is the brain of your HVAC system, but it only works if it’s calibrated and programmed correctly. An uncalibrated sensor might read the room as 72°F when it’s actually 68°F, forcing your unit to run longer than necessary. This mismatch is a common hidden cause of high energy bills and uneven comfort.
Start by checking the battery. If your thermostat uses batteries, replace them annually even if the display hasn’t dimmed. A low battery can cause the unit to reset or lose its schedule, leading to unexpected heating or cooling cycles. For smart thermostats, ensure the device is connected to Wi-Fi and that the firmware is up to date, as updates often include efficiency improvements.
Next, test the calibration. Set the thermostat to a temperature a few degrees away from the current room reading. Wait 15 minutes and use a separate, trusted thermometer placed near the thermostat to compare. If the difference is more than two degrees, the thermostat may need recalibration or replacement. ENERGY STAR recommends checking thermostat settings as part of a routine maintenance check-up to ensure optimal performance.
Finally, review your schedule. Ensure the programming aligns with your daily routine. If you’re away during the day, set the temperature to save energy. If you’ve recently changed your habits, update the schedule to avoid conditioning empty rooms. A simple adjustment can lead to significant savings over the year.
-
Replace batteries if display is dim or unit resets
-
Compare thermostat reading with a separate thermometer
-
Recalibrate or replace if error exceeds 2°F
-
Update firmware for smart thermostats
-
Review and adjust schedule for current habits
Common HVAC maintenance mistakes
Small oversights during DIY upkeep can trigger expensive repairs or void your equipment’s warranty. Treating your HVAC system like a standard appliance rather than a precision-engineered machine is the fastest way to reduce efficiency and shorten its lifespan. The following errors are among the most frequent and damaging.
Using high-pressure water on condenser fins
The aluminum fins on your outdoor condenser coil are fragile. While they trap heat efficiently, they bend easily. Many homeowners grab a garden hose and blast the coils at full pressure to clear dirt. This misdirected force bends the fins inward, blocking airflow and forcing the compressor to work harder. Instead, use a soft brush to remove loose debris and rinse gently from the inside out. If the fins are bent, use a fin comb to straighten them before reassembling the unit.
Ignoring the condensate drain line
A clogged drain line is a silent killer of indoor air quality and system health. When the line backs up, water can overflow into your ceiling or cause a safety switch to shut down the AC entirely. Homeowners often forget this component exists until it fails. Pour a cup of distilled white vinegar into the access tee every few months to prevent algae buildup. This simple maintenance step costs nothing and prevents water damage that far exceeds the cost of the repair.
Overlooking the air filter
It sounds simple, but a dirty filter is the number one cause of system strain. A clogged filter restricts airflow, causing the evaporator coil to freeze or the heat exchanger to overheat. Many homeowners wait until the air feels noticeably stuffy before checking the filter. Check your filter every 30 to 90 days depending on usage and pets. Replace it immediately if it looks dark or feels clogged to dust.
Tightening the unit too close to the house
Proper clearance is essential for airflow and service access. If you trim bushes or stack items against the condenser to save space, you restrict the intake air. The unit needs at least two feet of clearance on all sides, especially the top and front. Blocking airflow reduces cooling capacity by up to 20% and increases energy bills. Keep the area around the unit clear of debris, furniture, and vegetation.
Using the wrong refrigerant or topping it off
Refrigerant levels should remain constant in a properly sealed system. If your AC is low on refrigerant, you have a leak. Top-off kits sold in hardware stores do not fix leaks; they only mask the problem temporarily. Adding the wrong type of refrigerant or overcharging the system can destroy the compressor, which is the most expensive part to replace. If you suspect a refrigerant issue, call a licensed HVAC technician. Do not attempt to handle refrigerant yourself, as it is regulated by the EPA.
Common hvac maintenance: what to check next
Before you start turning wrenches, it helps to know where the DIY line ends and professional help begins. Here are the most frequent questions homeowners ask about keeping their systems running efficiently.
How often should I change my HVAC filter?
Most manufacturers recommend replacing standard 1-inch filters every 30 to 90 days. If you have pets, smoke indoors, or live in a dusty area, monthly changes are safer. A clogged filter restricts airflow, forcing your system to work harder and raising your energy bill. For thicker 4-inch pleated filters, you might stretch this to every six months, but always check the label for specific guidance.
Can I clean my AC unit myself?
Yes, you can and should clean the outdoor condenser unit at least once a season. Turn off power at the disconnect box, remove the top grille, and gently hose down the fins from the inside out to push debris away. Use a fin comb to straighten any bent fins. However, avoid spraying water directly into the electrical components or the fan motor. If the unit is frozen or the coils are heavily caked with dirt, call a pro.
What is the average cost of HVAC maintenance?
Professional annual maintenance typically costs between $100 and $200. This service usually includes a comprehensive inspection, cleaning of critical components, and safety checks. While DIY tasks like filter changes and coil cleaning save money, a professional tune-up catches small issues before they become expensive repairs. Skipping professional maintenance can void warranties on many modern systems.
No comments yet. Be the first to share your thoughts!