

Why summer HVAC maintenance matters
Running an air conditioner without a pre-season tune-up risks mid-summer breakdowns and inflated energy bills. Routine checks catch small issues—like dirty filters or loose connections—before they become catastrophic failures. This maintenance ensures your system runs efficiently, lowering utility costs and preventing emergency repair fees during peak heat waves.
Skipping maintenance can also void manufacturer warranties, which often require annual professional servicing. The goal is simple: verify refrigerant levels, clean coils, and inspect electrical components now to avoid the discomfort and expense of a system failure in July.
Check the thermostat and replace the air filter
Handle these two tasks first. They deliver the biggest performance jump for the least effort and form the foundation of any HVAC maintenance checklist.
Verify thermostat accuracy
An inaccurate thermostat makes your AC run longer than necessary, driving up energy bills and wearing out the compressor. Start by checking the display. If the screen is blank, replace the batteries. A dead battery often causes the system to reset to default modes, which can be dangerous in extreme heat.
Test the reading by placing a separate thermometer in the same room, away from direct sunlight or drafts. Wait ten minutes. If the thermostat reads more than two degrees off from the actual room temperature, recalibrate it. Most modern units have a calibration setting in the menu. If yours doesn’t, you may need to replace the unit.
Replace the air filter
The air filter is the first line of defense. A clogged filter restricts airflow, forcing the blower motor to work harder. This restriction can freeze the evaporator coil or trigger safety switches that shut the unit down.
Locate the filter slot, usually where the return air duct meets the furnace or air handler. Slide out the old filter and note the size printed on the frame. Common sizes are 16x25x1, 20x25x1, or 24x36x1. Buy a replacement with the same dimensions. A MERV 8-11 filter is sufficient for most homes; higher ratings may restrict airflow if your system isn’t designed for them.
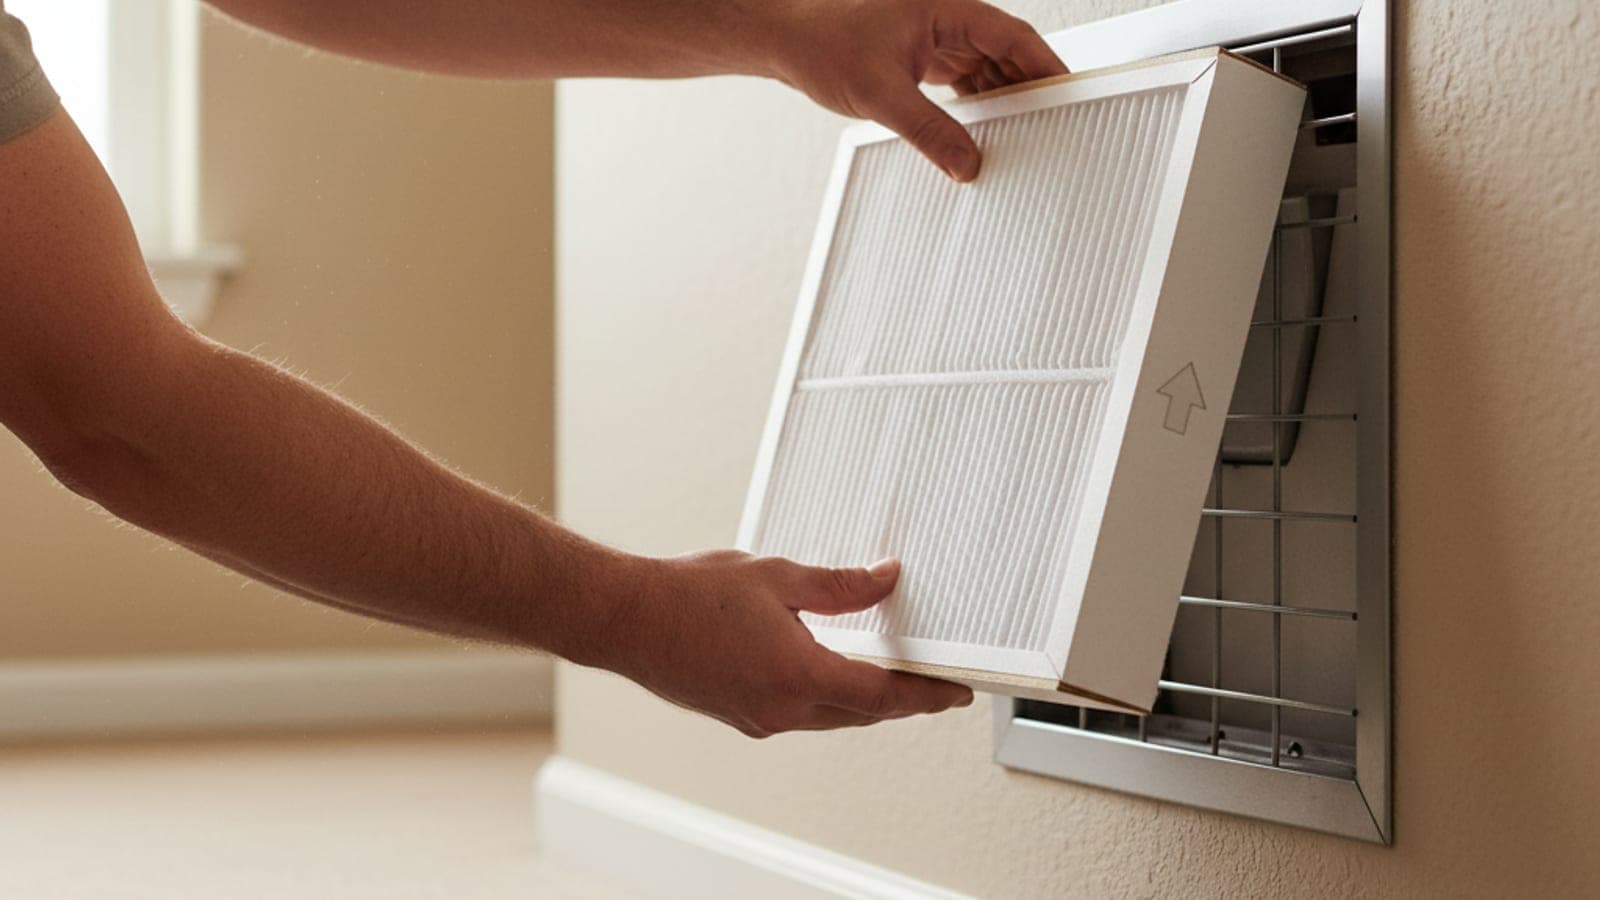
Insert the new filter with the arrow pointing toward the blower motor. Write the installation date on the frame so you know when to swap it next. In dusty environments or homes with pets, check the filter monthly. Standard filters should be replaced every 90 days.
Replace batteries if the display is blank. Compare the thermostat reading to a standalone thermometer. Recalibrate if the difference is significant.
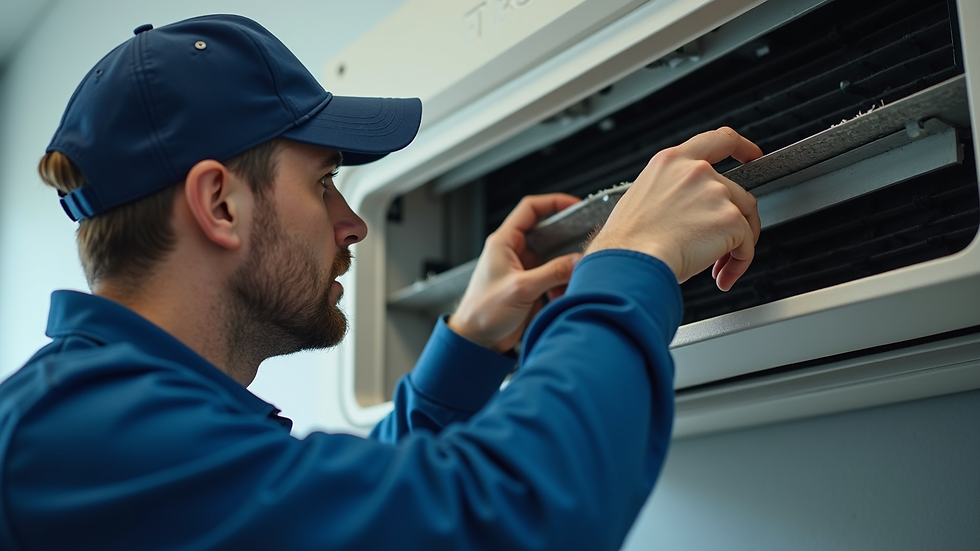
Find the filter slot near the return duct. Slide out the old filter. Note the size and MERV rating printed on the frame.
Insert the new filter with the arrow pointing toward the blower. Write the date on the frame. Set a reminder for the next change.
Clear debris from the outdoor unit
The outdoor condenser unit acts like a radiator. It needs clear space to release the heat your AC extracts from inside. When leaves, grass clippings, or soil pile up against the coils, the system works harder to push that heat away, spiking energy bills and risking compressor overheating.
Before you start, turn off the power to the unit at the disconnect box or circuit breaker. Remove any large debris by hand. If you have a garden hose, gently spray the coils from the inside out to push dirt out through the fins. Avoid using a pressure washer, which can bend the delicate aluminum fins and trap water inside the unit.
Trim back any vegetation around the unit. You need at least two feet of clearance on all sides to ensure proper airflow. If the unit is sitting in a low spot where water pools, consider installing a concrete pad to keep the base dry and prevent rust.
Locate the outdoor disconnect box near the unit and flip the switch to the off position. Alternatively, turn off the dedicated circuit breaker in your main electrical panel. This prevents the fan from starting unexpectedly while you are cleaning.
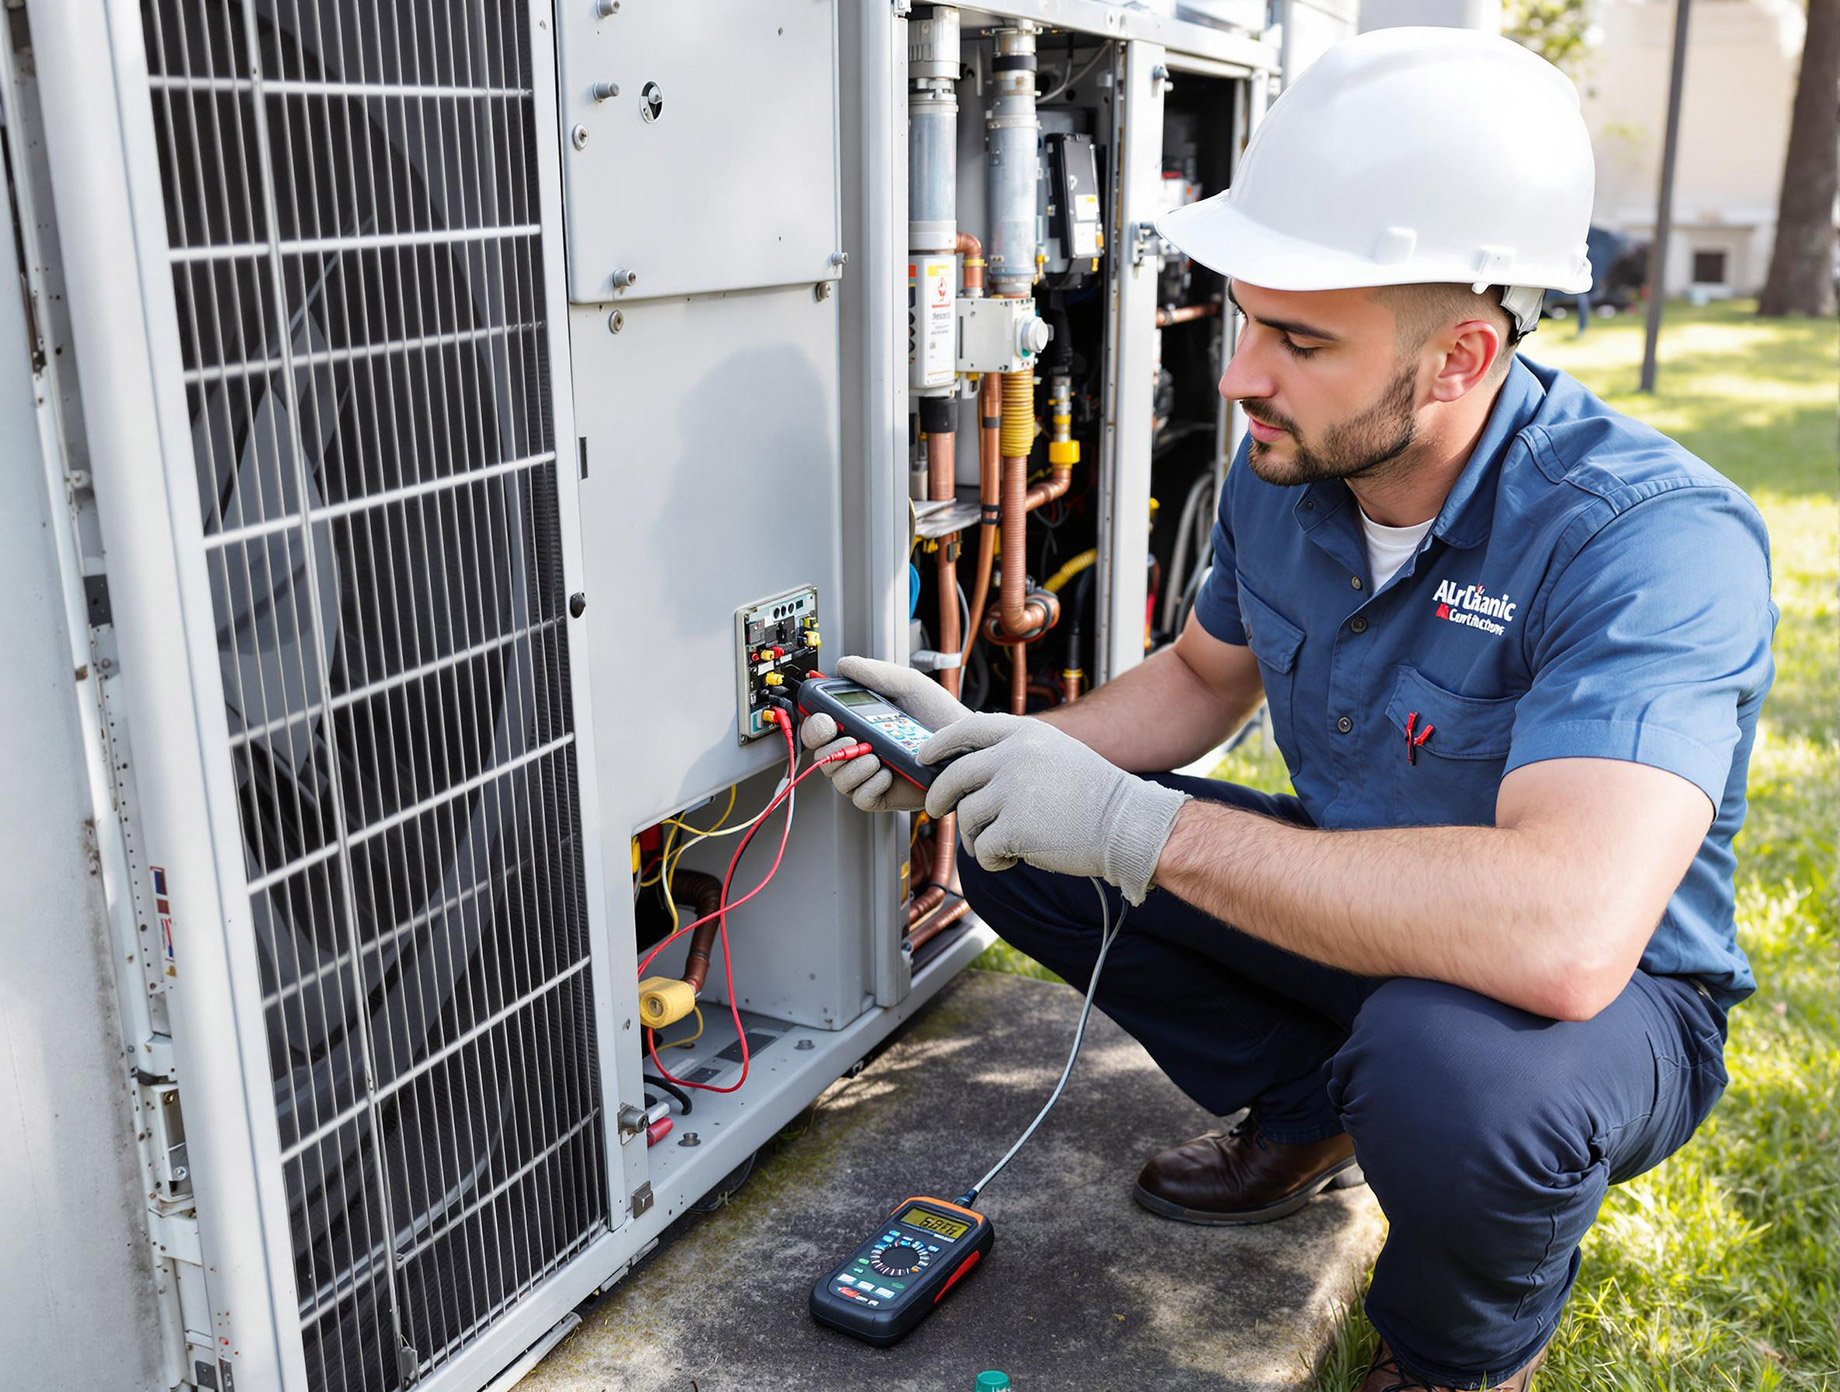
Wear heavy-duty gloves to protect your hands from sharp metal fins. Pull out any leaves, twigs, or grass clippings that have accumulated around the unit. For debris trapped inside the coil cage, use a vacuum with a brush attachment or your hands to pull it out gently.
Use a garden hose with a gentle spray nozzle to rinse the coils. Spray from the inside out to push dirt backward through the fins. If the coils are very dirty, apply a no-rinse coil cleaner according to the product instructions and let it sit for ten minutes before rinsing.
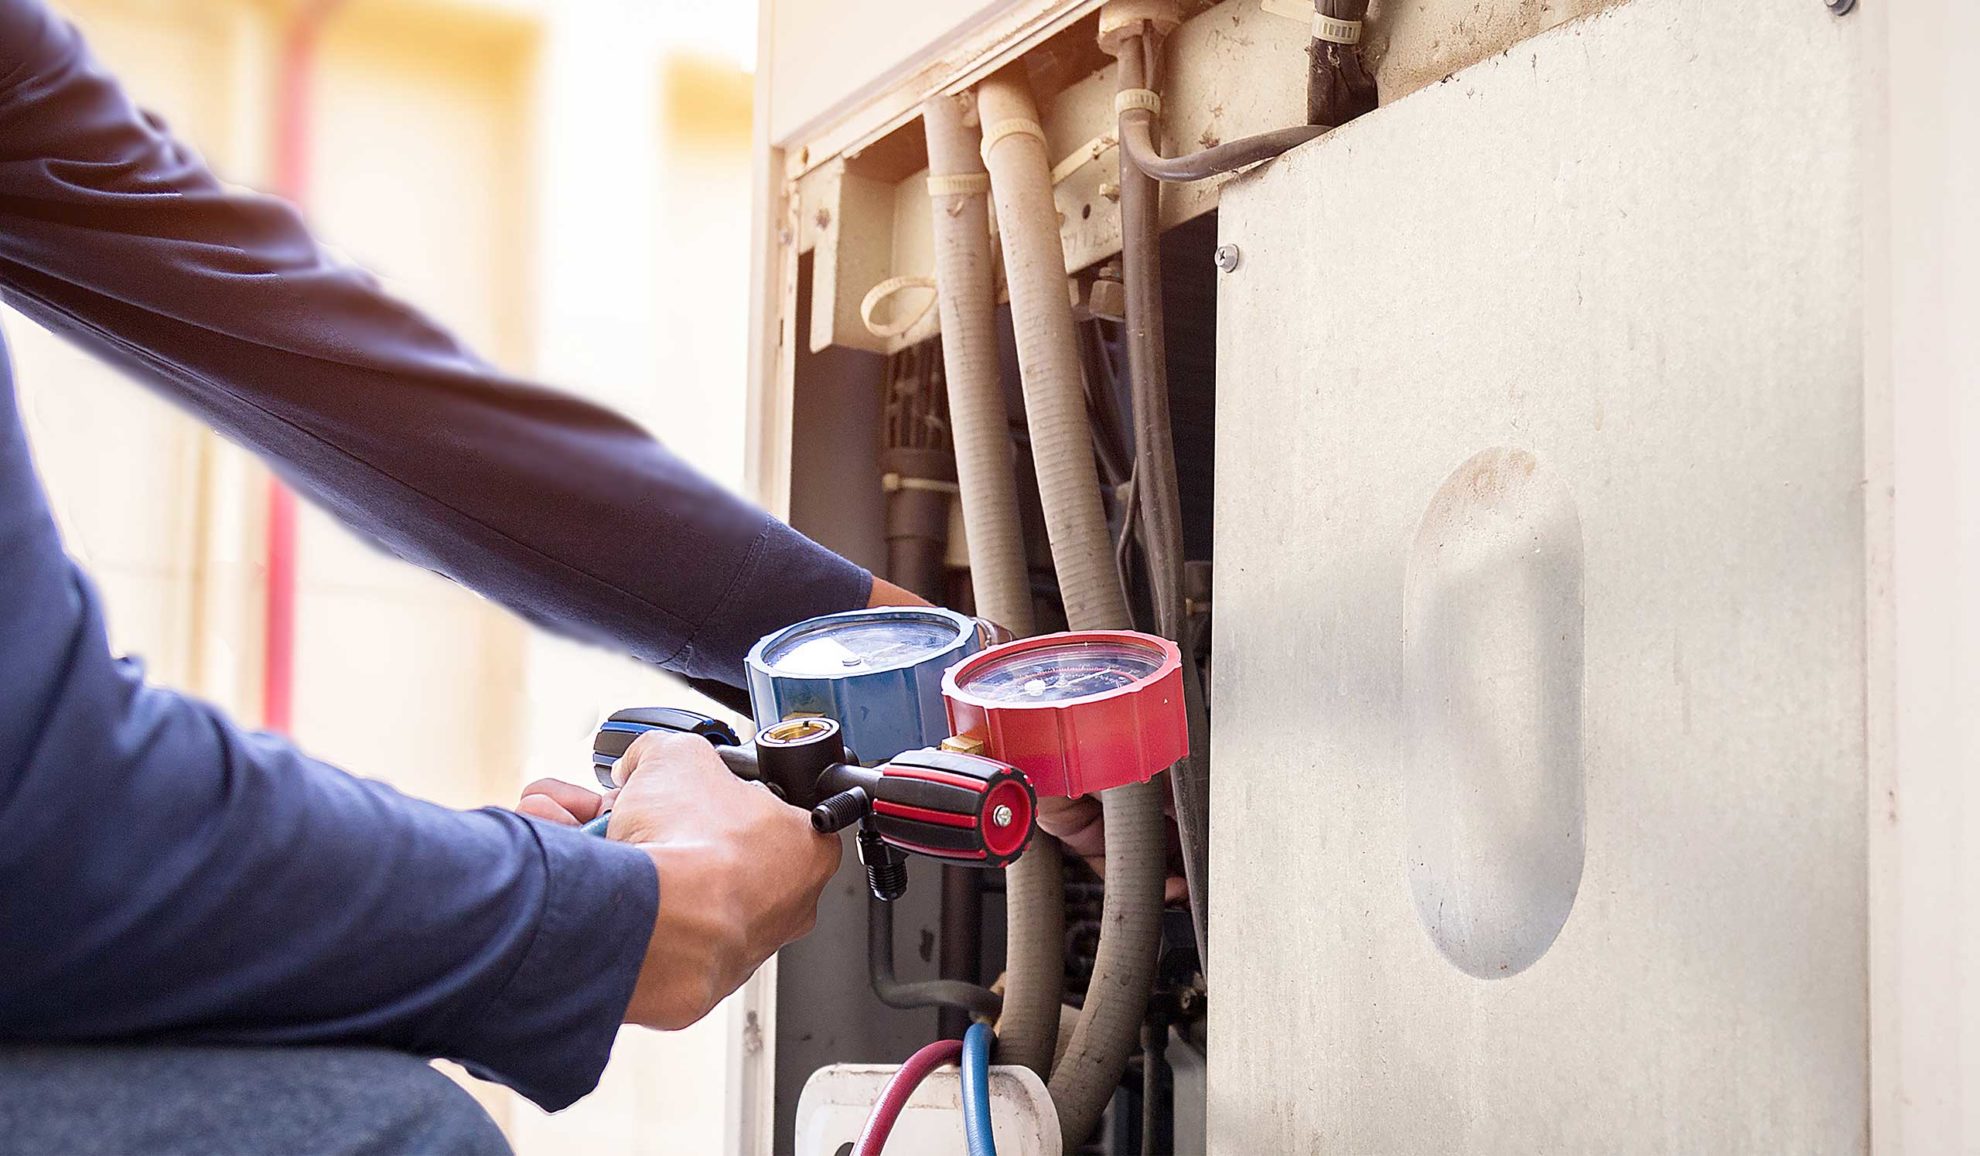
Inspect the aluminum fins for bends. If you see any, use a fin comb to gently straighten them. Bent fins restrict airflow, reducing the unit's efficiency. Be careful not to bend them further while working.
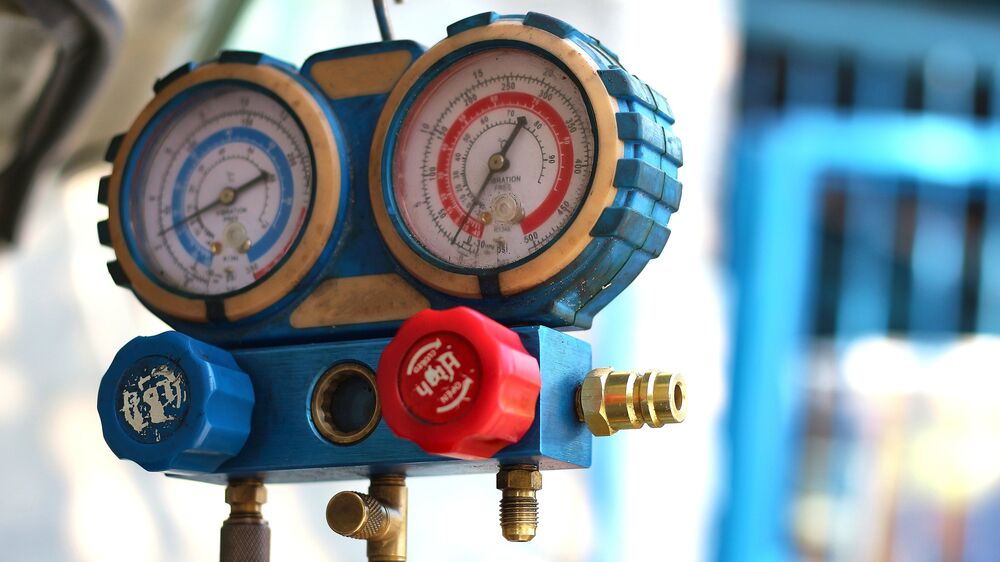
Once the unit is dry and clear, turn the power back on. Listen for the fan to start and feel for strong airflow coming from the top. If the unit makes strange noises or doesn't cool properly, contact a professional HVAC technician.
Inspect ductwork and vents
Air leaks in your ductwork force your AC to work harder to push conditioned air through gaps before it reaches your rooms. Start by looking for visible damage or disconnections in accessible sections of your ducts.
Focus your inspection on the vents themselves. Remove the covers and check for dust buildup or physical blockages that restrict airflow. Vacuum out any debris from the register and the first few feet of the duct behind it. Ensure the dampers inside are in the correct position—open for rooms in use and closed for unused spaces to balance the load.
Walk through each room and examine exposed ductwork in basements, attics, or crawlspaces. Look for disconnected joints, crushed flexible ducts, or obvious tears in the metal or foil wrapping.
Unscrew and remove all vent covers. Wash them with warm soapy water and let them dry completely before reinstalling. This prevents dust from being blown back into the system.
Shine a flashlight into the duct opening. If you see insulation material blocking the path or heavy dust bunnies, use a HEPA vacuum or a flexible duct brush to clear the obstruction.
Seal any identified leaks using mastic sealant or metal-backed tape. Avoid standard cloth duct tape, as it dries out and fails quickly under temperature changes. Properly sealed ducts ensure that every dollar spent on cooling actually cools your home, not the attic above it.
When to call an HVAC professional
You can handle routine maintenance like changing filters and clearing debris, but certain tasks require certified technicians. The boundary between DIY and professional service exists to protect your warranty, ensure safety, and maintain system efficiency.
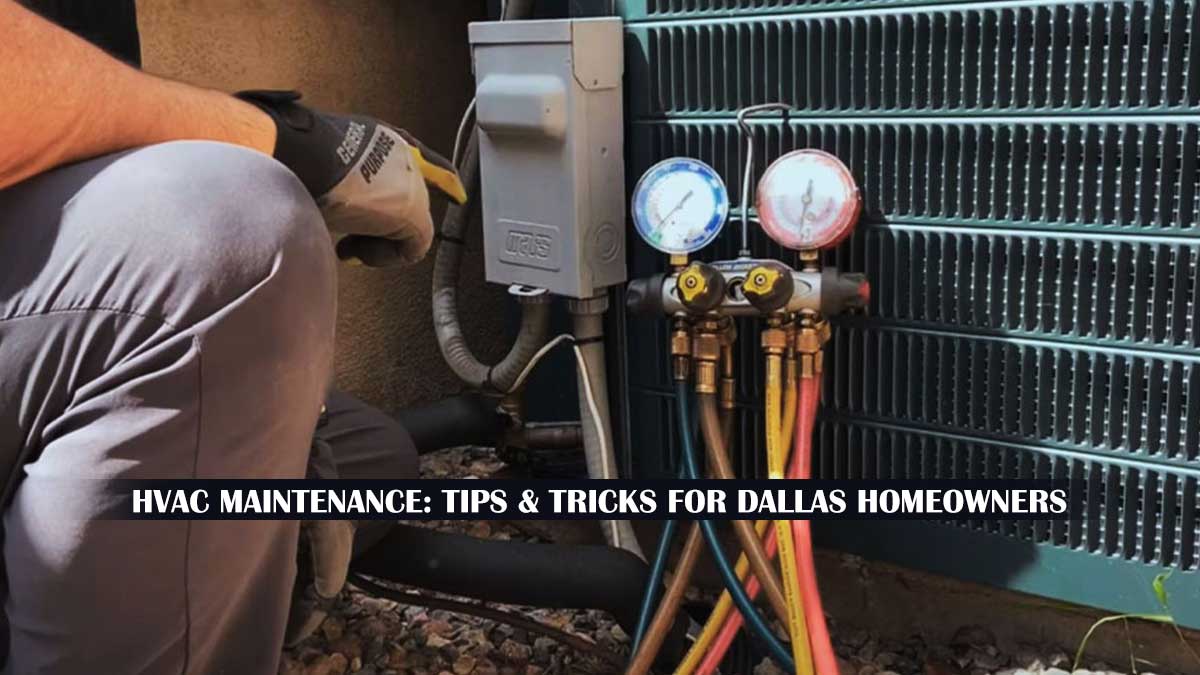
Refrigerant handling is strictly regulated. If you suspect a leak or notice the system running warm, do not attempt to add refrigerant yourself. Handling refrigerants requires EPA certification and specialized gauges to measure pressure and temperature accurately. Improper charging can damage the compressor or reduce cooling capacity permanently. Only licensed HVAC pros should diagnose and repair refrigerant issues.
Electrical components also demand professional attention. Checking amp draw, tightening connections, and inspecting capacitors involve high-voltage risks that can cause shock or fire. A technician will inspect the outdoor unit for vibration, loose parts, and defects that are difficult to spot without experience. They also verify that all electrical safety switches are functioning correctly.
Annual tune-ups are the best way to catch these issues early. A professional inspection typically costs between $175 and $350, though many companies offer monthly payment plans of $15 to $30. This proactive approach prevents costly breakdowns during peak summer heat and keeps your HVAC maintenance schedule on track.
Watch: Complete HVAC Maintenance Guide
Visual learners often grasp the physical steps of HVAC maintenance faster than reading alone. This video walks through the entire process, from cleaning coils to checking electrical connections.
Use this as a visual reference while you work. It shows exactly how to handle the components without damaging them.
HVAC Maintenance FAQ
Your pre-summer HVAC checklist
Use this summary to keep your system ready for summer. It condenses the full guide into a quick scan before the heat hits.
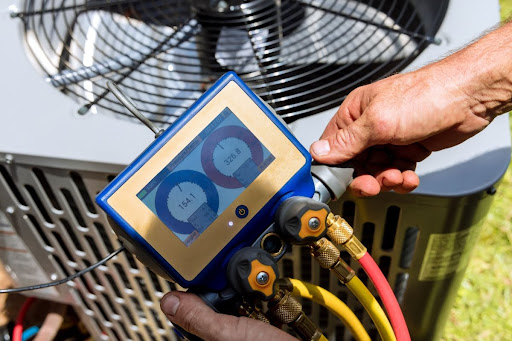
-
Clear debris from the outdoor condenser unit.
-
Replace the indoor air filter if it looks gray.
-
Set the thermostat to "Cool" and test the cycle.
-
Straighten any bent fins on the condenser coil.
-
Wipe down the thermostat battery compartment.
No comments yet. Be the first to share your thoughts!