

Why annual HVAC maintenance matters
Skipping annual HVAC Maintenance is like ignoring a check engine light while driving up a steep hill. The system might keep running, but it’s working harder, burning more energy, and risking a breakdown right when you need it most. Proactive care is the difference between a quiet summer and an emergency repair bill.
Regular upkeep keeps your system running efficiently. According to the U.S. Environmental Protection Agency, properly maintained heating and cooling systems use 5-15% less energy than neglected ones. That efficiency gap adds up significantly on your monthly utility bills, especially during peak summer months.
Beyond energy savings, annual maintenance extends the lifespan of your equipment. Technicians tighten electrical connections, lubricate moving parts, and check refrigerant levels—tasks that prevent minor issues from becoming catastrophic failures. A well-cared-for unit can last years longer than one that is only serviced when it breaks down.
The goal is simple: catch small problems before they escalate. Annual inspections ensure your HVAC system is ready to handle the heat without skipping a beat, saving you money and stress when temperatures soar.
Gather Your HVAC Maintenance Tools
Before you open the service panel, clear a space and lay out your equipment. Trying to find a missing screwdriver or a replacement filter mid-job interrupts your workflow and increases the risk of dropping debris into the unit. Treat this setup like a mechanic preparing a workbench: everything needs a designated spot before the engine starts.
Essential Safety Gear
Electrical safety comes first. HVAC systems involve high-voltage components that can deliver a shock even when the thermostat is off. Wear insulated gloves and safety glasses to protect against sharp metal edges and accumulated dust. If you are working on the outdoor condenser unit, wear sturdy work boots to protect your feet from heavy components or slipping on wet grass.
Core Tools for the Job
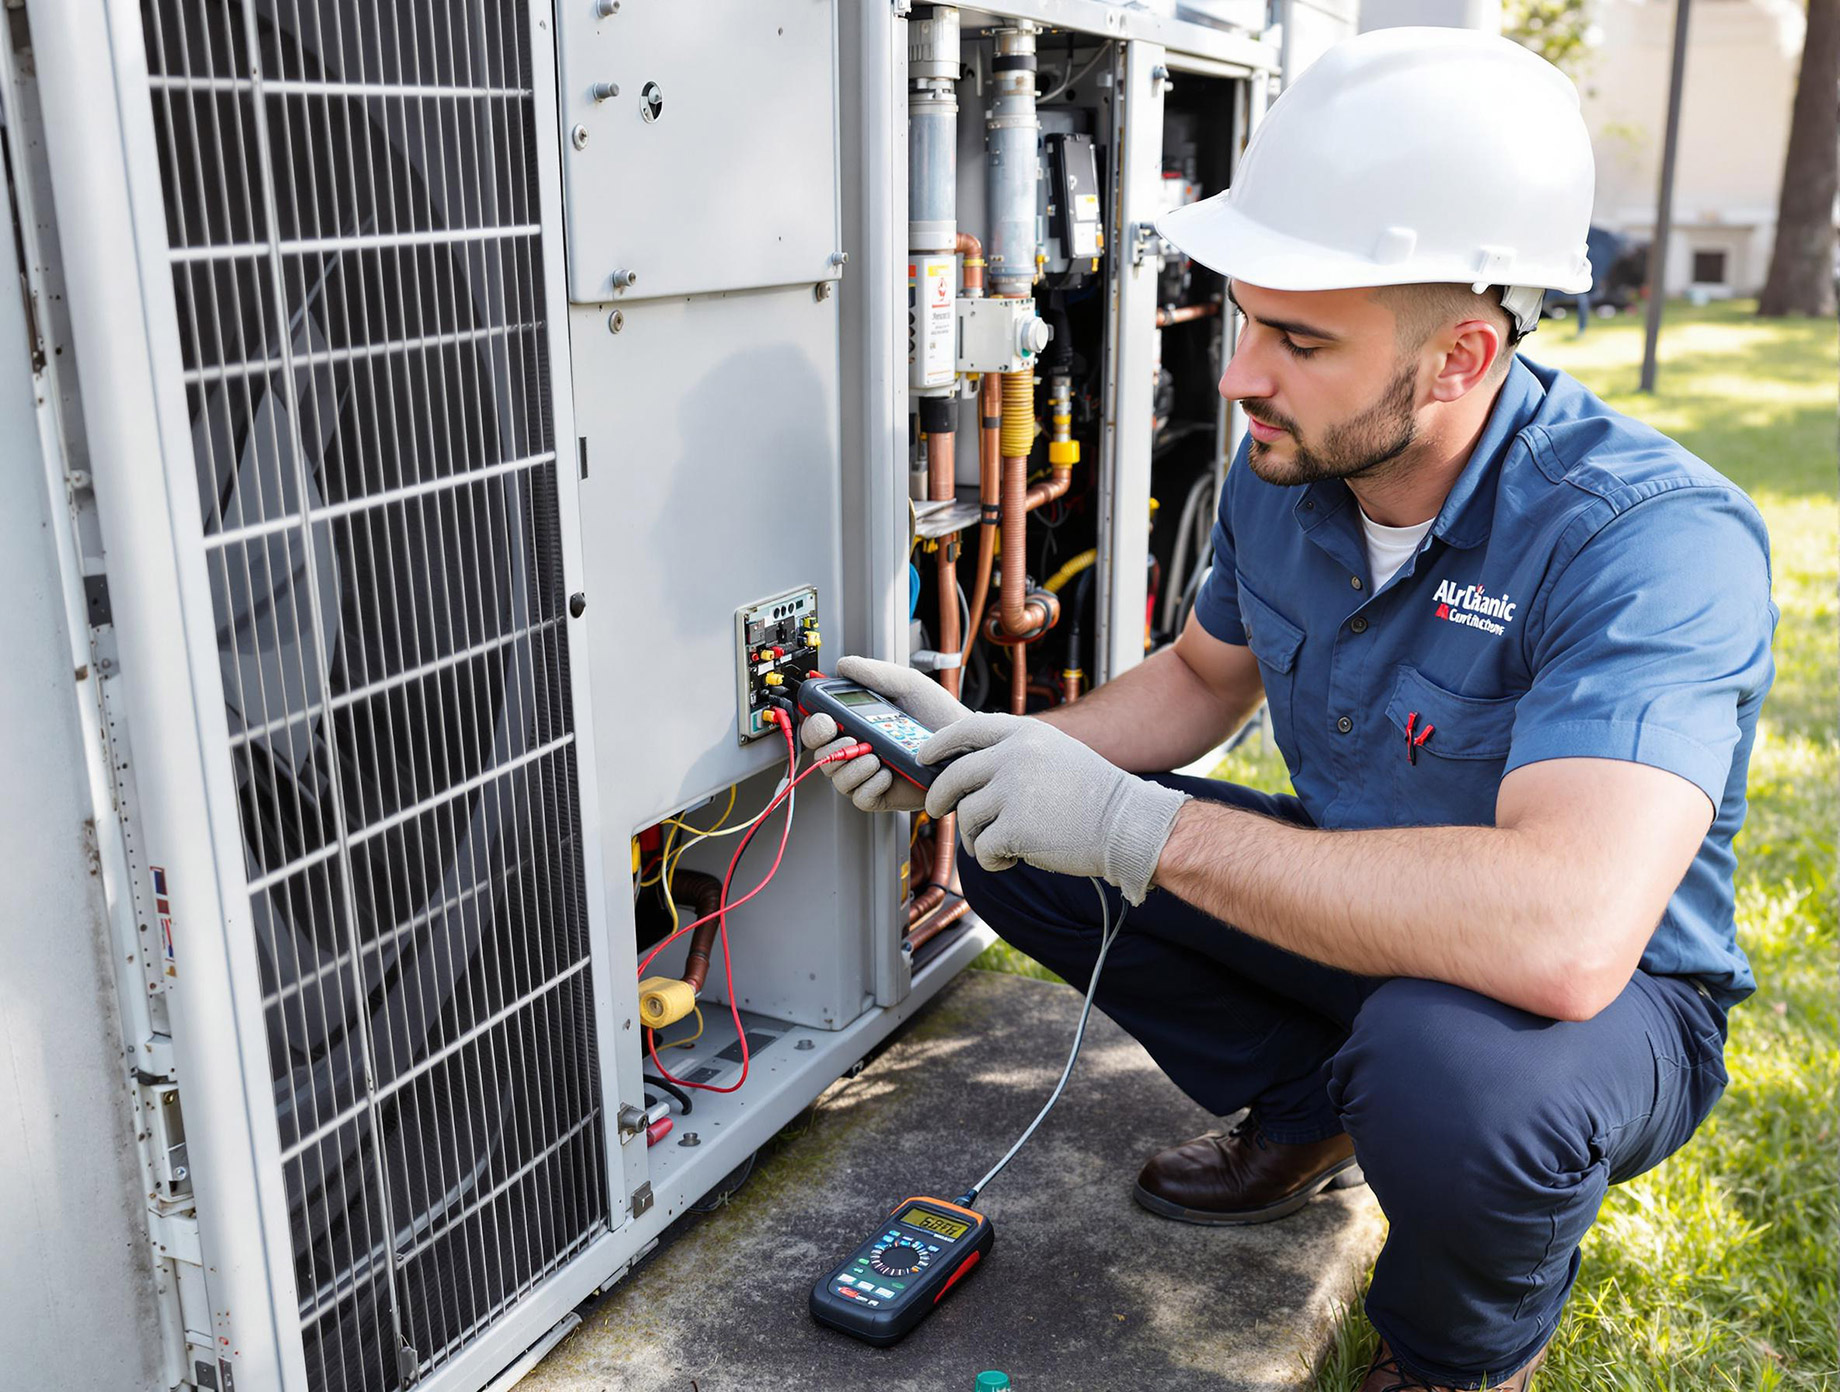
You do not need a professional toolkit, but you do need specific items to handle common HVAC Maintenance tasks effectively. A multimeter is non-negotiable for checking electrical continuity and voltage. Keep a screwdriver set with both flathead and Phillips heads for panel removal and terminal tightening. A vacuum with a crevice tool is essential for clearing dust from coils and drain pans. Finally, have a few 1-inch HVAC filters on hand, as replacing a dirty filter is often the single most impactful maintenance step you can take.
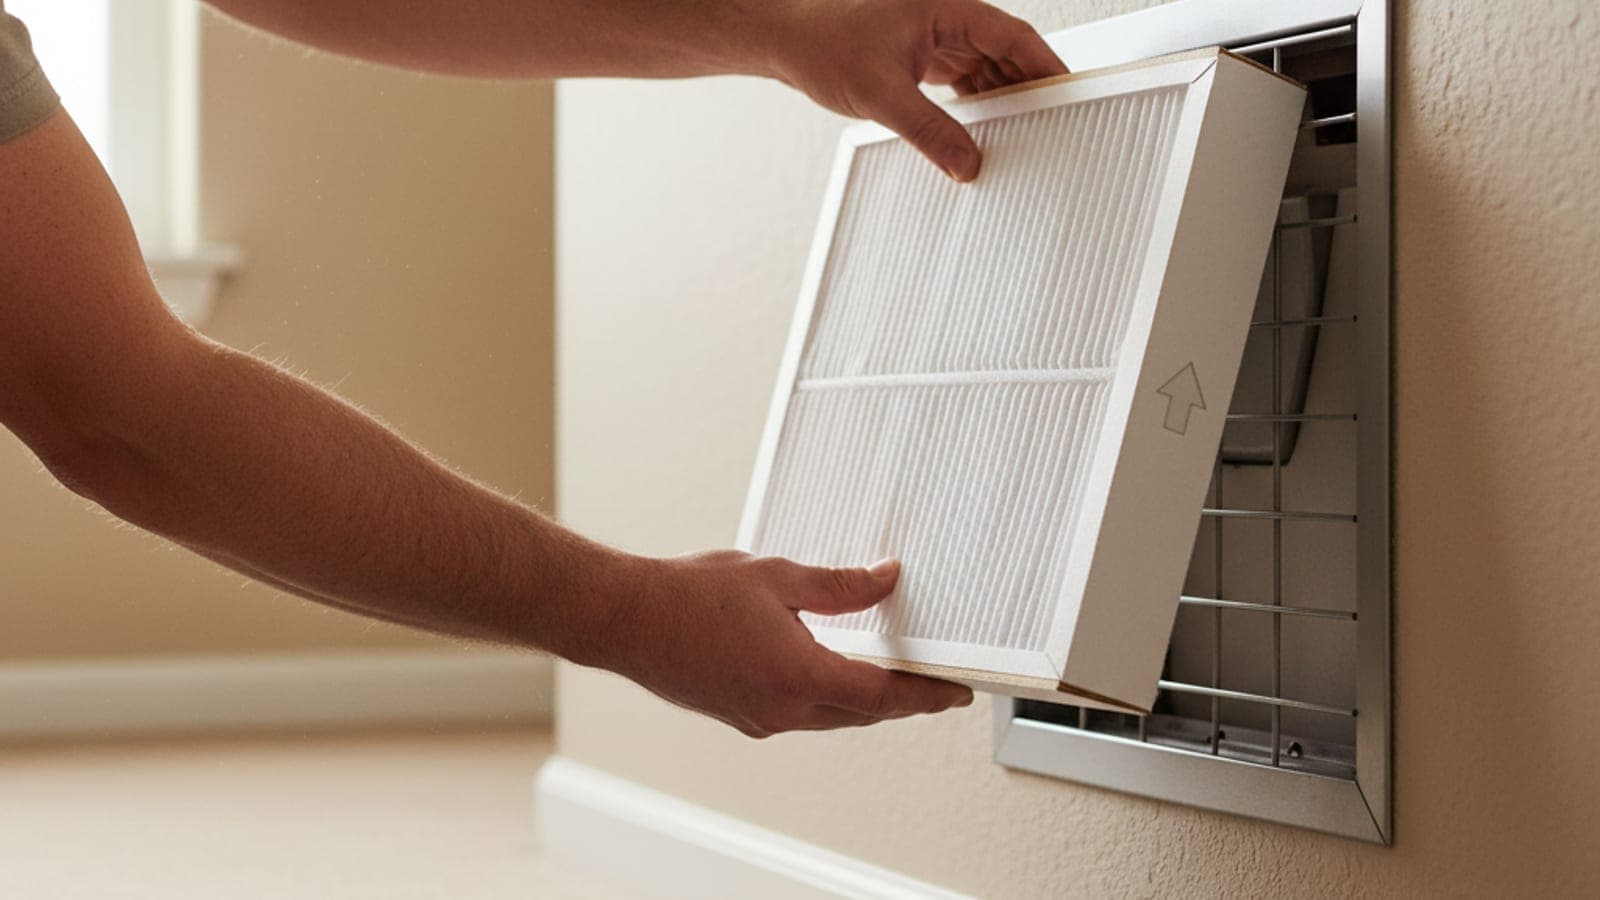
Step 1: Replace or clean air filters
Air filters are the lungs of your HVAC system. When they clog with dust and debris, they restrict airflow, forcing your unit to work harder to push cool air through your home. This restriction is the most common cause of summer breakdowns, leading to higher energy bills and premature wear on the compressor. Keeping your air filters clean is the single most effective way to maintain system efficiency and indoor air quality.
How to change your air filter
- Turn off the system. Switch your thermostat to "Off" to prevent the fan from pulling unfiltered air during the process.
- Locate the filter slot. This is typically found in the return air duct, either in a wall/ceiling grille or inside the furnace/air handler cabinet.
- Remove the old filter. Note the direction of the airflow arrows printed on the frame. Most filters are 1-inch pleated media; larger systems may use thicker 4-5 inch pleated filters or washable mesh screens.
- Inspect and replace. If the filter looks gray or clogged, replace it. If it’s a reusable mesh type, wash it with mild soap and water, let it dry completely, and reinstall it. Never run the system with a wet filter.
- Reset the reminder. If your system has a filter change indicator light, reset it according to the manufacturer’s instructions.
Turn off the HVAC system. Find the filter slot—usually behind a return air grille or inside the air handler cabinet. Slide the old filter out, noting the airflow arrows on the frame.
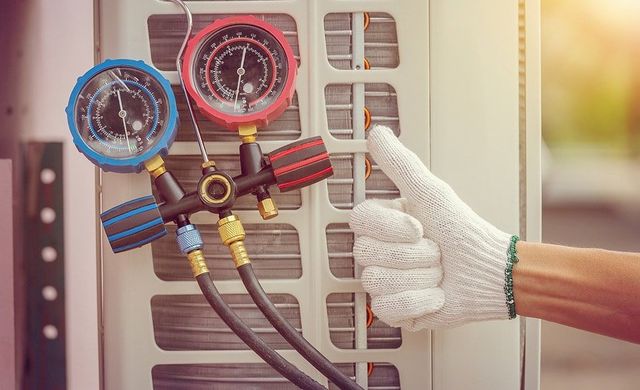
If it’s a disposable pleated filter, replace it with a new one of the same size and MERV rating. If it’s a washable electrostatic filter, rinse it gently with water and let it dry completely before reinstalling.
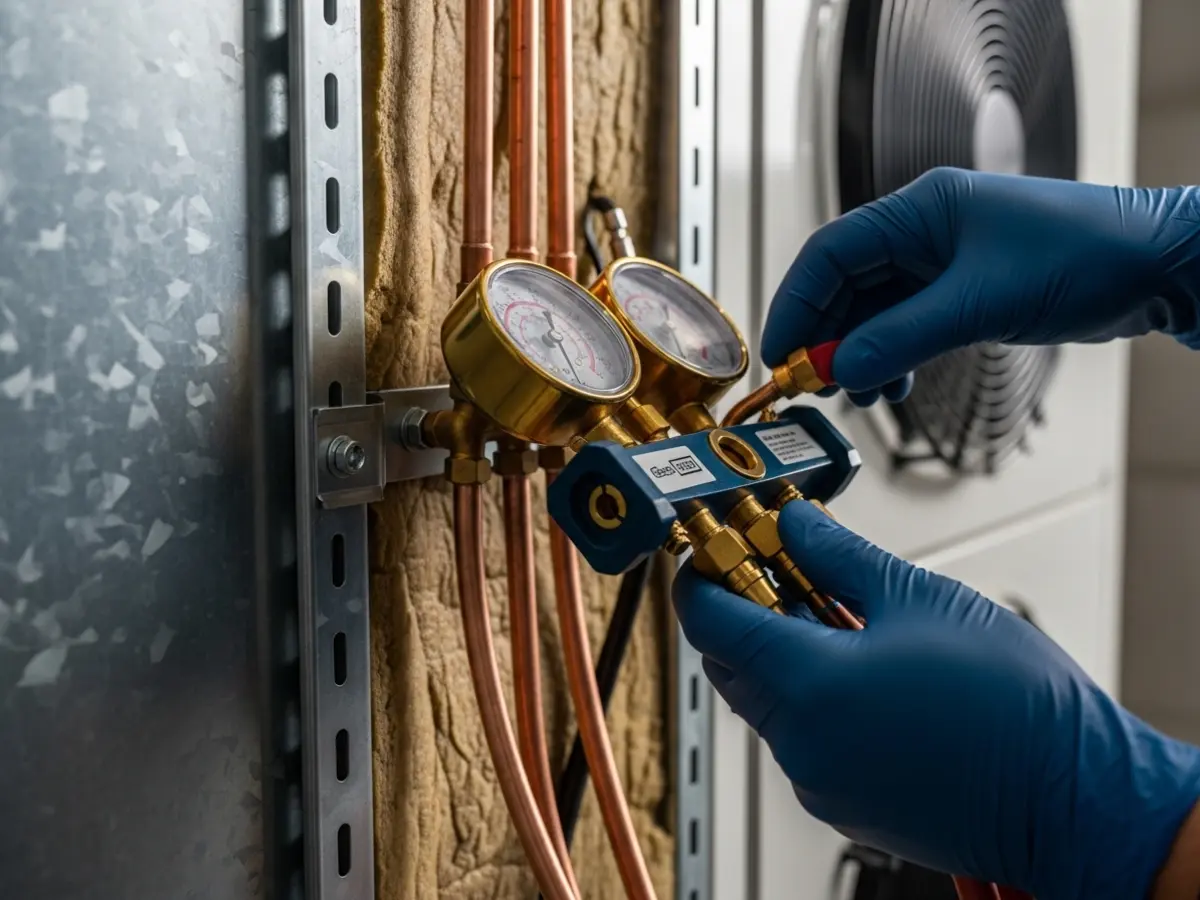
Slide the new or cleaned filter back in, ensuring the airflow arrows point toward the blower motor. Close the access panel, turn the system back on, and reset any filter change reminders on your thermostat.
How often should you change them?
For standard 1-inch pleated filters, replace them every 30 to 90 days. Homes with pets, high dust levels, or allergy sufferers should check monthly and replace every 30 days. Washable filters need cleaning every 1-2 months. A dirty filter can increase your energy consumption by up to 15% and reduce airflow significantly, making your home feel warmer even when the AC is running.
-
Turn off HVAC system
-
Remove old filter
-
Check airflow arrow direction
-
Install new or clean filter
-
Reset filter reminder
Pro Tip: Mark your calendar for the next filter change as soon as you install a new one. Setting a recurring monthly reminder ensures you never miss a change, keeping your HVAC Maintenance routine consistent and effective.
Step 2: Clear debris from the outdoor unit
The outdoor condenser unit works like a lung, pulling in outside air to release heat from your home. When leaves, grass clippings, or dirt clog the fins, the unit struggles to breathe. This forces the compressor to work harder, driving up your energy bills and risking a breakdown during the peak heat of summer. Keeping this area clear is one of the most effective HVAC Maintenance tasks you can perform yourself.
Before touching anything, turn off the power to the unit at the disconnect box near the condenser or at your circuit breaker. Safety first: you are working with electricity and sharp metal fins. Once the power is cut, remove the top fan grill and the fan assembly. Set these aside carefully so you can access the coils underneath. If the fan is stuck, do not force it; gently wiggle it free.
Use a garden hose with a gentle spray nozzle to rinse the fins from the inside out. Start with the interior coils and work your way toward the outside. Never use a high-pressure washer, which can bend the delicate aluminum fins and trap debris deeper inside. If there is thick mud or organic matter, use a soft-bristle brush to loosen it before rinsing.
After rinsing, straighten any bent fins with a fin comb. These tools are inexpensive and available at most hardware stores. Straight fins ensure proper airflow across the entire coil surface. Finally, clear a two-foot radius around the unit of any vegetation or debris to ensure unrestricted air intake. Reinstall the fan and grill, restore power, and listen for smooth operation.
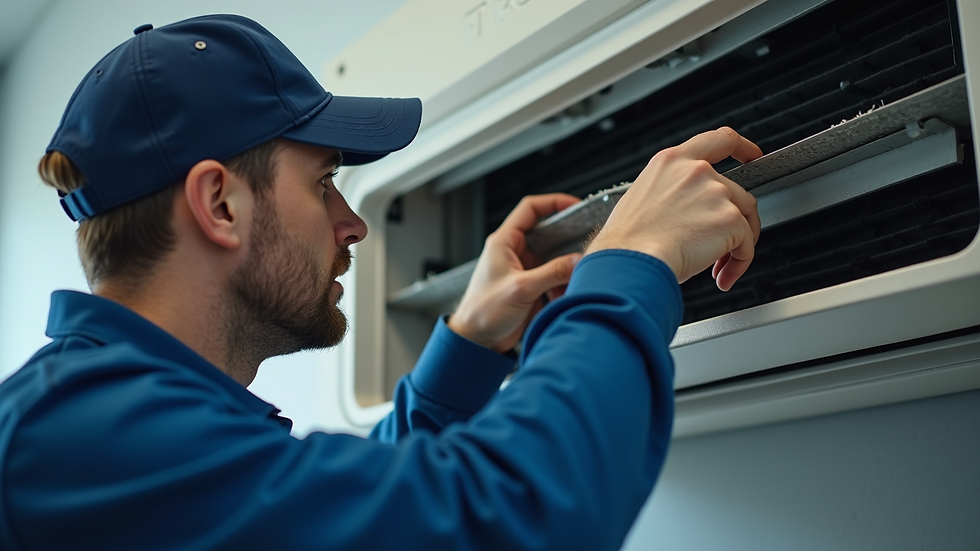
Locate the outdoor disconnect box near the condenser or your main circuit breaker panel. Flip the switch to the "off" position to cut power to the unit. Verify the unit is silent before proceeding.
Unscrew the top fan grill and lift it off. Remove the fan blade and the motor assembly if necessary to access the coils. This allows you to clean the interior fins where debris accumulates first.
Use a garden hose with a gentle spray nozzle to rinse the coils from the inside out. Avoid high-pressure washers, which can damage the fins. If debris is stuck, use a soft brush to loosen it before rinsing.
Use a fin comb to straighten any bent fins. Reinstall the fan assembly and grill. Restore power and ensure the unit starts smoothly.
Check the condensate drain line
Your air conditioner removes humidity from your home, and that water has to go somewhere. It drips into a pan and flows out through a PVC condensate drain line. In humid climates, this line is prone to clogs from algae, mold, and dirt. A blocked line doesn't just stop your AC from working efficiently; it can cause the system to shut down entirely or, worse, leak water onto your ceilings and walls.
Keeping this line clear is one of the most important HVAC Maintenance tasks you can perform. It prevents costly water damage and stops mold growth before it starts. You only need a wet/dry vacuum and some patience to clear it.
Find the PVC pipe exiting your indoor air handler unit. It usually connects to the condensate pan and runs toward the exterior of your home. If you have a secondary drain pan, locate that overflow pipe as well; it often indicates where the main line terminates.
Look for a T-shaped or L-shaped PVC fitting with a white or black cap near the air handler. This is the cleanout port. Unscrew the cap carefully. Have a small bucket or rag ready, as some standing water may spill out when you remove it.
Set your wet/dry vacuum to the highest suction. Place the vacuum hose directly over the open cleanout port. Seal the gap with your hand or a wet rag to create an airtight seal. Turn the vacuum on for 30 to 60 seconds. You should hear a change in sound or feel the line clear as the suction pulls out the algae and debris.
Pour one cup of white distilled vinegar down the cleanout port. This kills remaining algae and prevents future clogs. Avoid using bleach, which can corrode metal components in your drain pan over time. Replace the cap securely.
Perform this check every month during your cooling season. If the water level in the drain pan remains steady after flushing, you are good to go. If it rises quickly, you may have a deeper blockage or a cracked pan that requires professional attention.
When to call a professional
DIY HVAC maintenance covers the basics: swapping filters, cleaning vents, and keeping the outdoor unit clear of debris. These tasks keep your system running efficiently, but they don't fix mechanical failures. Knowing when to step back and call an expert prevents small issues from becoming costly disasters.
Use the $5,000 rule to decide between repair and replacement. Multiply the age of your unit by the estimated repair cost. If the total exceeds $5,000, replacement is usually the smarter financial move. For example, a 10-year-old system needing a $600 repair equals $6,000, signaling it's time for a new unit.
Call a professional immediately if you notice specific warning signs. Strange noises like grinding or screeching often indicate motor or belt failure. Weak airflow suggests duct leaks or blower issues that require specialized tools. If your unit blows warm air or cycles on and off rapidly, the refrigerant levels or thermostat may be faulty. These problems involve complex components that DIYers shouldn't touch.
Regular professional maintenance extends your system's life and keeps energy bills low. Schedule an annual check-up before summer peaks. A certified technician can spot wear and tear you might miss, ensuring your HVAC maintenance plan stays on track.
No comments yet. Be the first to share your thoughts!