

Start with the air filter
Changing the air filter is the single most important step in basic HVAC maintenance. It is the first line of defense for your system, trapping dust, pet dander, and pollen before they can clog coils or strain the blower motor. A clean filter keeps airflow steady, which helps your unit cool your home efficiently and reduces the risk of overheating during peak summer heat.
Locate the filter slot, usually found in the return air duct near the furnace or air handler. Pull the current filter out and hold it up to a light source. If you cannot see light through the media, or if it looks gray and matted, it is time for a replacement. Even if it looks somewhat clean, most manufacturers recommend swapping it every 90 days, or every 30 days if you have pets or allergies.
When buying a new one, match the dimensions printed on the frame exactly. Check the arrow printed on the side of the filter; it must point toward the furnace (with the airflow) to work correctly. Slide the new filter in firmly, ensuring the edges are seated properly so air doesn’t bypass it. This small task protects your compressor and extends the life of your system.
Open the access panel on the return air duct or furnace unit. The filter is typically held in a sliding rack or frame near the blower motor.
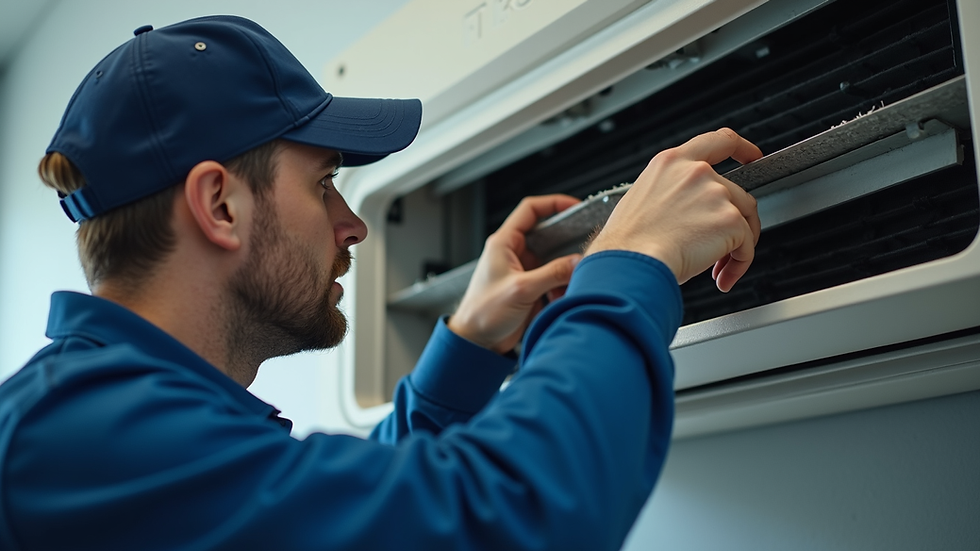
Pull the filter out and check for visible dust buildup. If it is dark gray or clogged, replace it immediately to restore proper airflow.
Check the arrow on the new filter frame. Ensure it points toward the furnace (with the airflow) and slide it into the slot until it fits snugly.
Clean the outdoor condenser unit
The outdoor condenser unit is the workhorse of your HVAC Maintenance routine. It pulls in air from all sides to release heat from your home. When leaves, grass clippings, and dirt clog the fins, the unit has to work harder, raising your energy bills and risking overheating. A quick clean before summer keeps the airflow steady.
1. Turn off power to the unit
Safety comes first. Locate the disconnect switch—a small metal box mounted on the side of the outdoor unit—and flip the switch to the "off" position. For added safety, turn off the circuit breaker at your main electrical panel. This ensures the fan and compressor won’t start while you’re working near the electrical components.
Clear at least two feet of space around the condenser. Remove leaves, twigs, and overgrown bushes. This "clear zone" ensures the unit can pull in enough air without restriction. Do not use a high-pressure hose yet; just pick up large debris by hand or with a leaf blower on a low setting.
Unscrew the four screws holding the top grille in place and lift it off. You will see the fan blade. Unscrew the nut in the center of the fan and lift the blade out. Set the fan and grille aside on a clean towel. This exposes the coils and the interior of the unit for a thorough cleaning.
Use a soft brush or a vacuum with a brush attachment to remove dirt from the fins. For deeper grime, spray a commercial coil cleaner according to the bottle instructions, or use a garden hose with a gentle spray nozzle. Always spray from the inside out to push debris away from the unit, not deeper into the fins. Be careful not to bend the delicate aluminum fins.
If you notice any bent fins, use a fin comb to gently straighten them. Bent fins restrict airflow and reduce efficiency. Once the unit is clean and dry, place the fan blade back on the motor shaft and secure it with the nut. Replace the top grille and screw it back into place. Restore power at the disconnect box and circuit breaker.
Check the drain line
While the unit is off, locate the condensate drain line—a PVC pipe usually exiting the side of the unit. Clogs here can cause water damage to your home. Pour a cup of distilled vinegar down the drain opening to kill algae and prevent future clogs. If water doesn’t flow freely, use a wet/dry vacuum to clear the blockage.
Inspect the insulation
Check the copper refrigerant lines that run from the outdoor unit into your home. They should be wrapped in foam insulation. If the insulation is cracked, missing, or wet, replace it. Bare lines lose efficiency and can freeze up, causing your AC to stop cooling entirely.
Clear the condensate drain line
The condensate drain line is a small PVC pipe that carries moisture away from your AC unit. During summer, high humidity means this line works overtime. If algae or debris clogs it, water backs up into your home. This can cause ceiling stains, floor damage, and mold growth inside your ductwork.
Clearing this line is one of the most effective HVAC maintenance tasks you can do yourself. It takes less than ten minutes and prevents costly water damage repairs.
Find the PVC pipe exiting your indoor AC unit. It usually runs along the side of the unit and connects to a drain pan. Look for a T-shaped or P-shaped vent pipe sticking up near the unit; this is your access point.
Unscrew the plastic or metal cap on the vertical vent pipe. Use pliers if it is tight. Place a small bucket or towel underneath to catch any standing water or debris that may fall out.
Use a wet/dry shop vacuum to suck out the clog. Place the vacuum hose tightly over the open pipe. Seal the gap with a wet rag or your hand to create suction. Turn the vacuum on for 30–60 seconds. You should hear a "whoosh" as the blockage breaks up.
Pour one cup of white vinegar down the pipe to kill remaining algae and bacteria. Let it sit for 30 minutes. Then, pour a cup of warm water through the line to flush it out. Replace the cap securely.
Inspect the thermostat settings
The thermostat is the brain of your HVAC system, but it often drifts out of alignment as seasons change. Before summer heat peaks, verify that your settings match your comfort needs and that the unit is calibrated correctly. A misaligned thermostat can cause your AC to cycle too frequently or run longer than necessary, driving up energy bills.
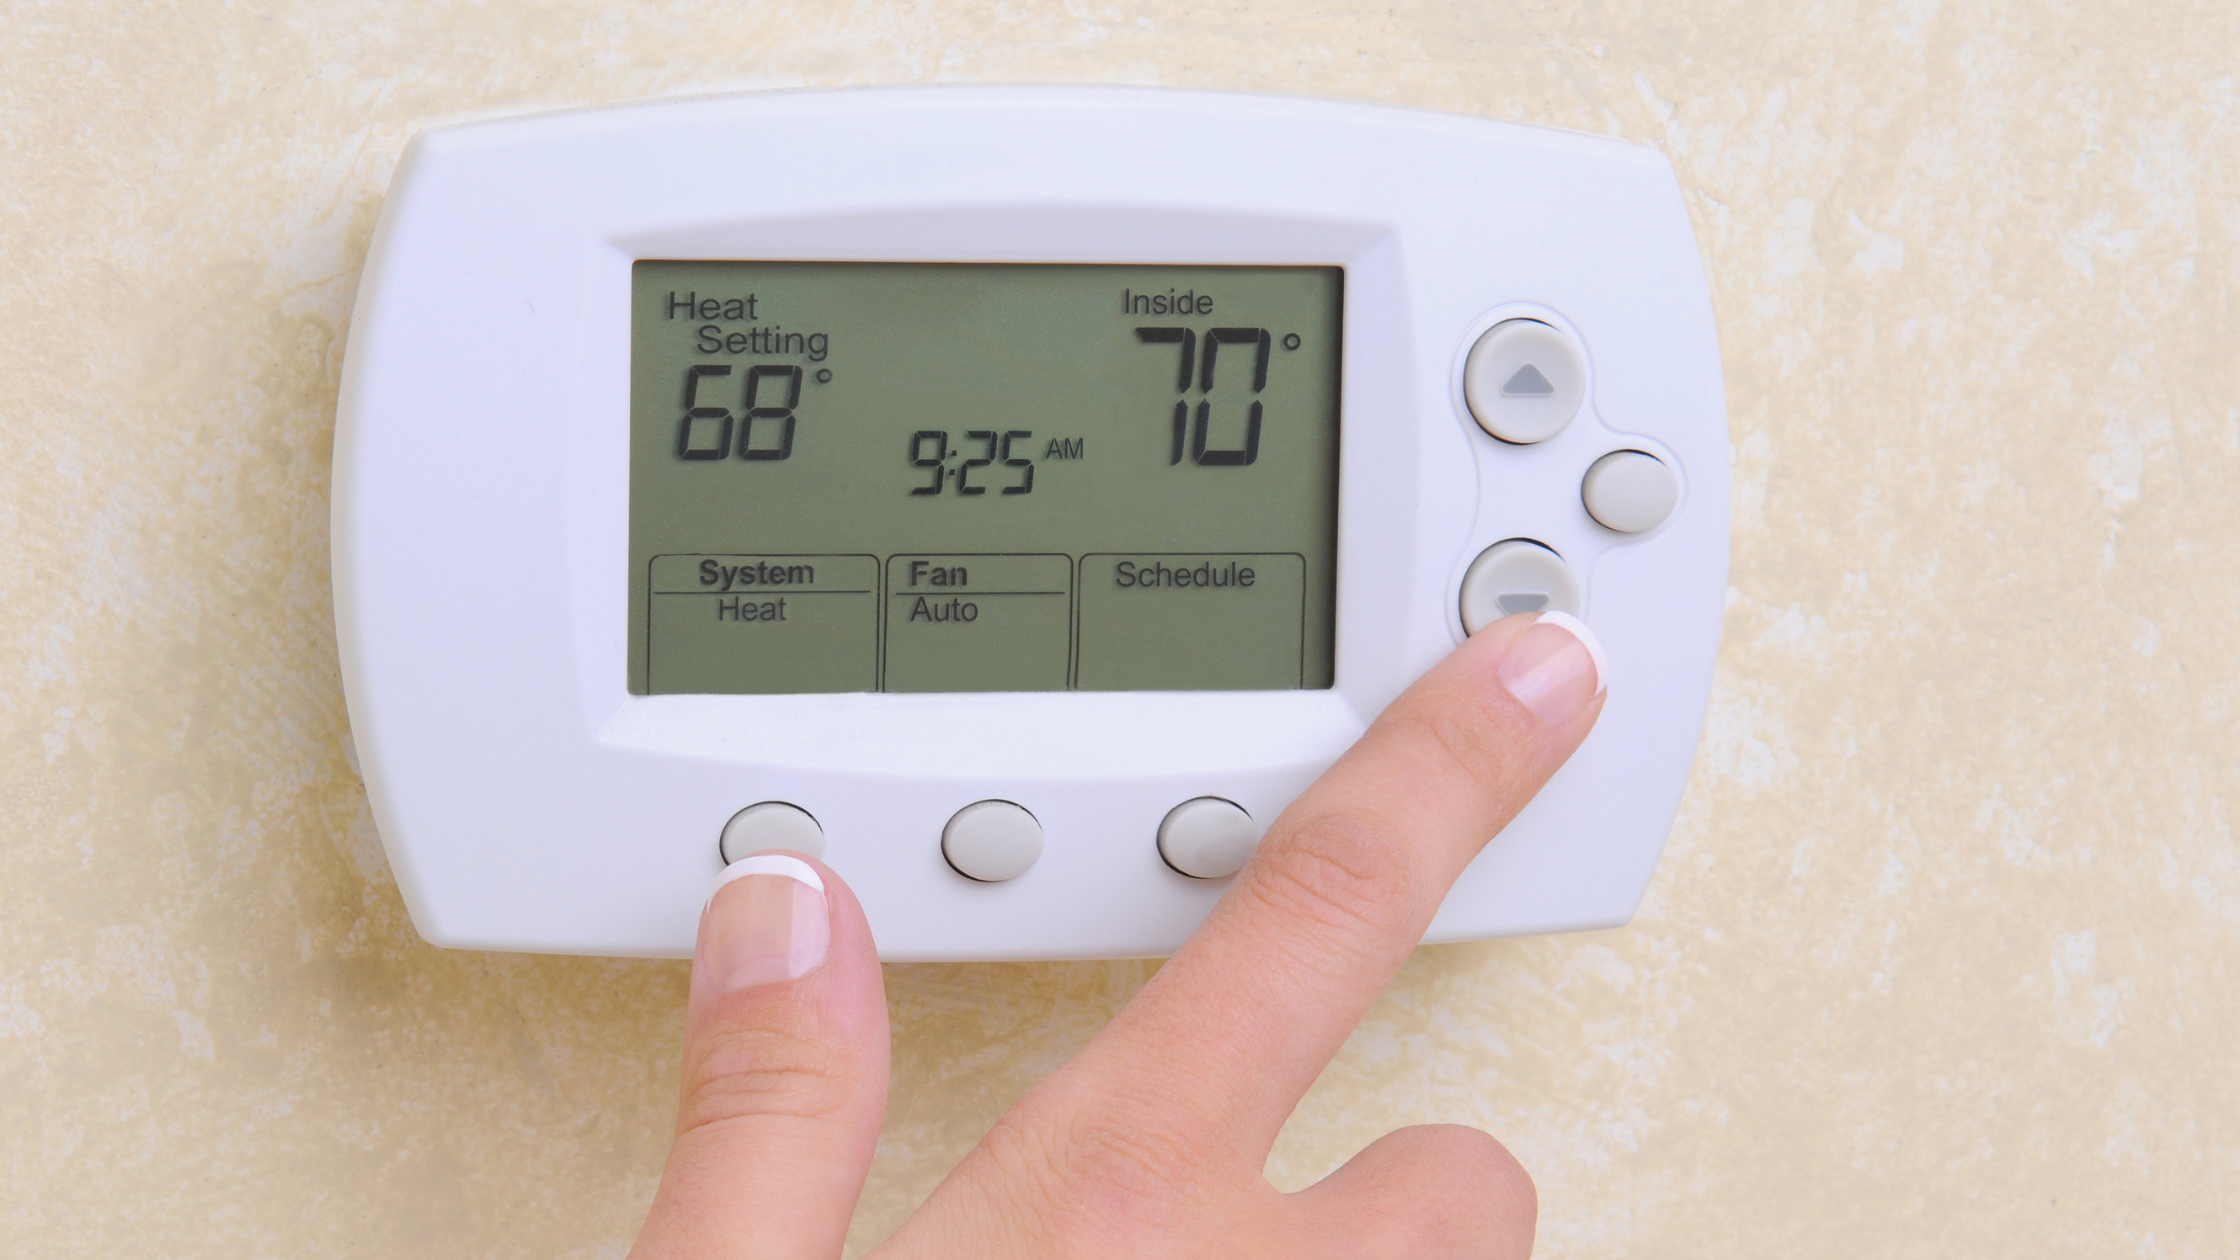
Start by checking the mode. Ensure the switch is set to "Cool" rather than "Heat" or "Auto." If your system uses a smart thermostat, confirm that the Wi-Fi connection is stable and the software is up to date. For programmable models, review the schedule to ensure it aligns with your current summer routine. Setting the temperature too low when you are away is a common mistake; aim for a reasonable baseline to reduce strain on the compressor.
Calibration is the next critical step. If your home feels colder or hotter than the displayed number, the thermostat may need recalibration. Compare the reading with a separate, accurate thermometer placed nearby. If there is a discrepancy of more than two degrees, consult the manufacturer’s manual for calibration instructions. Many digital models allow you to adjust the offset directly in the settings menu.
Finally, check the location of the thermostat. It should be installed on an interior wall, away from direct sunlight, drafts, or heat-generating appliances like lamps or televisions. If the unit is in a hot spot, it will think the whole house is warm and shut off the AC prematurely, leaving other rooms stuffy. Relocating or shielding the thermostat can significantly improve cooling efficiency.
Know when to call a pro
HVAC maintenance isn't just about changing filters and clearing debris. Some tasks involve high-voltage electrical components, pressurized refrigerant lines, or complex diagnostics that require specialized tools and licensing. Attempting these repairs yourself can void warranties, cause safety hazards, or turn a minor issue into a catastrophic failure.
The $5,000 rule is a practical heuristic for deciding whether to repair or replace. Multiply the cost of the needed repair by the age of your air conditioner. If the result is greater than $5,000, replacement is generally the smarter financial choice. If it's less than $5,000, a repair might still be worth the investment, provided the unit isn't near the end of its natural lifespan.
| Task | DIY Friendly? | Why It Needs a Pro |
|---|---|---|
| Replacing air filters | Yes | Simple, routine, and requires no tools. |
| Cleaning condenser coils | Yes | Low risk; just gentle washing with a hose. |
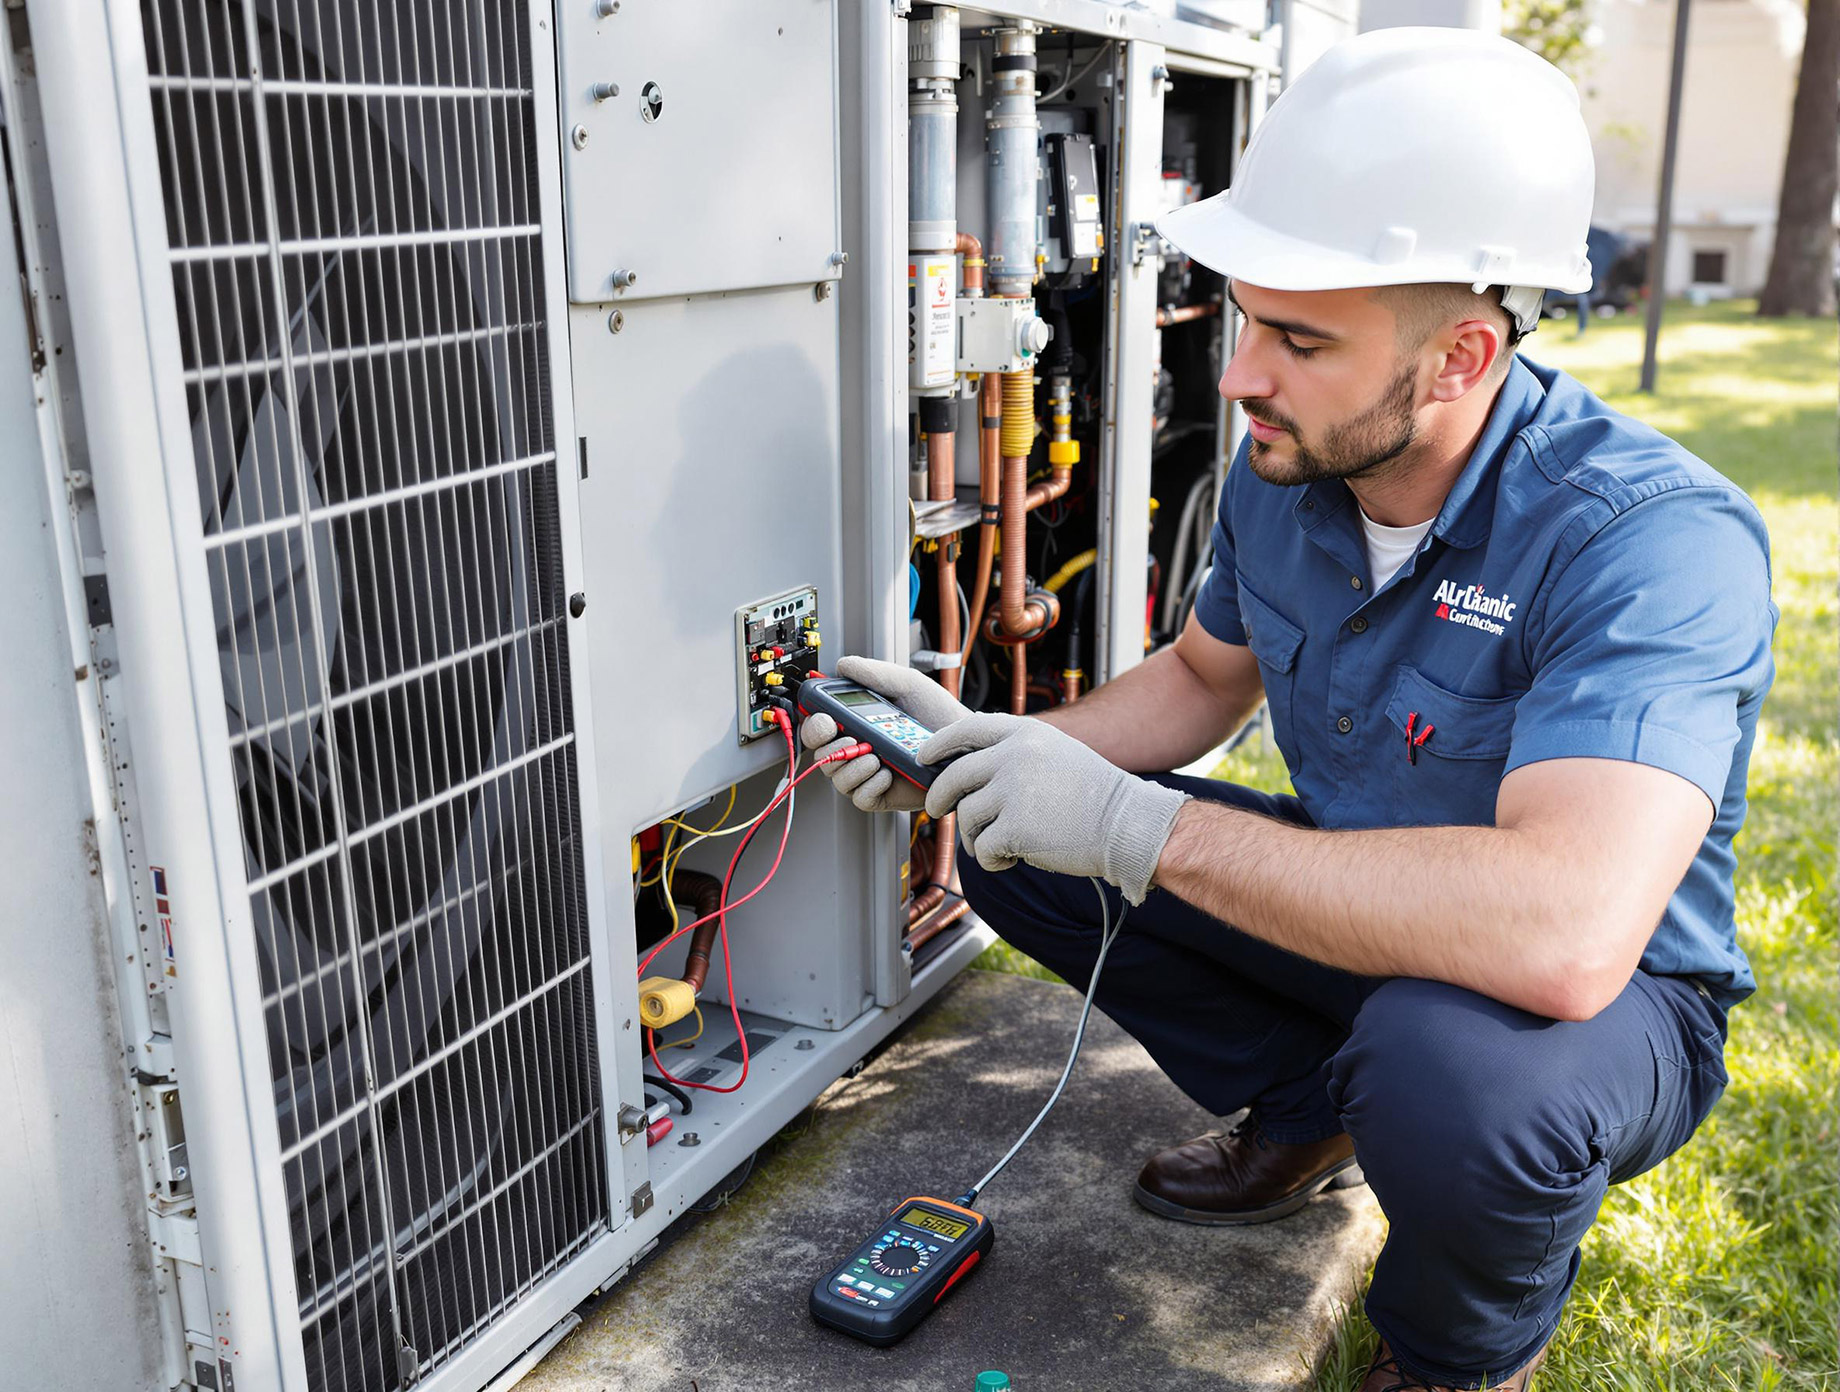
| Checking thermostat calibration | Yes | Basic troubleshooting with a multimeter. |
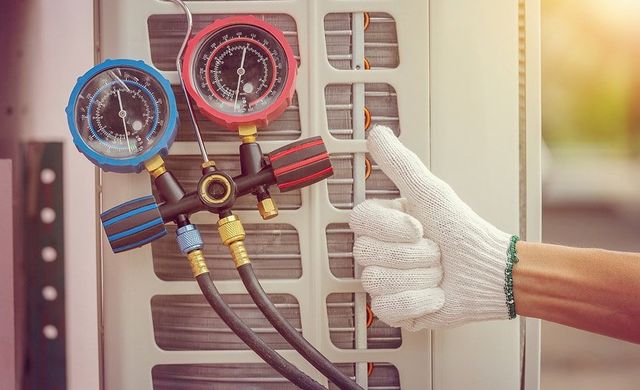
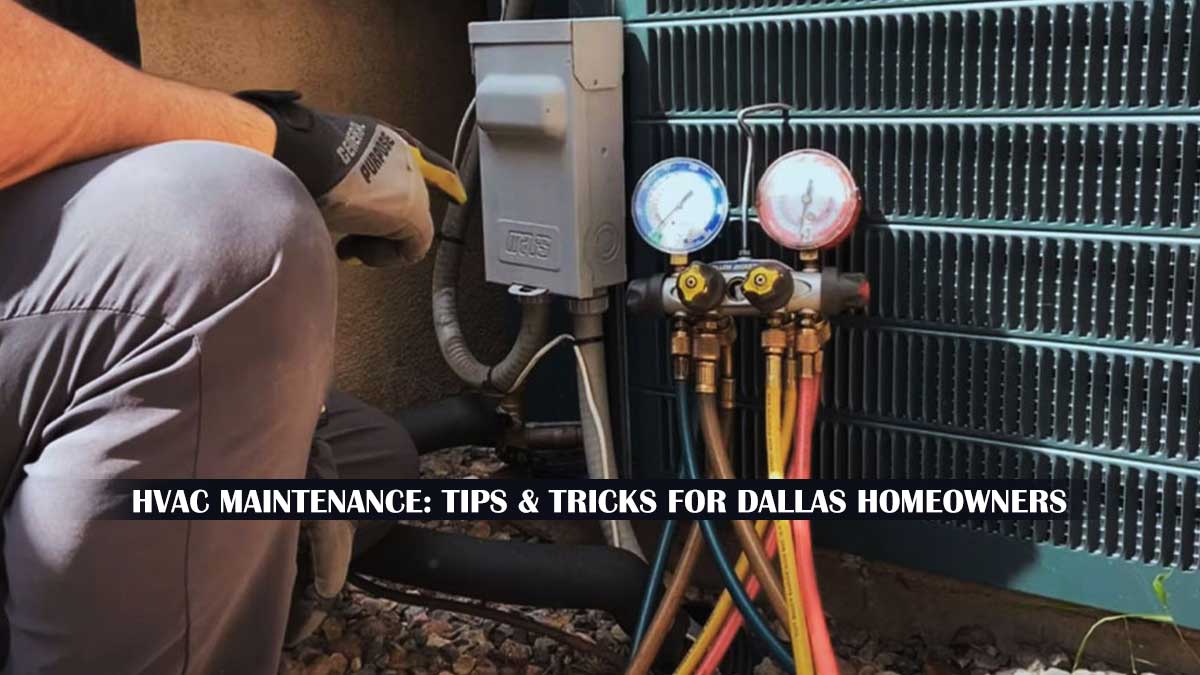
| Recharging refrigerant | No | EPA regulations require licensed technicians. |
| Electrical component repair | No | High voltage risk; requires certified expertise. |
| Compressor replacement | No | Heavy, complex, and often signals system end-of-life. |
If your system is over 10 years old and requires a major component like a compressor or heat exchanger, the cost often exceeds the value of the unit. In these cases, investing in a new, energy-efficient system might be more cost-effective than patching an aging one.
Watch this maintenance guide
Visual reinforcement helps cement the HVAC Maintenance steps before summer heat hits. This video demonstrates the full process, from clearing debris around the outdoor unit to checking your filters.
HVAC Maintenance FAQ
Your pre-summer HVAC maintenance checklist
Use this final reference to ensure your system is ready for peak heat. Performing these tasks is the most effective way to prevent breakdowns when temperatures rise. This list covers the essential HVAC maintenance steps that balance DIY efforts with professional oversight.
1. Replace the Air Filter
A clogged filter restricts airflow, forcing the unit to work harder. Check your filter monthly and replace it every 1–3 months. Use a MERV 8–11 rating for standard residential systems to balance filtration and airflow.
2. Clean the Condenser Unit
Clear debris like leaves and grass clippings from around the outdoor condenser. Maintain at least two feet of clearance around the unit to ensure proper airflow. Gently rinse the fins with a hose, spraying from the inside out to avoid bending them.
3. Check the Thermostat
Verify that your thermostat is cooling correctly by lowering the temperature and listening for the compressor to kick on. If you have an older model, consider upgrading to a programmable thermostat to optimize energy use during peak summer hours.
4. Inspect Ductwork
Look for visible gaps, loose connections, or excessive dust buildup in accessible duct sections. Leaky ducts can waste up to 30% of conditioned air. Seal minor gaps with mastic tape; for major leaks, consult a professional.
5. Schedule a Professional Tune-Up
While DIY tasks handle basics, a licensed technician checks refrigerant levels, electrical connections, and motor wear. Annual HVAC maintenance extends system lifespan and catches issues before they become costly repairs.
No comments yet. Be the first to share your thoughts!