
Why routine HVAC maintenance matters
Skipping basic upkeep turns a simple seasonal task into a costly emergency. The difference between preventive maintenance and emergency air conditioning repair is stark. A standard professional tune-up typically runs between $100 and $200. An emergency repair callout often starts at $500 and climbs quickly once technicians identify the root cause.
The Department of Energy notes that regular maintenance of filters, coils, and refrigerant lines is essential for efficient performance. When these components clog or degrade, the system works harder to cool your home. This extra strain drives up energy bills and accelerates wear on critical parts like the compressor.
Think of your HVAC system like a car engine. You wouldn’t skip oil changes for five years and expect the engine to run smoothly. Similarly, ignoring filter changes and coil cleaning forces the system to operate under stress. Routine checks catch minor issues—like a loose wire or a dirty filter—before they escalate into major breakdowns during peak summer heat.
Replace or clean air filters
Air filters are the first line of defense for your HVAC Maintenance. A clogged filter restricts airflow, forcing the system to work harder and raising energy bills. It also traps dust and debris that can settle on sensitive internal coils, leading to premature wear. Replacing or cleaning this component is the most frequent and impactful task you can perform yourself.
Before you begin, locate the filter slot. It is usually found in the return air ductwork near the indoor air handler or inside the furnace cabinet. Pull the old filter out and check the label on the frame for the exact dimensions (length x width x thickness) and the MERV rating. MERV stands for Minimum Efficiency Reporting Value, which indicates how well the filter captures particles. For most homes, a MERV 8 to 11 filter offers the best balance of airflow and filtration. Do not install a filter with a higher MERV rating unless your system is specifically designed for it, as it may restrict airflow too much.
If you are using a disposable filter, simply slide the new one in. Ensure the arrows on the frame point toward the air handler, indicating the direction of airflow. If you have a reusable washable filter, rinse it with a garden hose until the water runs clear. Let it dry completely for 24 hours before reinstalling it to prevent mold growth. Check your filter every month during peak summer and winter months; replace it every 1-3 months depending on household pets, smoking, or local dust levels.
Clear debris from the outdoor unit
Leaves, grass clippings, and dirt act like insulation around your condenser, trapping heat and forcing the compressor to work harder. When airflow is restricted, the system struggles to release the heat it absorbed from inside your home, leading to higher energy bills and potential breakdowns. Regularly clearing this debris is a foundational part of DIY HVAC Maintenance that keeps the heat exchange process efficient.
Before you begin, ensure the unit is powered off. Locate the disconnect switch near the outdoor unit or turn off the circuit breaker to cut power safely. This prevents the fan from accidentally spinning up while you are cleaning the coils and fins.
Start by removing large debris by hand. Pull away any accumulated leaves, twigs, or grass clumps from the top and sides of the unit. You can also use a garden hose to gently spray away loose dirt from the exterior casing. Avoid using a pressure washer, as the high pressure can bend the delicate aluminum fins and damage the internal components.
Once the surface debris is gone, inspect the fins for clogging. If dirt is packed deep into the coil fins, use a fin comb to straighten any bent sections and a soft brush to loosen the grime. Rinse the coils gently with water from the inside out to push debris away from the unit, rather than pushing it deeper in.
Finally, ensure there is at least two feet of clearance around the entire unit. Trim back any shrubs, vines, or tall grass that might grow into the airflow path. Maintaining this open space allows the fan to pull in cool air and expel hot air without restriction, which is essential for the longevity of your system.
Turn off the power to the outdoor condenser using the disconnect switch or circuit breaker. This safety step prevents the fan from activating while you are cleaning the unit.
Hand-remove leaves, grass, and twigs from the top and sides of the unit. Use a garden hose to gently rinse away loose surface dirt, avoiding high-pressure washers that can damage fins.
Use a soft brush to clean dirt from the coil fins. If fins are bent, straighten them with a fin comb. Rinse the coils gently from the inside out to push debris away from the unit.
Trim back any vegetation to maintain at least two feet of clearance around the unit. This ensures the fan can pull in cool air and expel hot air without restriction.
Inspect the thermostat and ductwork
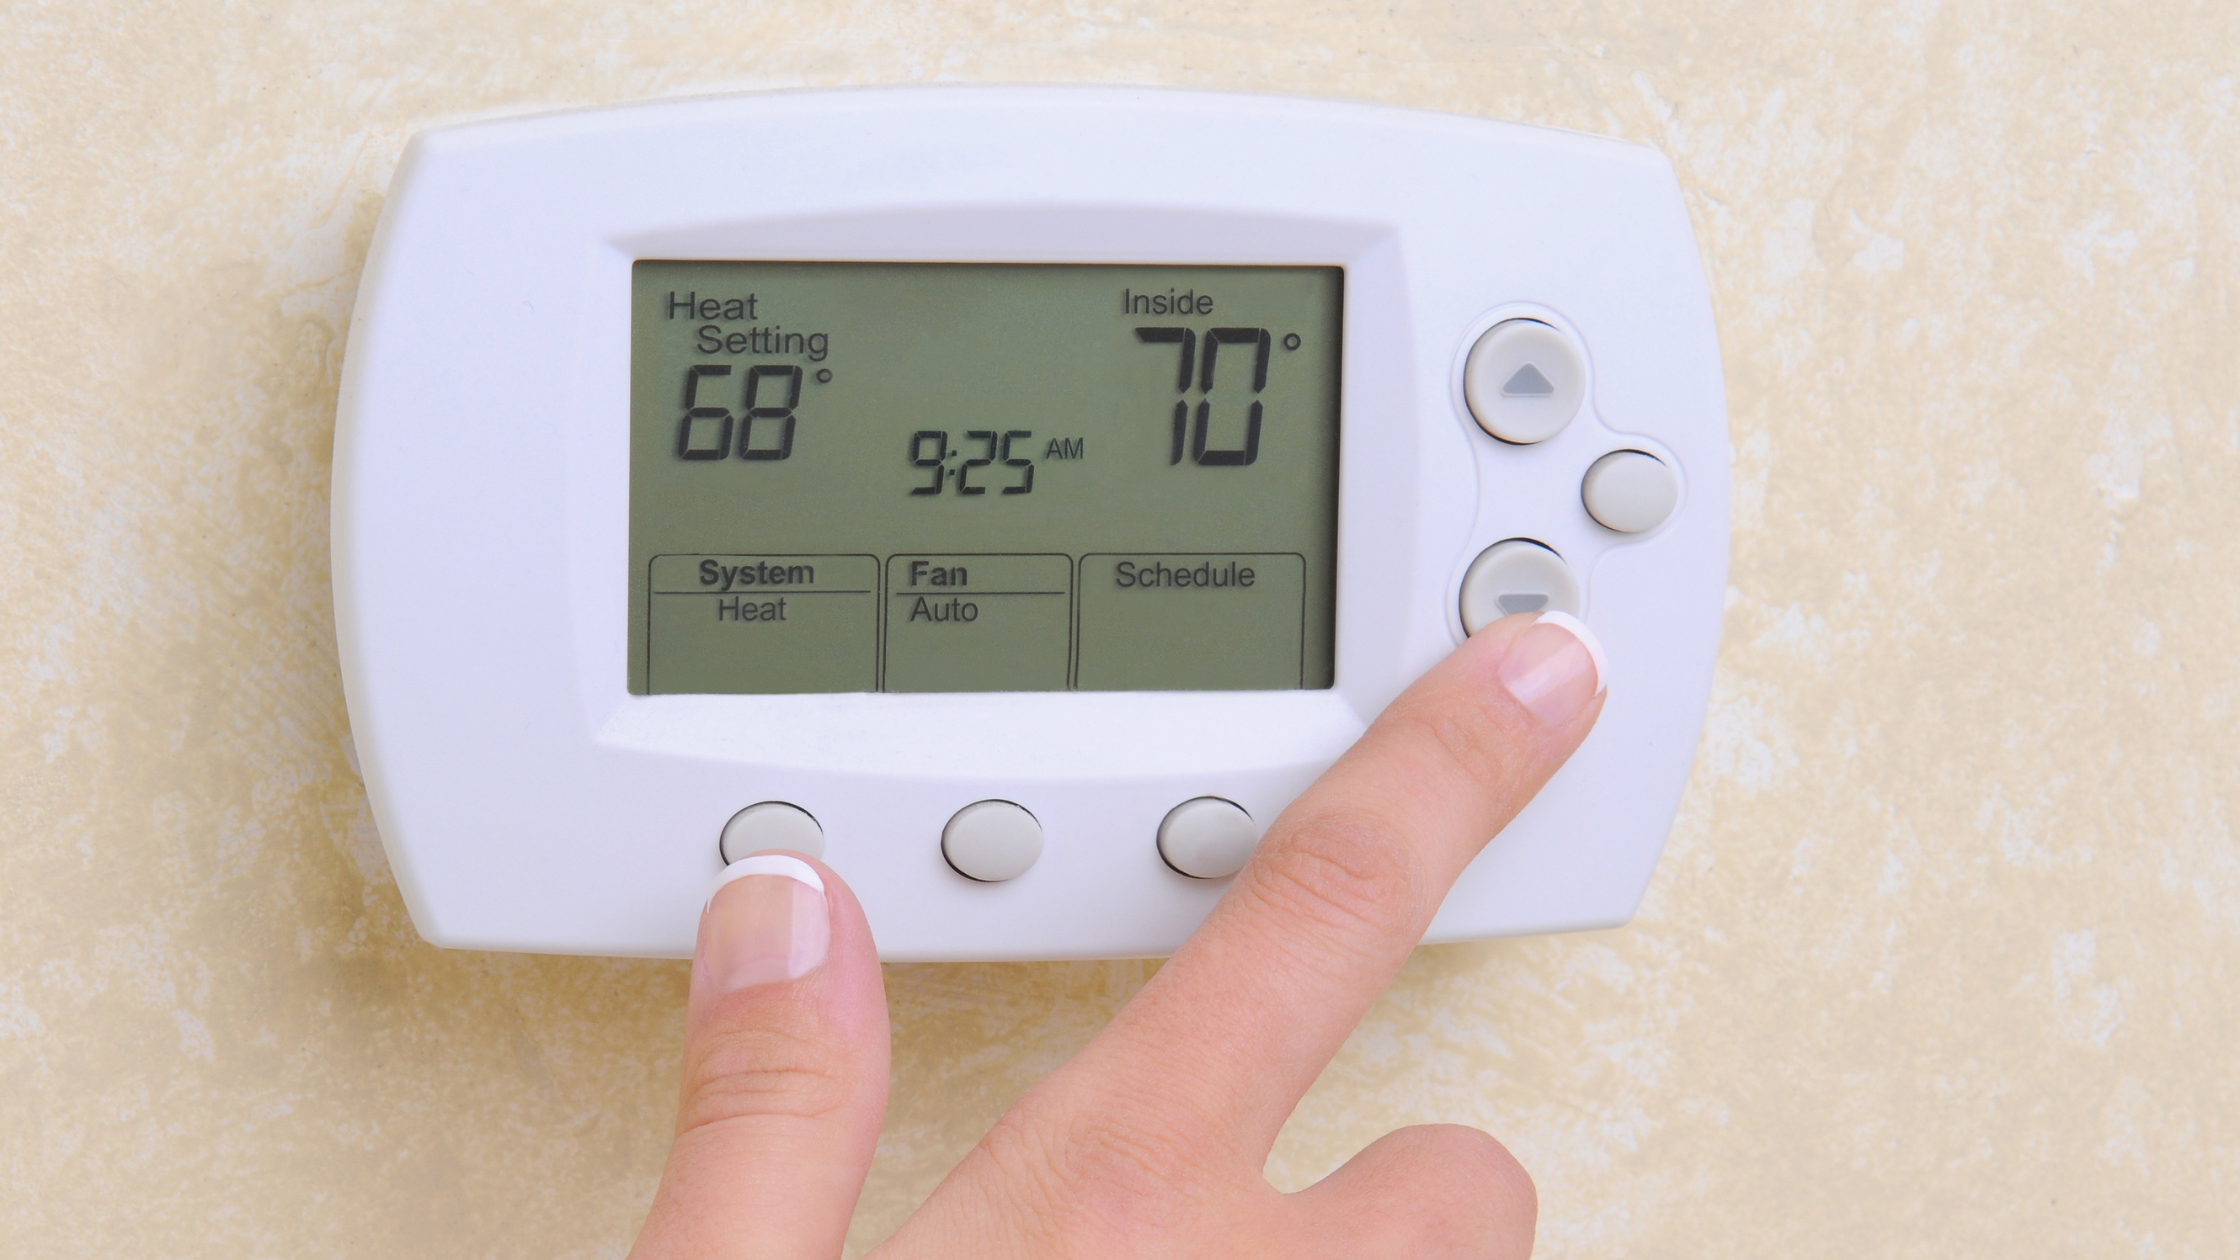
Your thermostat is the brain of your HVAC system, and ducts are the arteries. If one is off, the whole system works harder than it needs to. Start by checking the thermostat. Dust and loose wires can throw off the reading. Wipe the face with a dry cloth, then open the cover. Check for loose wires on the terminal strip and tighten them gently with a screwdriver. If your thermostat is digital, verify the calibration by comparing the display to a separate room thermometer. Adjust the offset setting if there is a significant difference.
Next, look at your supply and return vents. Remove the grilles and vacuum out dust and debris from the plenum behind them. This simple step improves airflow and reduces strain on the blower motor. Check the ductwork visible in your attic or basement for any disconnected sections or obvious gaps. Seal any leaks with mastic tape or foil-backed tape—avoid standard cloth duct tape, which peels over time.
A loose thermostat or leaky ducts can waste energy without you even noticing. By catching these issues early, you keep your system running efficiently and avoid costly repairs later.
Remove the cover, wipe the face, and check wiring. Compare the display to a separate thermometer and adjust the offset if needed.
Take off the vent grilles and vacuum the plenum behind them to remove dust buildup that restricts airflow.

Inspect exposed ducts for gaps. Seal joints with mastic tape or foil-backed tape to prevent conditioned air from escaping.
When to call a professional for HVAC services
You can handle basic HVAC Maintenance tasks like changing filters and cleaning coils, but some issues require a licensed technician. Attempting complex repairs without proper training can void warranties or create safety hazards. Knowing the difference between a simple fix and a professional job protects your system and your wallet.
Signs you need a pro
Use this checklist to decide if a service call is necessary:
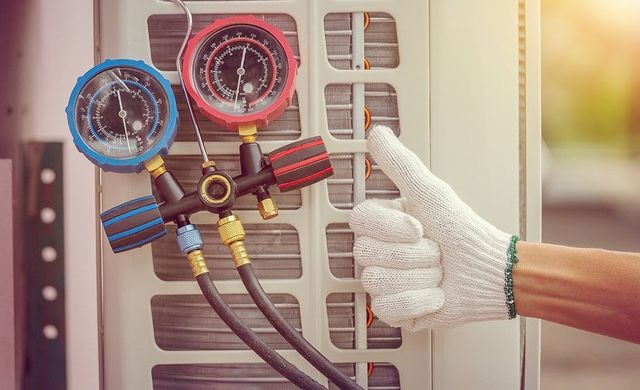
- Refrigerant leaks: If your unit is blowing warm air and you suspect a leak, do not recharge it yourself. Handling refrigerant requires EPA certification and specialized gauges.
- Electrical issues: Tripping breakers, burning smells, or loose wiring inside the unit demand immediate professional attention to prevent fire risks.
- Strange noises: Grinding, screeching, or banging sounds often indicate motor failure or loose internal components that need precise diagnostics.
- No cooling: If the fan runs but air isn’t cold, the compressor or capacitor may have failed, requiring specialized tools to replace.
The boundary line
Stick to DIY for visual inspections and cleaning. Leave the internal mechanics, electrical connections, and refrigerant lines to the experts. This approach ensures your HVAC Maintenance routine remains safe and effective without risking costly mistakes.
Common HVAC Maintenance Mistakes to Avoid
Skipping filter changes is the fastest way to choke your system. A clogged filter restricts airflow, forcing the compressor to work harder and raising your energy bills. Check the filter monthly during peak season and replace it when it looks gray or dusty.
Ignoring unusual noises often leads to bigger repairs. A rattling sound usually means a loose panel or debris in the fan, while a high-pitched squeal signals a worn belt or bearing. Address these sounds immediately before they cause motor failure.
Over-tightening screws during HVAC maintenance can crack plastic housings or strip metal threads. Use a screwdriver with a torque limiter or tighten by hand until snug. If you feel resistance, stop; the screw is already secure.
Cleaning coils with a garden hose at full pressure can bend the delicate fins. Use a soft brush or a low-pressure spray to remove dirt. Bent fins block airflow, reducing cooling efficiency and potentially causing the unit to freeze up.
Frequently asked questions about HVAC Maintenance
No comments yet. Be the first to share your thoughts!