

Get hvac maintenance right
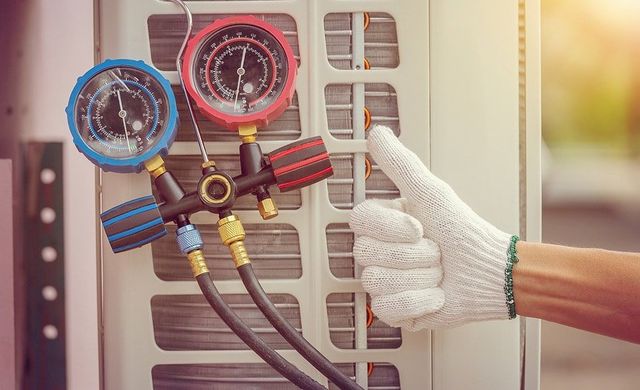
Before you touch a screwdriver or open the service panel, gather your tools and verify the system’s baseline state. Proper preparation prevents minor issues from becoming major repairs, especially when summer heat is already pushing your unit to its limits.
You will need a multimeter, a fin comb, a coil cleaner, and a vacuum with a brush attachment. Check your manufacturer’s manual for specific filter sizes and access panel locations. Having these items ready keeps your workflow efficient and reduces the time the system spends exposed to debris.
Ensure the power is completely disconnected at the breaker box before inspecting electrical connections. Loose wires can cause arcing or compressor failure, so verify that all terminals are tight and free of corrosion. If you are unsure about electrical safety, skip this step and call a professional.
Finally, clear the area around the outdoor condenser unit. Remove leaves, grass clippings, and debris from at least two feet around the unit. This airflow clearance is critical for heat exchange efficiency. A clean workspace ensures you can see every component clearly while you work.
Work through the steps
Summer cooling puts maximum strain on your HVAC system. A neglected unit struggles to keep up with heat, driving up energy bills and risking a breakdown when you need it most. Following a structured maintenance checklist helps you catch small issues before they become expensive repairs.
Start by verifying your thermostat settings. Ensure it is set to "Cool" and the temperature is lower than the current room temperature. Replace the batteries if the display is dim or unresponsive. If your thermostat is older, consider upgrading to a programmable model to optimize efficiency without constant manual adjustments.
Common mistakes to avoid
Many homeowners skip filter changes or ignore outdoor debris, assuming the system will handle it. This leads to reduced efficiency and higher bills. Another common error is attempting to repair refrigerant leaks or electrical components without proper training. These tasks require professional tools and safety knowledge. If you are unsure, stick to basic cleaning and visual inspections.
Proof checks
After completing maintenance, verify that air is flowing strongly from all vents. Ensure the outdoor unit is running smoothly without excessive vibration. If you notice any persistent issues, schedule a professional tune-up. Regular maintenance extends the life of your system and keeps cooling costs down.
Fix common HVAC maintenance mistakes
Even a well-intentioned homeowner can do more harm than good when servicing an HVAC system. The difference between a smooth summer and a costly emergency repair often comes down to avoiding a few specific errors. These mistakes compromise efficiency, damage components, or void warranties.
Skipping the air filter
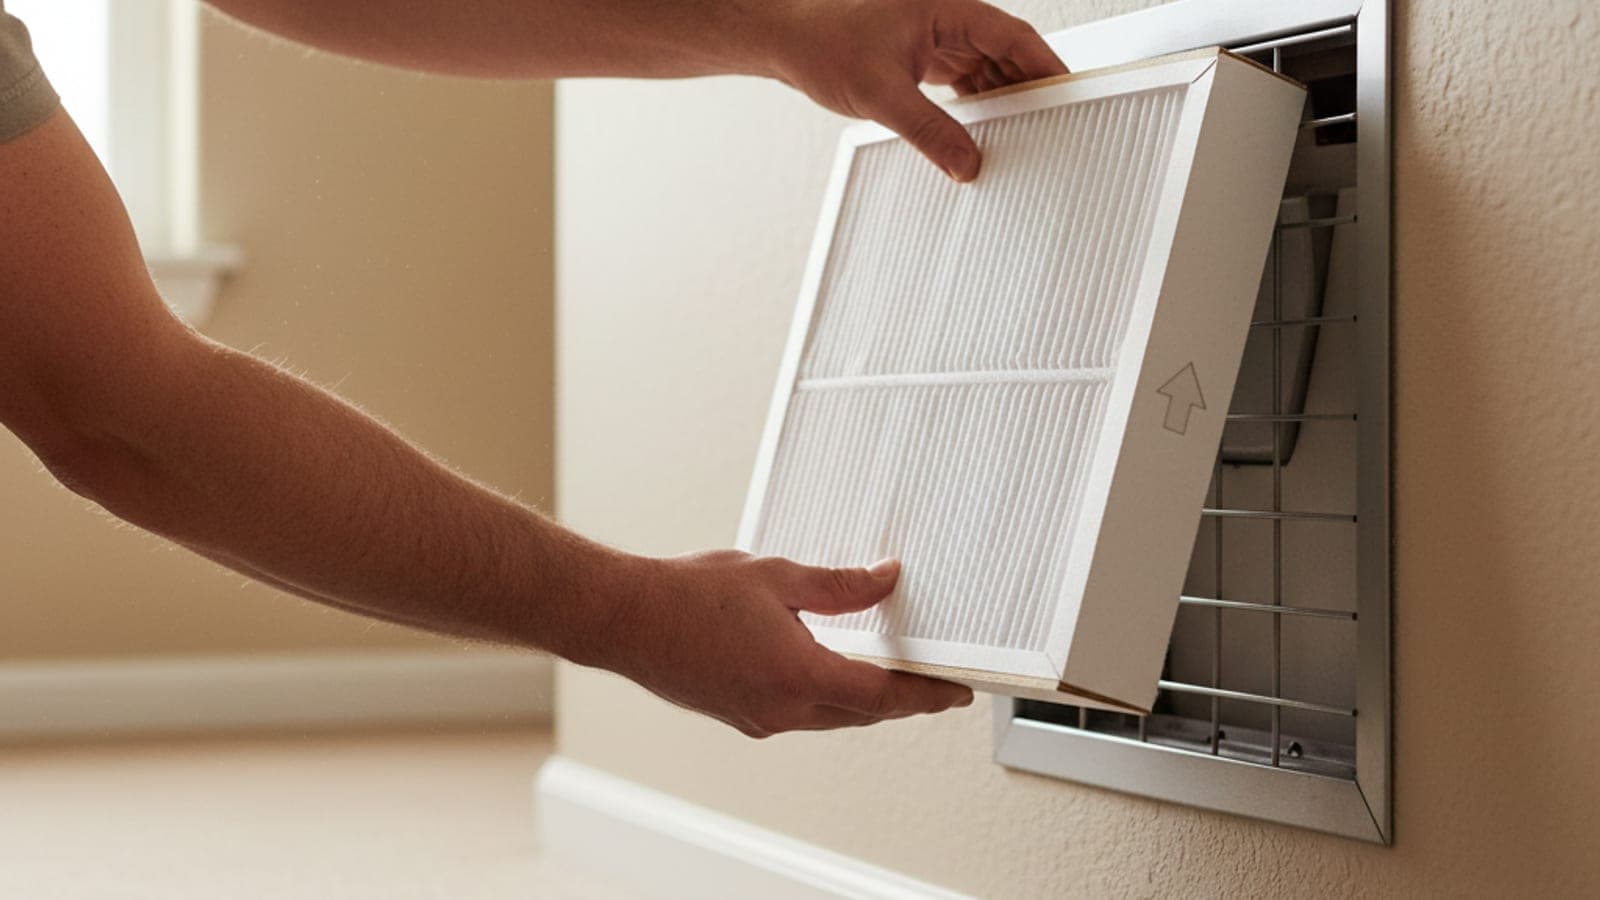
The most frequent oversight is ignoring or delaying the air filter replacement. A clogged filter restricts airflow, forcing the blower motor to work harder and raising energy bills. It also allows dust to coat the evaporator coils, reducing their ability to absorb heat. Check your filter monthly during peak cooling season and replace it immediately if it looks gray or clogged.
Blocking the outdoor unit
Homeowners often plant shrubs too close to the condenser or pile leaves and debris around the base. The outdoor unit needs clear airflow on all sides to dissipate heat effectively. If the coils can't breathe, the system overheats and shuts down. Keep a two-foot radius around the unit clear of vegetation, furniture, and stored items.
Ignoring electrical connections
Loose electrical connections can cause arcing, which damages components and creates a fire hazard. During a maintenance check, a technician should tighten all connections and measure voltage and amp draw on motors. Homeowners should never attempt to open the electrical panel themselves unless they are qualified. If you smell burning or see corrosion, call a professional immediately.
Overlooking the condensate drain
A clogged drain line is a silent killer of indoor air quality and can cause water damage. Algae and mold buildup restrict the line, leading to leaks or system shutdowns. Pour a cup of distilled vinegar down the drain access point every few months to prevent clogs. If the line backs up, use a wet/dry vacuum to clear it before the water spills onto your ceiling.
No comments yet. Be the first to share your thoughts!